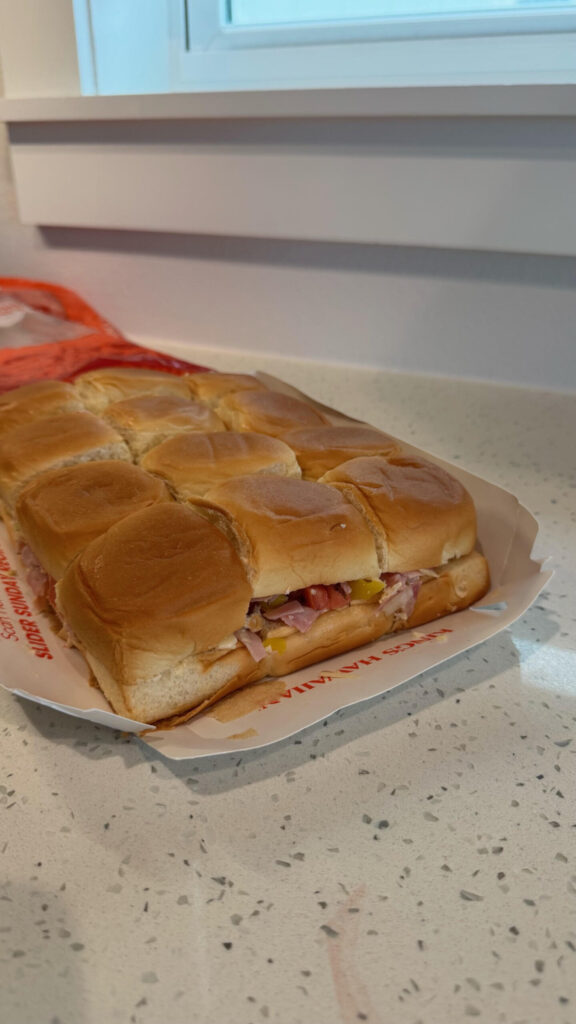
These Chopped Italian Sliders are the best appetizer, lunch, or main course for those hot summer days. Made in only 20 minutes, eat them immediately or pack them for a pool day or picnic. Kids and adults love these sandwiches any time of the day!
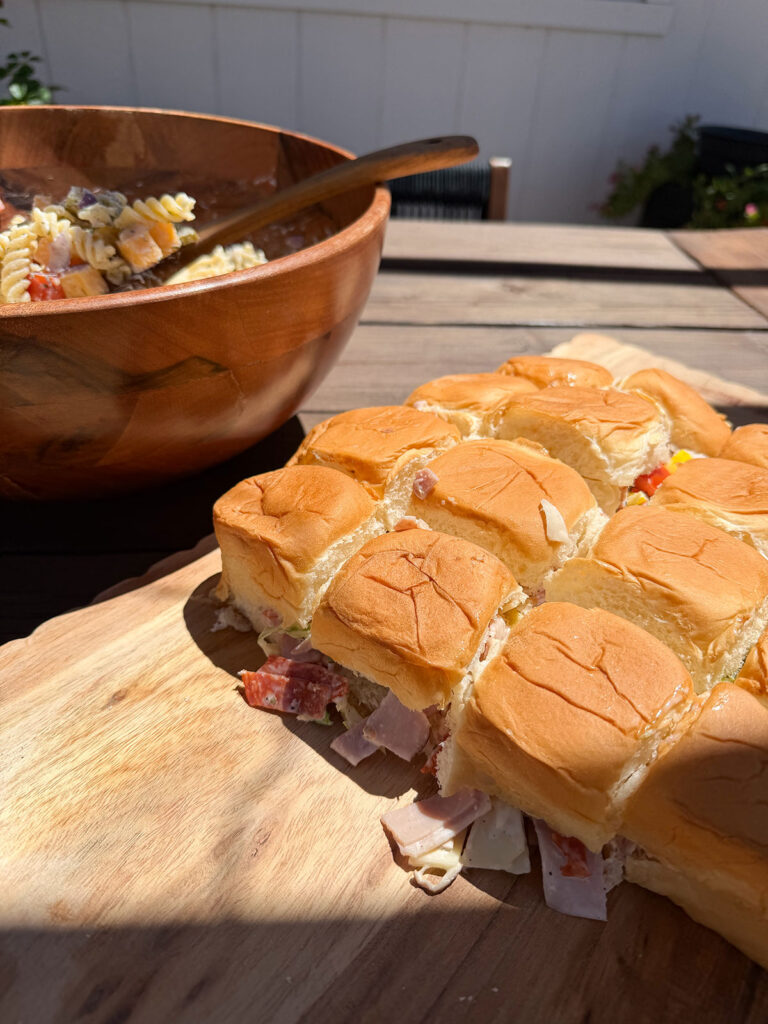
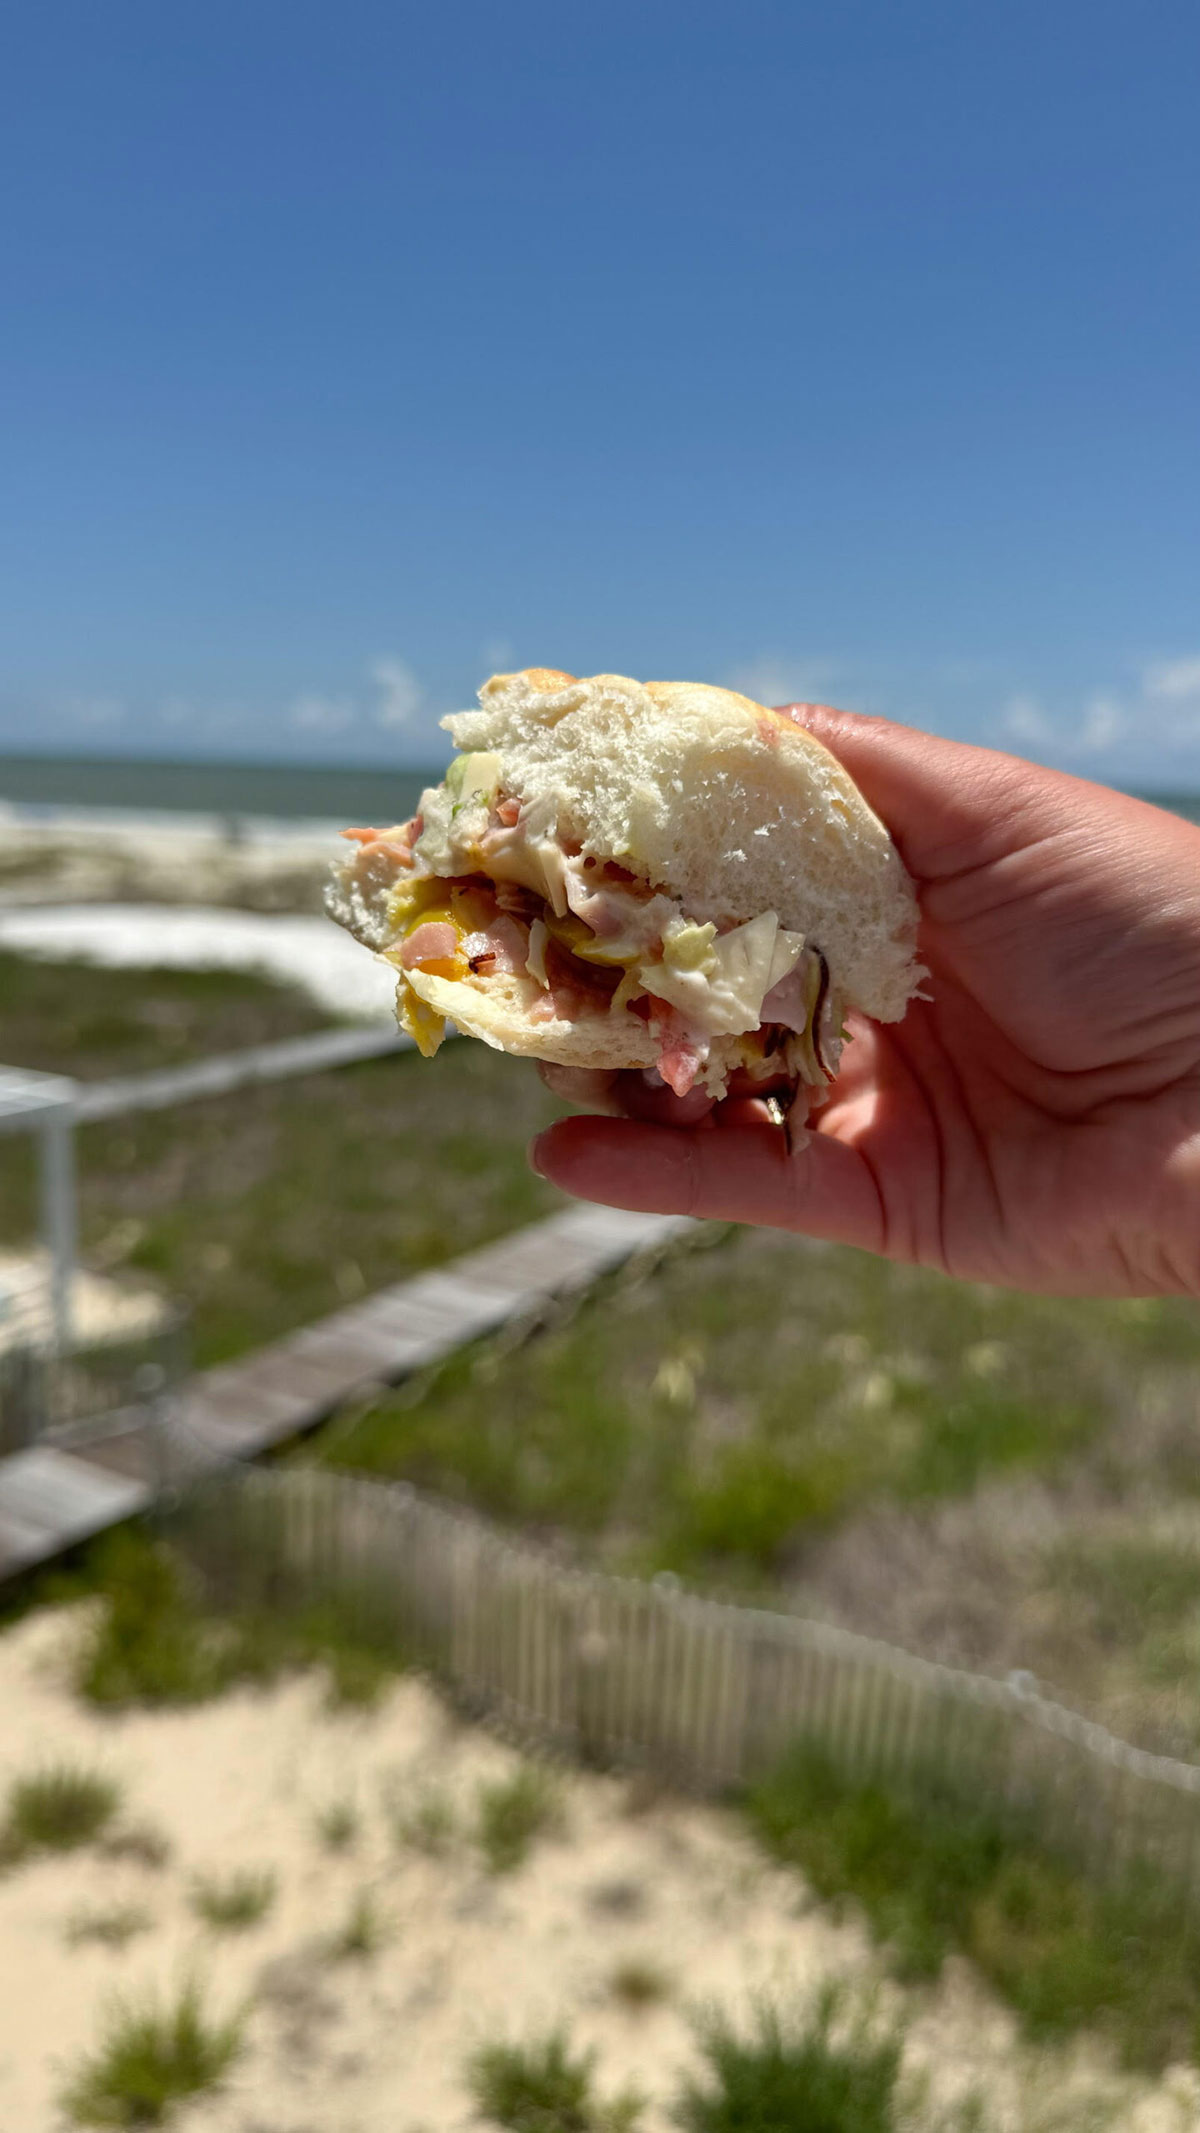
When the summer heat kicks in and you’re constantly on the go, you need a lunch that’s easy, satisfying, and packed with flavor. Enter my favorite Chopped Italian Sliders! I recently made this on my family’s beach vacation and they were the best. I’ve also brought them to poolside hangs, beach days, or cheering from the sidelines at a little league game.
What I love about these sliders is they take all of your favorite Italian sandwich ingredients and chop them up for easy layering on a slider bun. I can customize them to my liking every time and they only take 20 minutes to make! I’ve found both kids and adults love them, so get ready to make a double batch if you’re serving them at a party! I love to pair them with Hot Caprese Dip and Dill Pickle Mozzarella Bites.
Why You’ll Love this Recipe
- Twist on an Italian sub that is so easy to share! If you are prepping for a large group or party, these chopped Italian sliders are the best for easy serving to a crowd.
- Make them your own. Have fun with the ingredients and use what you would normally order on your Italian sandwich.
- Takes minutes to assemble. There’s nothing finicky here. Just chop, spread onto the buns, and enjoy in about 20 minutes.
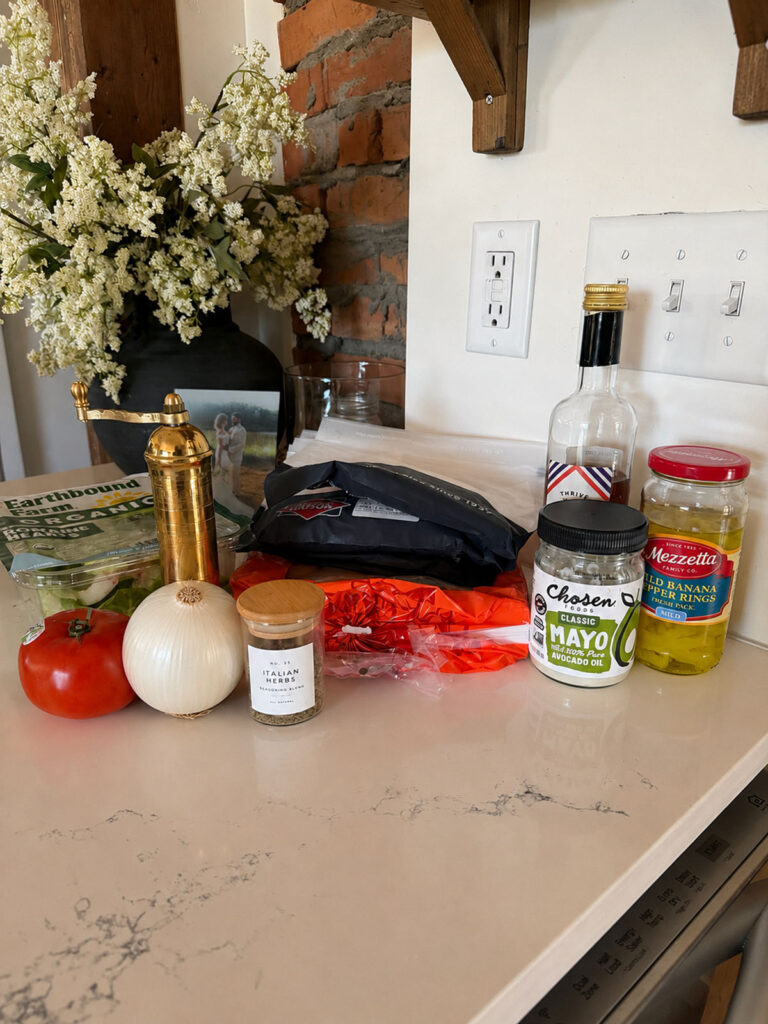
Ingredients:
- Ham: A great base for this Italian slider, you can easily use turkey if you prefer.
- Salami: Adds rich flavor that’s signature to an Italian sandwich.
- Pepperoni: One of my favorite ingredients on any Italian sandwich.
- Provolone cheese: A mild cheese that balances the pepperiness of the salami and pepperoni.
- Shredded lettuce: Gives a bright and fresh crunch to each bite.
- Tomatoes: Adds nice vegetable sweetness.
- Yellow onion: Gives a bit of tang. If you don’t like raw onion, soak it in ice water for 10 minutes, then drain and pat dry.
- Banana peppers: Acidic and a bit spicy, plus adds bright color!
- Mayonnaise: The creaminess that is the base to the zesty Italian dressing.
- Red wine vinegar: Acid to balance the mayonnaise in the dressing.
- Cracked pepper: A hearty pinch of cracked pepper brings all of the flavors together.
- Italian seasonings and oregano: Add a pinch of both for a rich herbal taste throughout.
- Slider buns: Easy for assembling and serving. Use your favorite brand.
How to Make Chopped Italian Sliders
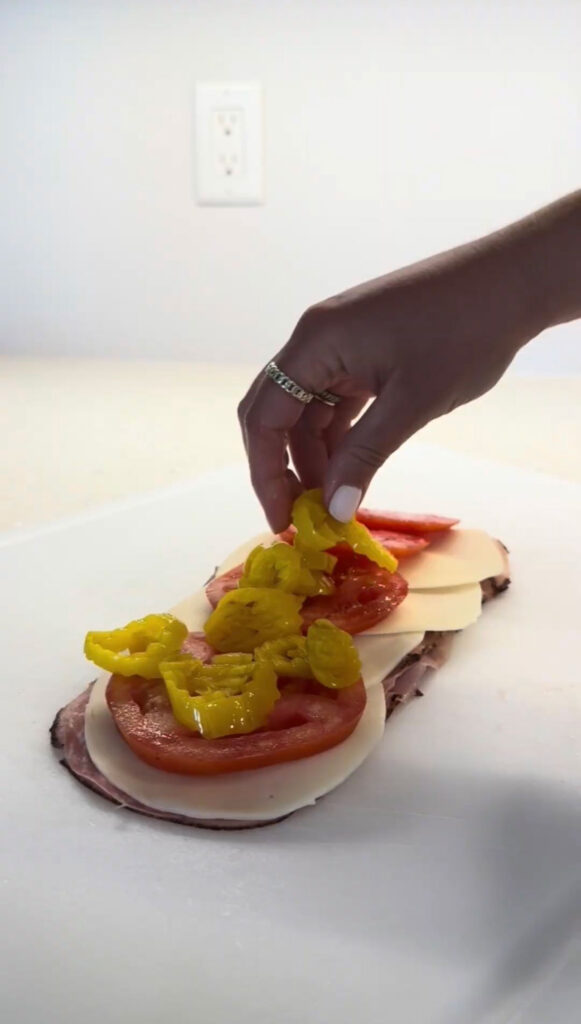
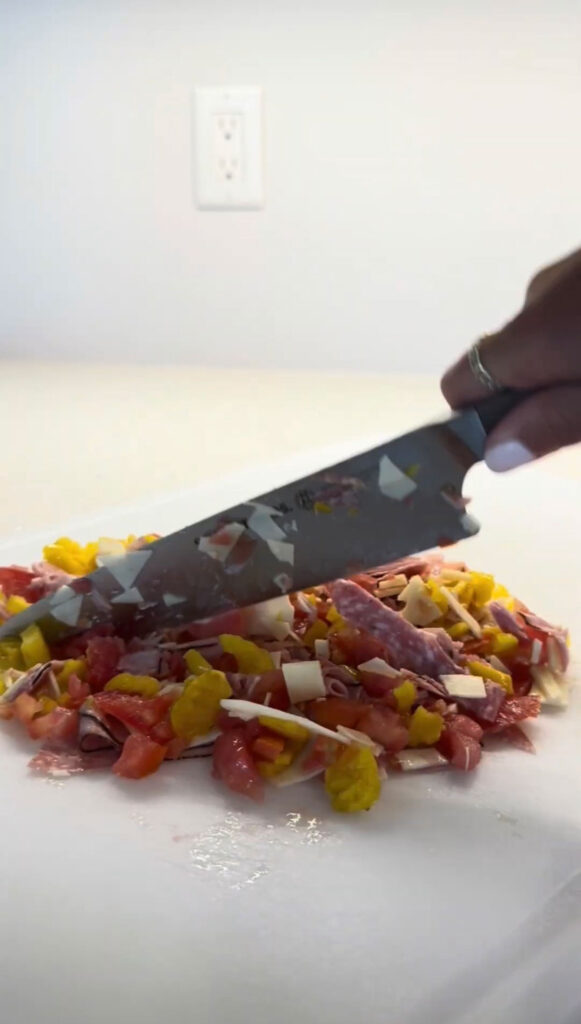
- On a cutting board, add your ham, salami, Pepperoni, provolone cheese, onion, tomatoes and banana peppers. Take a sharp knife and chop up everything together. Add the mayo, vinegar, oregano, Italian seasonings, pepper and lettuce and mix well.
2. Take your slider buns and slice in half. Add the mixture on top and add the top of the buns back on, cut the buns so they’re individual sandwiches. Enjoy right away or to store and take place the slides back in the packaging and keep cool until serving.
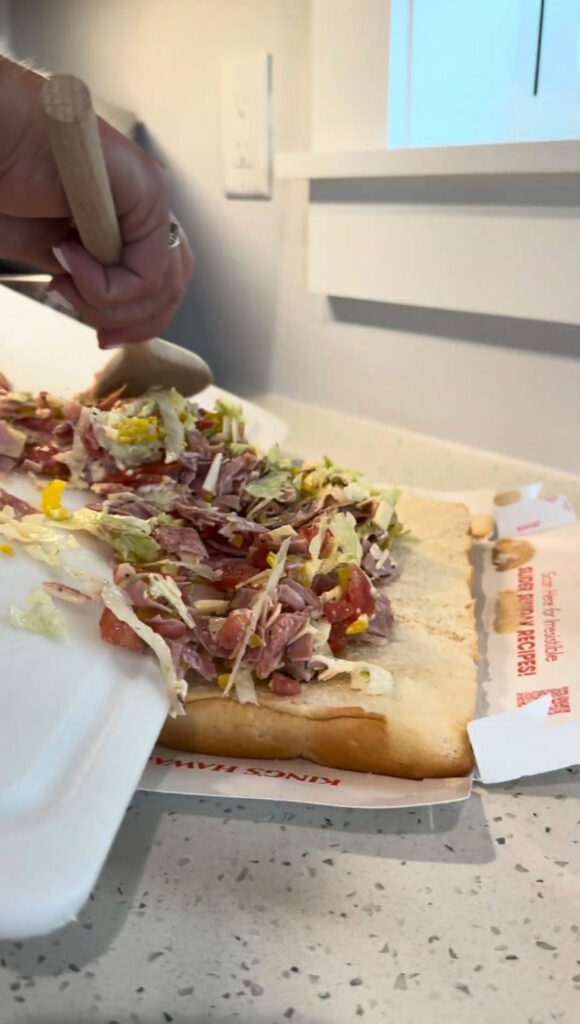
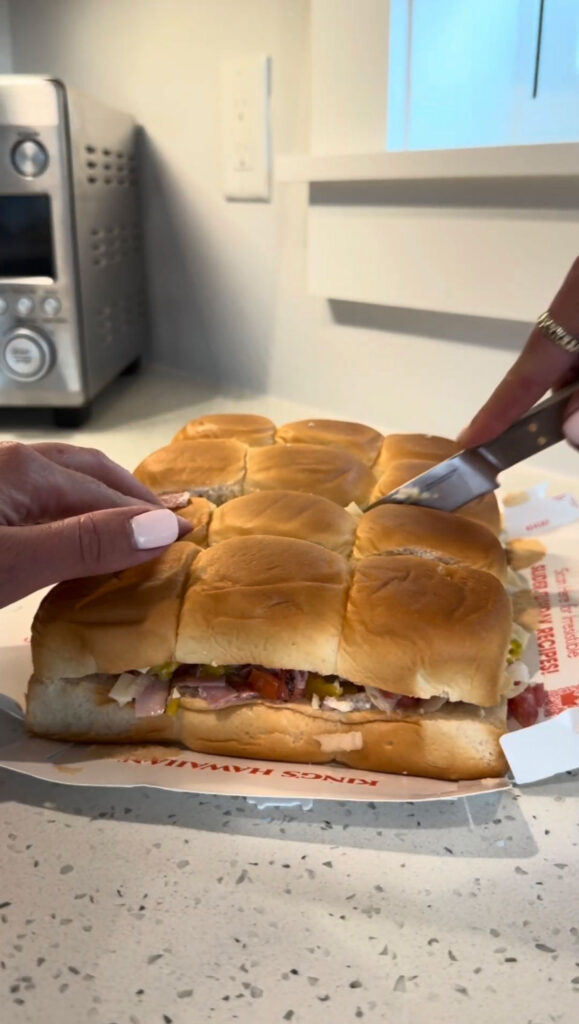
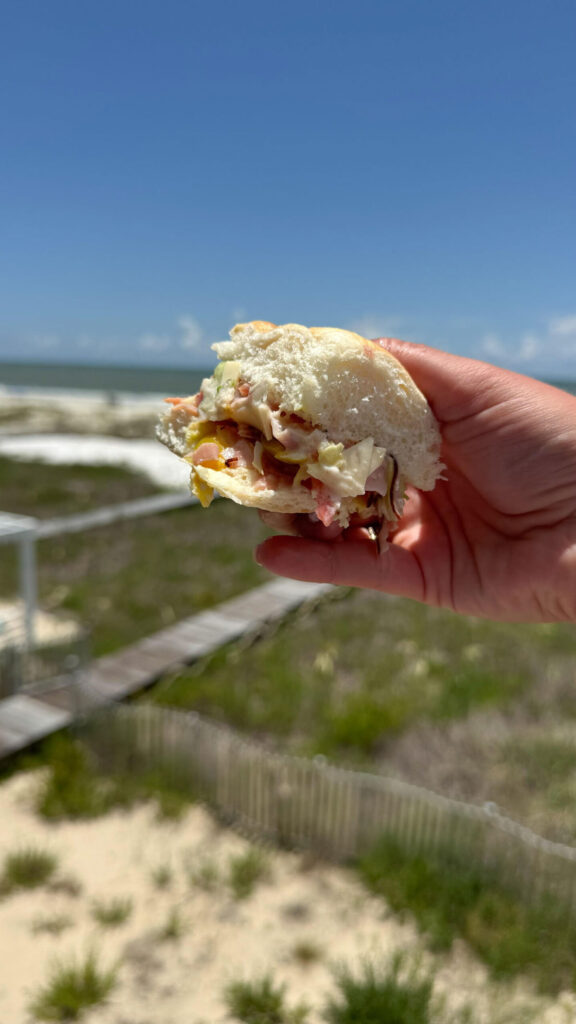
3. I make these chopped sliders to take to the beach or camping. They’re easy to make and just put right back in the slider bag for storing! Enjoy!
Expert Tips
- Chop all of the ingredients the same size. This will make for an even bite. All of the flavors will be evenly distributed for making these the best Italian sliders you’ve ever had!
- Have fun with the ingredients. Add your favorite cheeses, pepperoni, and salami to customize it to your liking.
- Toast the sandwich if desired. You can either toast the bun, or layer the sandwich and add slices of provolone. Then bake the sandwich until it’s warm and gooey.
- Pack them up for a picnic or party. They’re so easy to transport, just put into ziptop bag or wrap in foil. Keep in a cooler over an ice pack until you are ready to serve.
Storage
Store any extra Italian sliders in an airtight container in the fridge for up to 4 days. Let them sit out for a few minutes to take the chill off before eating. It’s best though to enjoy these fresh for a great chewy texture and consistency.
Avoid freezing, since this will change their texture once they thaw. But if you want to prep in advance, you can make the salami mixture and hold it in the fridge. Just top the Hawaiian buns right before serving.
FAQs
Add other types of cheese like mozzarella or a smoked provolone. You can also add something spicy like cherry peppers or red chili flakes.
I like King’s Hawaiian rolls, or you can use your favorite brand of slider bunds too.
Of course! This cuts down on the prep time even more!
More Easy Sandwich Recipes
Chopped Italian Sliders
Ingredients
Method
- On a cutting board, add your ham, salami, Pepperoni, provolone cheese, onion, tomatoes and banana peppers. Take a sharp knife and chop up everything together. Add the mayo, vinegar, oregano, Italian seasonings, pepper and lettuce and mix well.
- Take your slider buns and slice in half. Add the mixture on top and add the top of the buns back on, cut the buns so they’re individual sandwiches. Enjoy right away or to store and take place the slides back in the packaging and keep cool until serving.
- I make these chopped sliders to take to the beach or camping. They’re easy to make and just put right back in the slider bag for storing!Enjoy!
Notes
- Chop all of the ingredients the same size. This will make for an even bite. All of the flavors will be evenly distributed for making these the best Italian sliders you’ve ever had!
- Have fun with the ingredients. Add your favorite cheeses, pepperoni, and salami to customize it to your liking.
- Toast the sandwich if desired. You can either toast the bun, or layer the sandwich and add slices of provolone. Then bake the sandwich until it’s warm and gooey.
- Pack them up for a picnic or party. They’re so easy to transport, just put into ziptop bag or wrap in foil. Keep in a cooler over an ice pack until you are ready to serve.