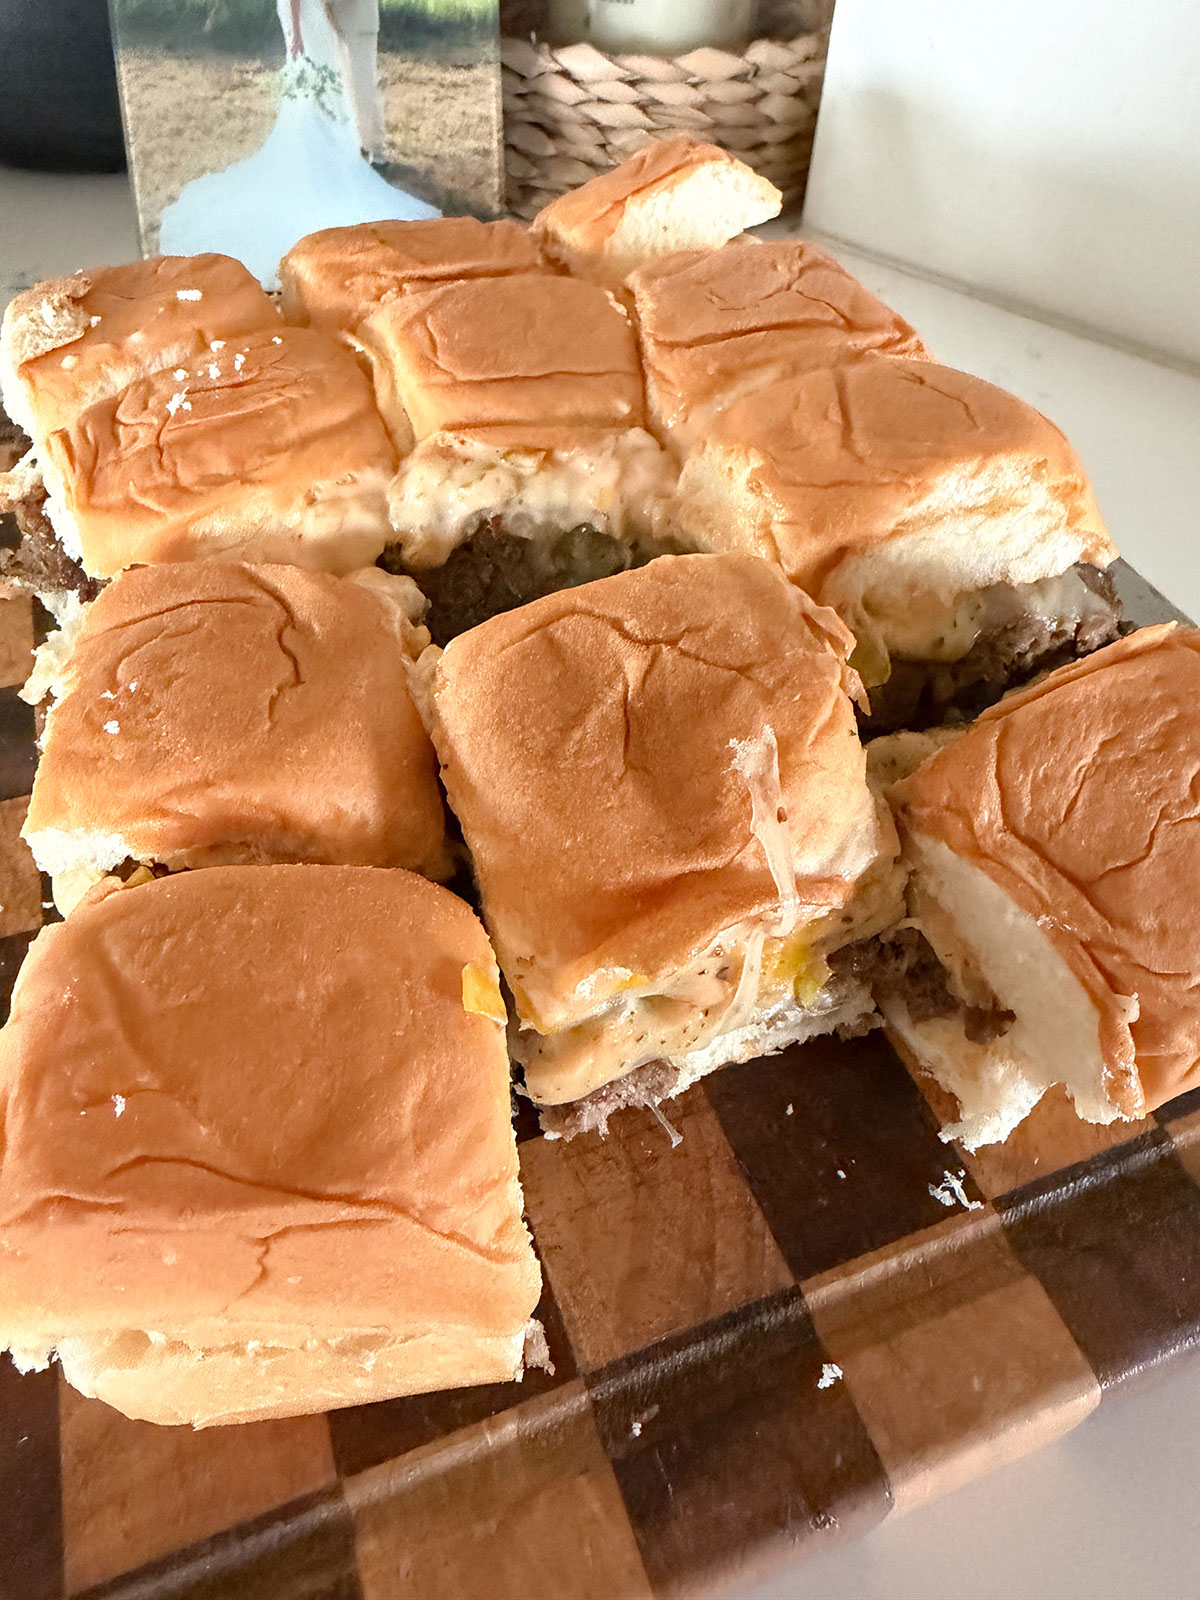
These easy Sheet Pan Burgers are juicy, flavor-packed, and best of all, mess-free. They’re the perfect way to feed a crowd or get a delicious dinner on the table without the fuss. Forget flipping burgers on the stove with lots of grease, this sheet pan version makes for the quickest clean up you’ll ever see!
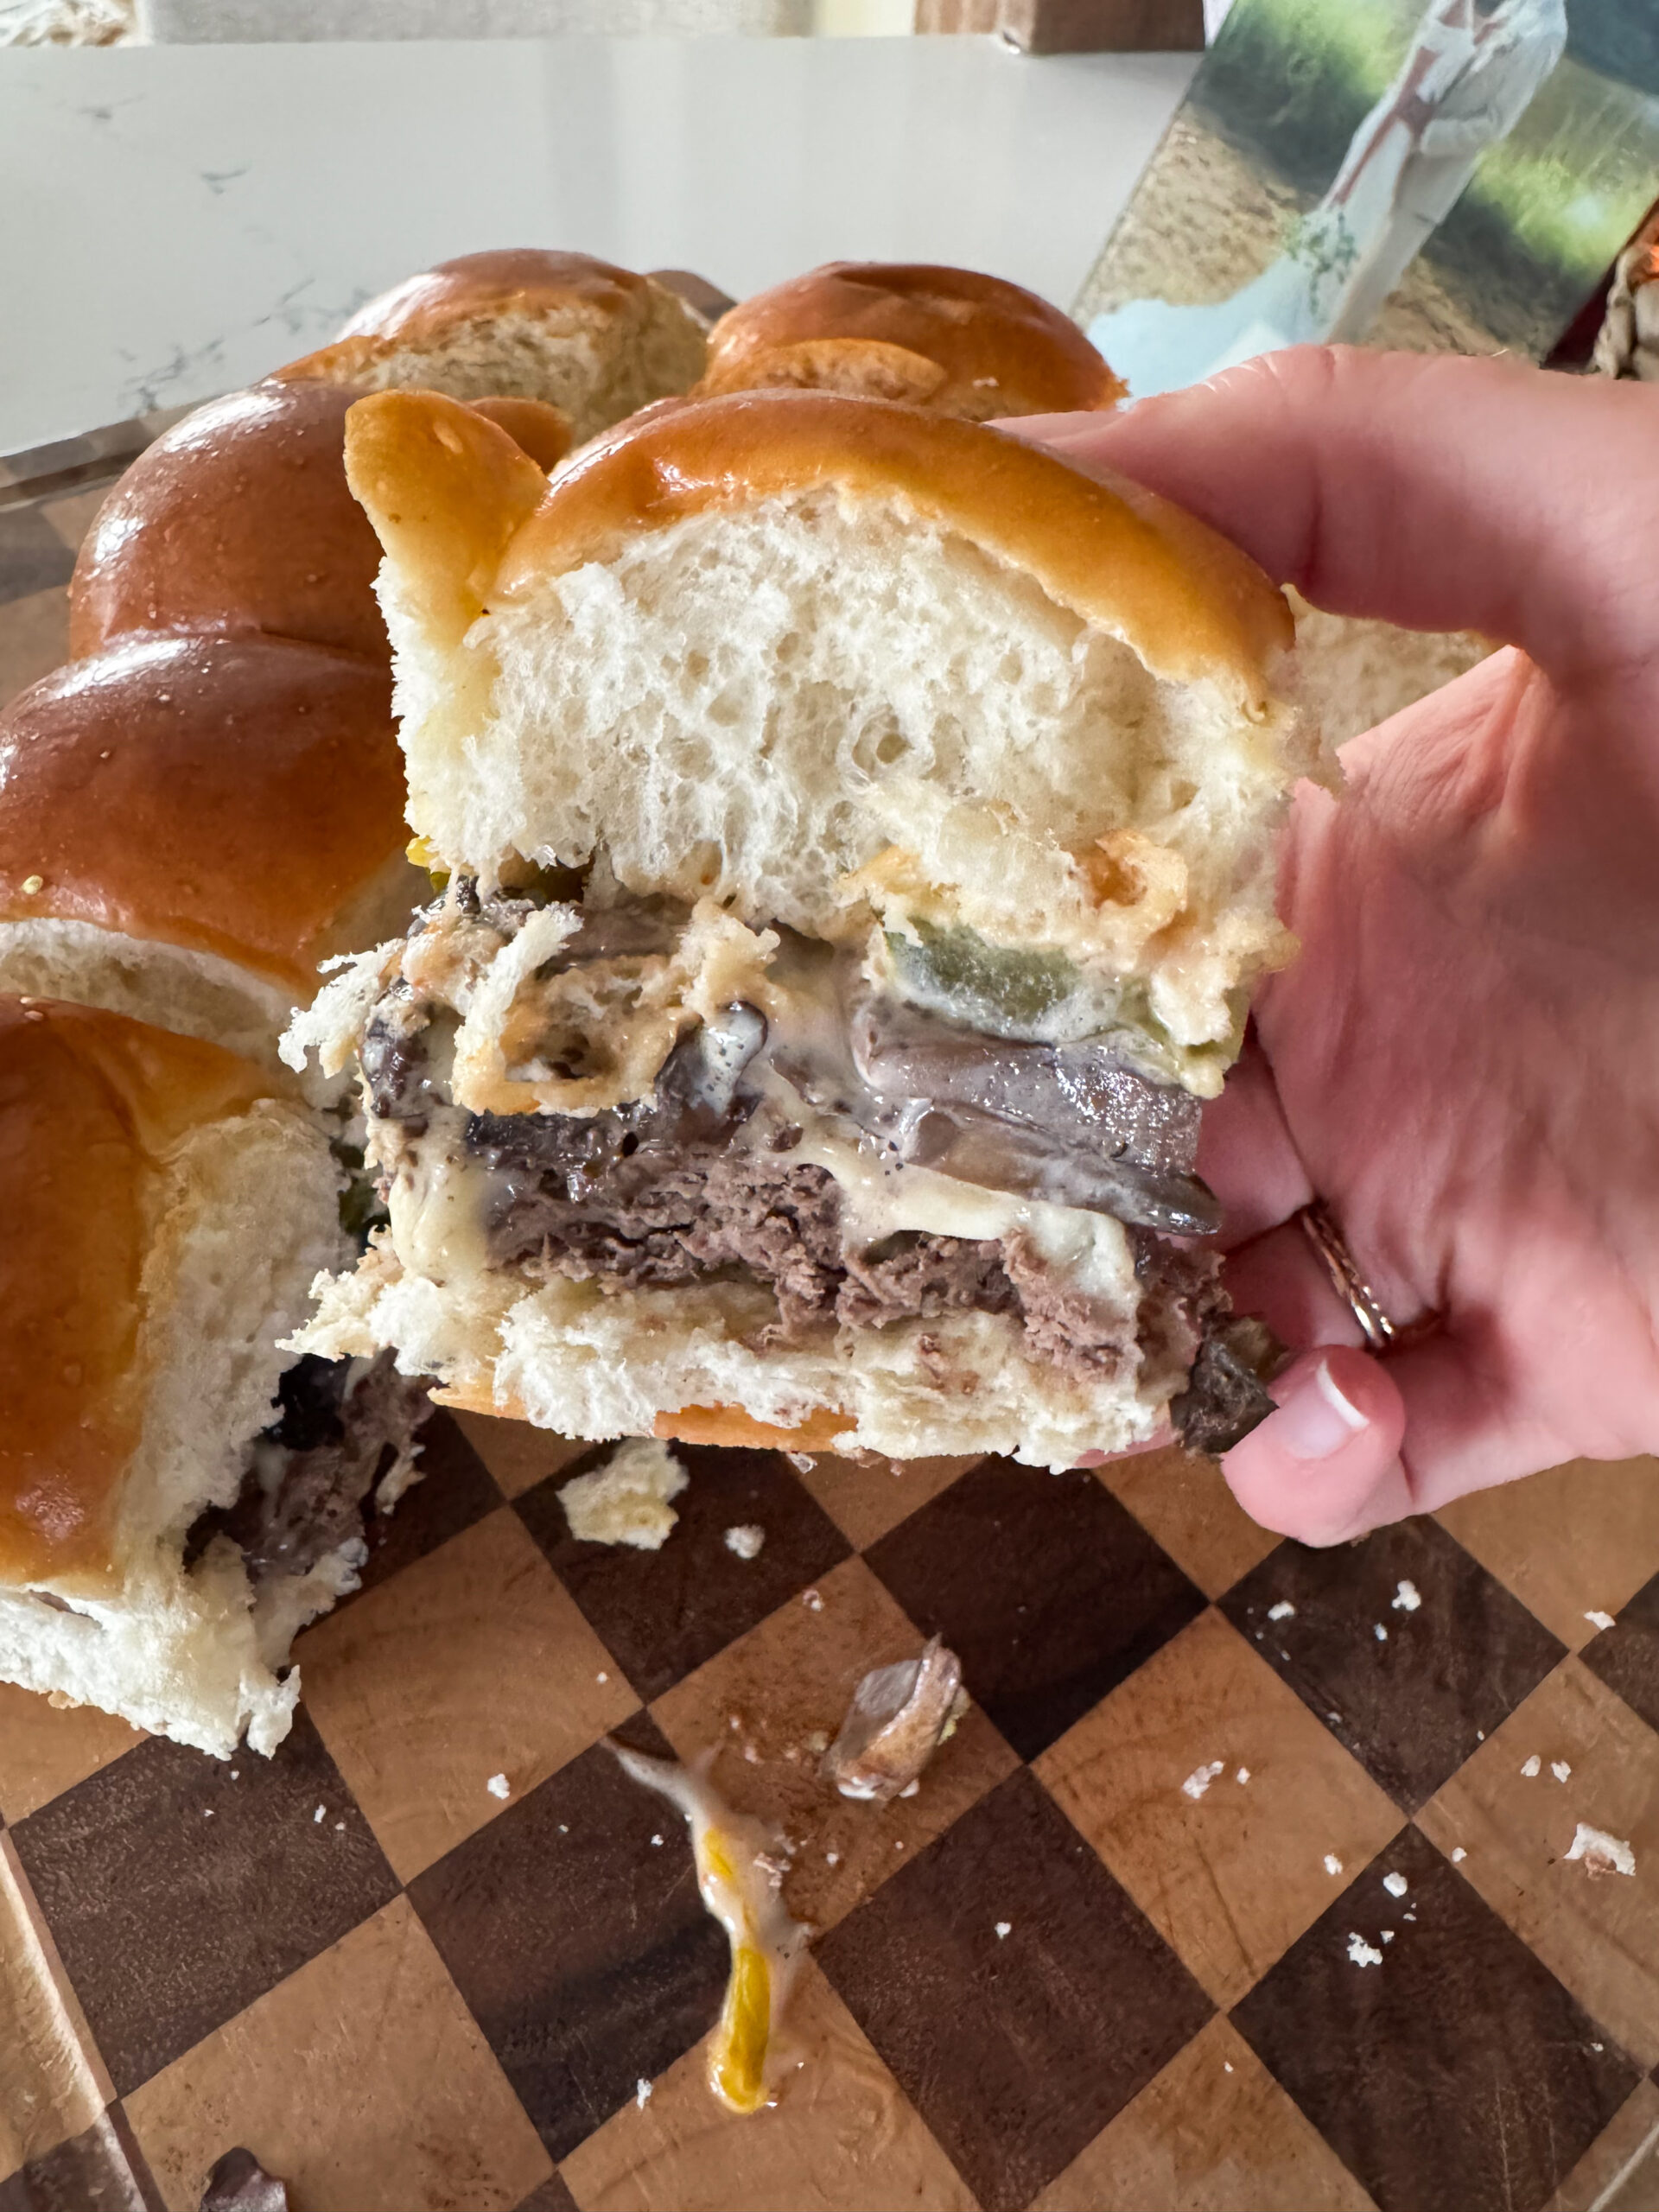
There’s nothing better than a delicious, juicy burger, but who’s got the time to stand over a grill flipping them to order? Not us! That’s why these easy Sheet Pan Burgers are about to become your new go-to. They’re flavorful, mess-free, and cooked all at once in the oven, so they’re perfect for feeding a crowd or for dinner during the week. They’re super easy to customize too, so they’re great for the whole family.
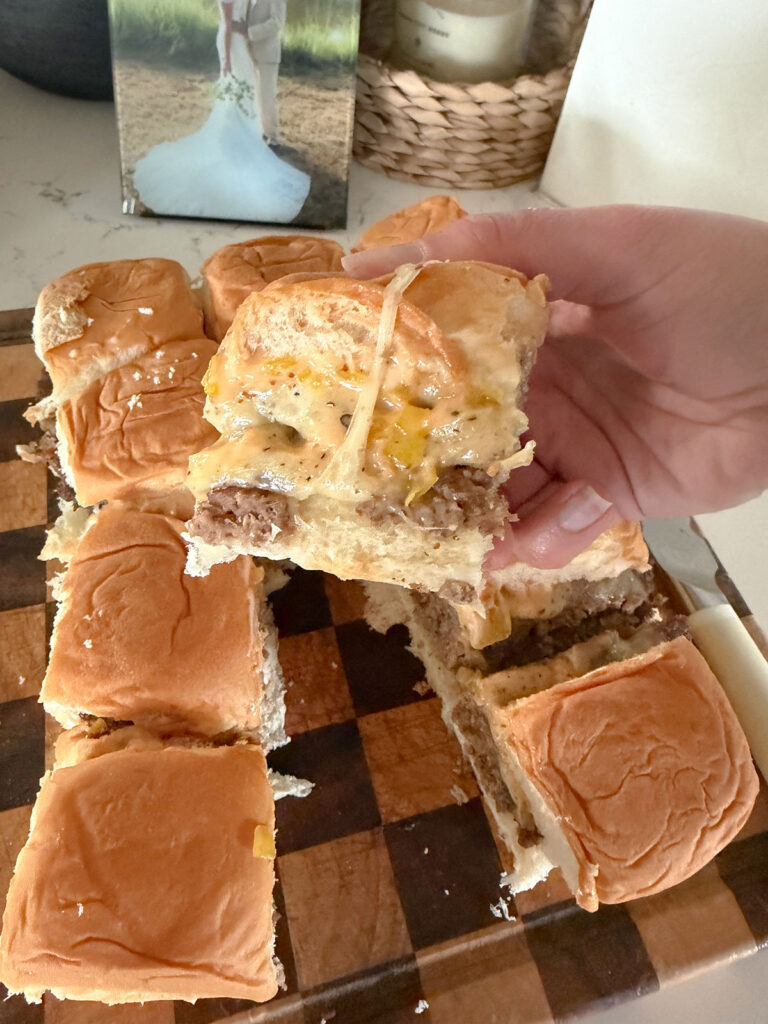
A seasoned beef patty gets baked to perfection on one pan, then gets layered onto tender, soft rolls with melty cheese, a creamy burger sauce, and all of your favorite fresh toppings. These Sheet Pan Burgers could not be simpler to make without sacrificing any flavor. Now any night can be burger night with this easy idea. No flipping, no splattering, no stress — just super satisfying burgers every time.
If you like these burgers, try some of our other favorites. We love these Crack Chicken Burgers and these flavor-packed Bacon Mushroom Sloppy Joe Cheeseburgers, too.
Why You’ll Love This Recipe
- Hands-Off Cooking: This is a super easy, stress-free way to make burgers — the sheet pan does all the work for you, so there’s no stove or grill required.
- Great for Feeding a Crowd: This recipe makes one big batch of burgers, so they’re perfect to serve to a crowd or for family dinner.
- Perfectly Cooked Every Time: With a straightforward process and simple steps, these burgers come out super juicy and evenly cooked each and every time — it’s a foolproof recipe!
- Minimal Cleanup: Since everything is made on one sheet pan, there’s hardly any clean-up involved.
- Customizable: These are super easy to customize with your favorite toppings, sauces, and add-ons. Get creative and have fun.
Ingredients:
- Ground Beef: We like 80/20 here for the juicy flavor and texture.
- Worcestershire Sauce: For that umami punch of flavor that goes perfectly with ground beef.
- Onion Powder & Garlic Powder: Added aromatic seasoning.
- Dried Mustard: For a subtle heat and more flavor.
- Salt & Pepper: Season generously, always.
- American Cheese: The all-time greatest cheese for a burger, this melts beautifully.
- Slider Rolls: Soft and fluffy, use your favorite kind.
- Burger Sauce: Creamy, tangy and the perfect burger condiment.
- To Serve: Sliced pickles, onions, lettuce, tomato, ketchup and mustard — all of the must-haves!
For The Burger Sauce:
- Ketchup: Tangy and tomato-y.
- Mayonnaise: Rich and creamy.
- Dill Pickle Relish: For zesty flavor. You can use sweet relish too if that’s your preference.
- White Vinegar: Bright and acidic.
- Salt & Pepper: Season everything to bring it all together.
How To Make Sheet Pan Burgers:
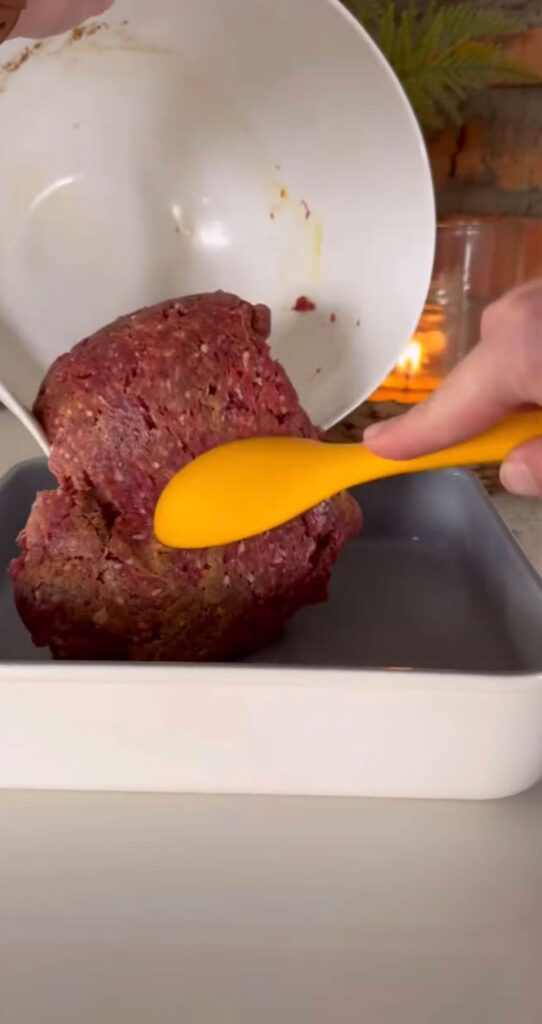
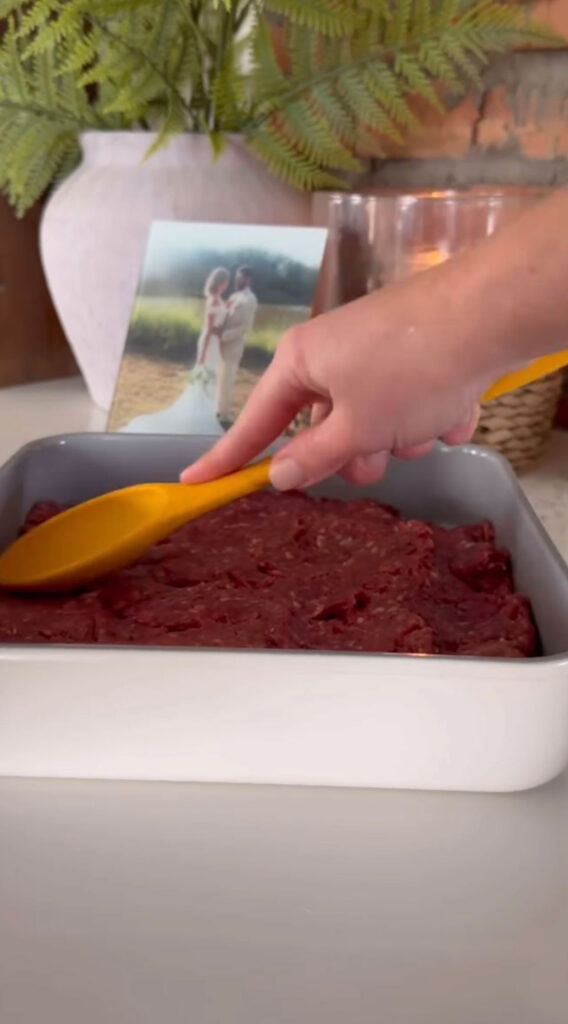
1. Preheat oven to 350°. In a large bowl, add the ground beef, Worcestershire sauce, mustard, garlic and onion powder, salt, and pepper. Combine the ingredients. Press the mixture evenly in a 10×10 pan. You can use whatever pan works for you too!
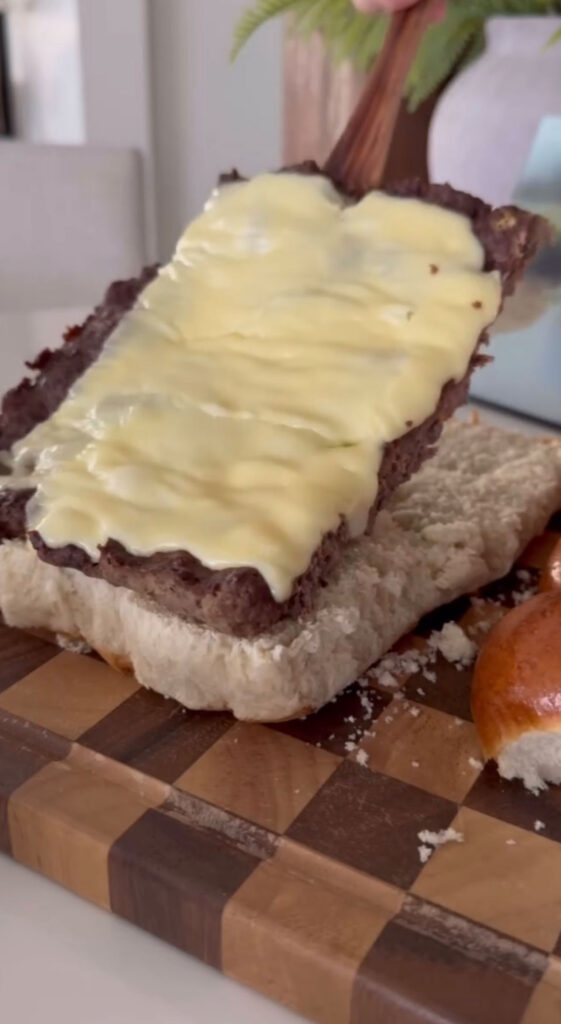
2. Bake the meat for 10-15 minutes or until browned and no longer pink in the middle. Drain any excess grease. Top with cheese and bake again for another 2 minutes. Remove and place on the the bottom half of the sliders (I usually have to cut the burger to fit on the sliders)
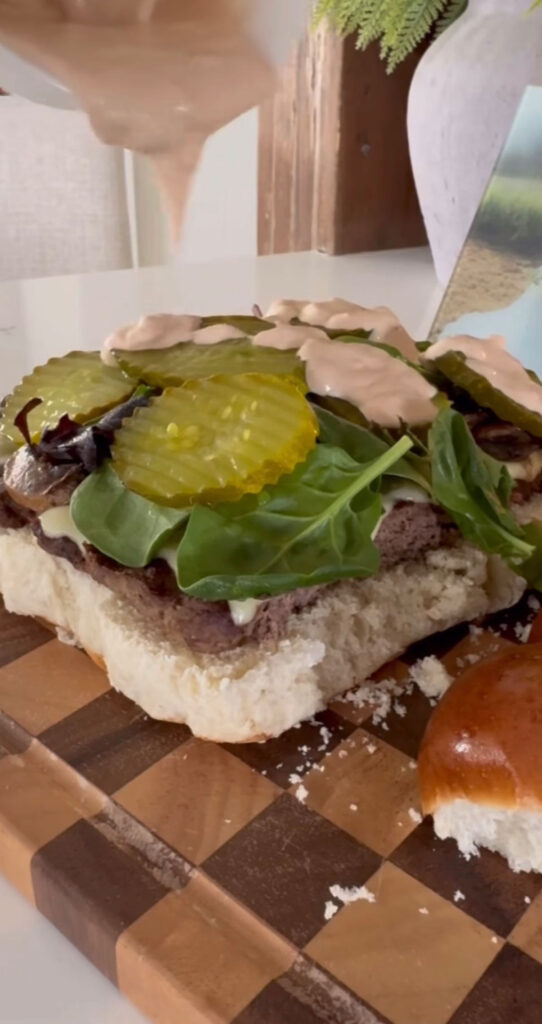
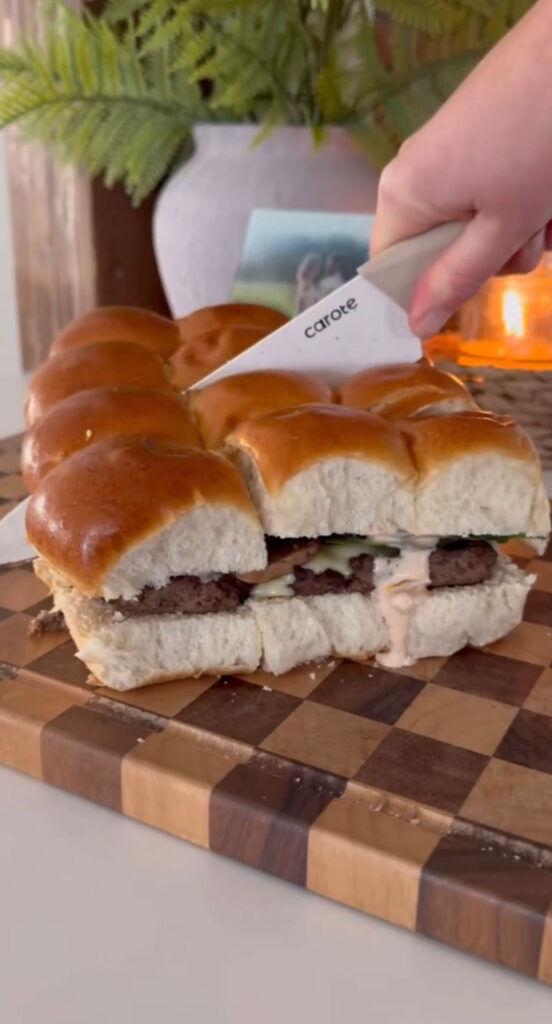
3. Combine all the burger sauce ingredients and mix well. Assemble with your favorite toppings and then drizzle on the mayo mixture. Add the top bun and cut accordingly and serve!
Expert Tips
- Don’t Over-mix the Meat: It can be tempting to stir and stir and stir, but only mix the meat until the ingredients are just combined. This will keep the burgers tender. Over-mixing can lead to dense, tough burgers.
- Press Evenly: Once the meat mixture is combine, be sure to press it evenly in the pan for consistent cooking throughout and the best texture.
- Use Parchment Paper: Line your sheet pan with parchment for a quick and easy cleanup.
- Let Burgers Rest: Once the burger patty is cooked and sliders are assembled, let them rest for a few minutes to let let them set and keep them juicy.
- Use Fresh Toppings: Freshly shredded lettuce, sliced onions and tomatoes will give the burgers the best texture and flavor.
Variations
- Try Different Cheeses: American is the classic choice, but try cheddar, Swiss, Pepper Jack, or mozzarella for another flavor profile.
- Use Another Ground Meat: Try ground turkey or chicken for a slightly lighter burger.
- Make It Low Carb: Swap out the slider buns and serve these in lettuce wraps for a light, low-carb, refreshing burger.
- BBQ Burgers: Add a drizzle of your favorite BBQ sauce to the meat mixture, or as a topping, for a sweet-savory twist.
- Make Them Spicy: Mix in diced jalapeños or top the burgers with pickled jalapeños and a dash of hot sauce for heat and a little kick.
What To Serve With Sheet Pan Burgers
These Sheet Pan Burgers are a great main course and pair perfectly with anything. Here are our favorites to serve them with:
- Air Fryer French Fries
- Roasted Potatoes or Sweet Potatoes
- Dill Pickle Pasta Salad
- Plain Jane Potato Salad
- Tortellini Caesar Salad
- Simple Green Salad or Roasted Vegetables
Storage
Store leftover burgers in an airtight container in the fridge for up to 3 days. Ideally, we suggest separating the meat patties from the buns and toppings for maximum freshness. To reheat, warm in the oven at 350° for 10-15 minutes, until heated through. Assemble with fresh toppings and condiments.
You can freeze leftover burgers by wrapping them in plastic wrap and foil, then storing for 3-4 months. Thaw in the fridge overnight before serving, then reheat in the oven and assemble with your preferred toppings.
Feel free to make and form the meat patty ahead of time, or even cook it in advance, then cool and store in the fridge until you’re ready to assemble the burgers and serve.
FAQs
Keep the burgers juicy and prevent them from drying out by using a binder like eggs and breadcrumbs, and don’t over-cook the patty. Once it’s cooked through, browned on top, and juicy, it’s ready to serve.
Ground beef should reach an internal temp of 160°F.
Absolutely! Ground turkey or chicken would be delicious and slightly lighter. Or even a plant-based option would work well.
More Simple Sheet Pan Recipes
Sheet Pan Burgers
Ingredients
Method
- Preheat oven to 350°. In a large bowl, add the ground beef, Worcestershire sauce, mustard, garlic and onion powder, salt, and pepper. Combine the ingredients. Press the mixture evenly in a 10×10 pan. You can use whatever pan works for you too!
- Bake the meat for 10-15 minutes or until browned and no longer pink in the middle. Drain any excess grease. Top with cheese and bake again for another 2 minutes. Remove and place on the the bottom half of the sliders (I usually have to cut the burger to fit on the sliders)
- Combine all the burger sauce ingredients and mix well. Assemble with your favorite toppings and then drizzle on the mayo mixture. Add the top bun and cut accordingly and serve!
Notes
- Store leftover burgers in an airtight container in the fridge for up to 3 days. We suggest separating the meat patties from the buns and toppings for maximum freshness. To reheat, warm in the oven at 350° for 10-15 minutes, until heated through. Assemble with fresh toppings and condiments.
- Freeze leftover burgers by wrapping them in plastic wrap and foil, then storing for 3-4 months. Thaw in the fridge overnight before serving, then reheat in the oven and assemble with your preferred toppings.
- Make and form the meat patty ahead of time, or even cook it in advance, then cool and store in the fridge until you’re ready to assemble the burgers and serve.