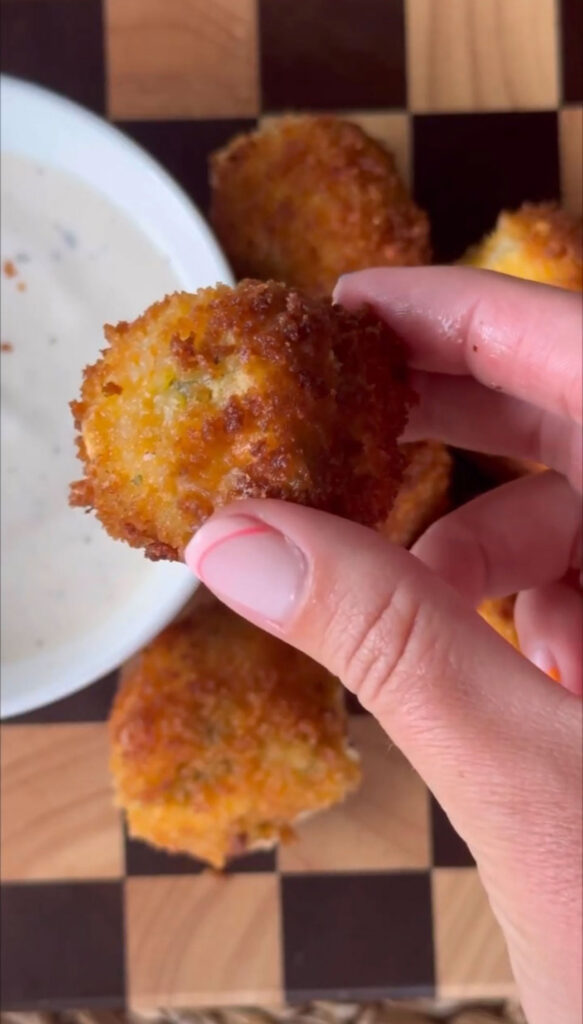
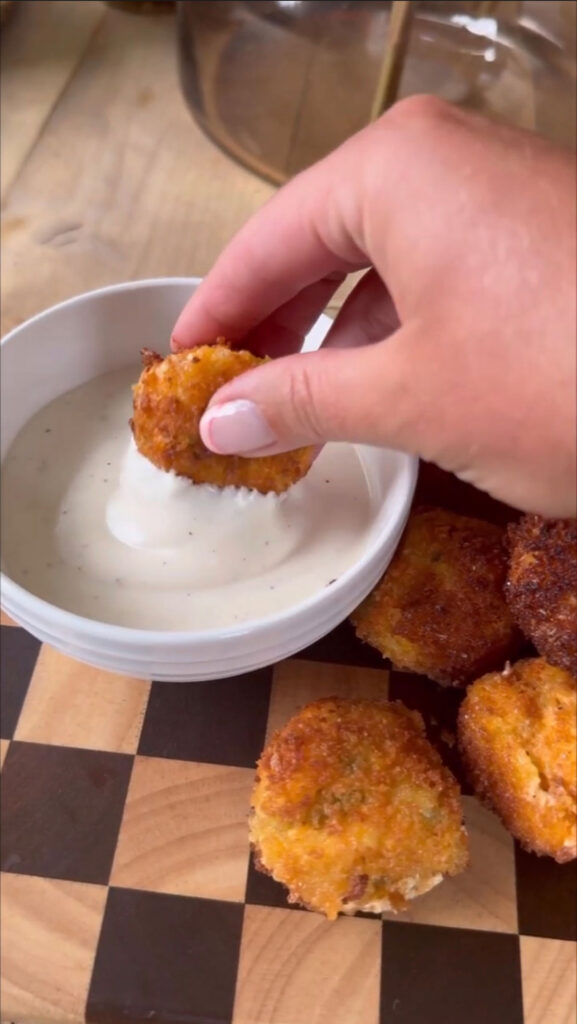
These easy and delicious Fried Pickle Cheese Balls are crispy, melty and perfectly tangy, full of bold flavor for the perfect crowd-pleasing snack for game day, parties and entertaining.
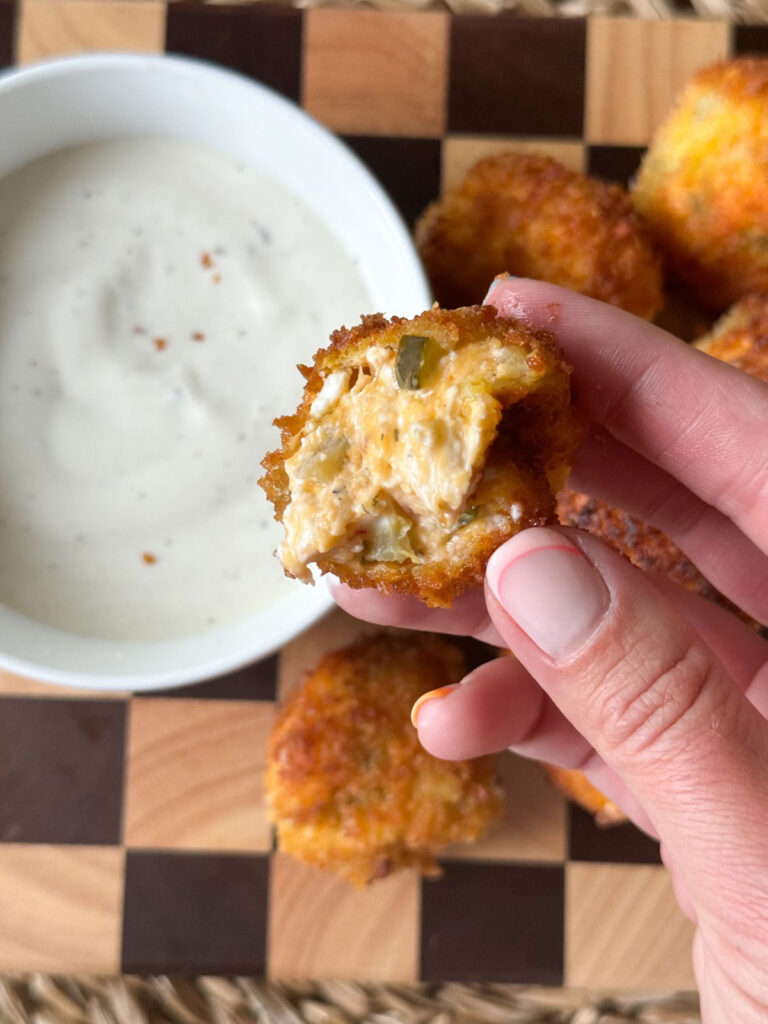
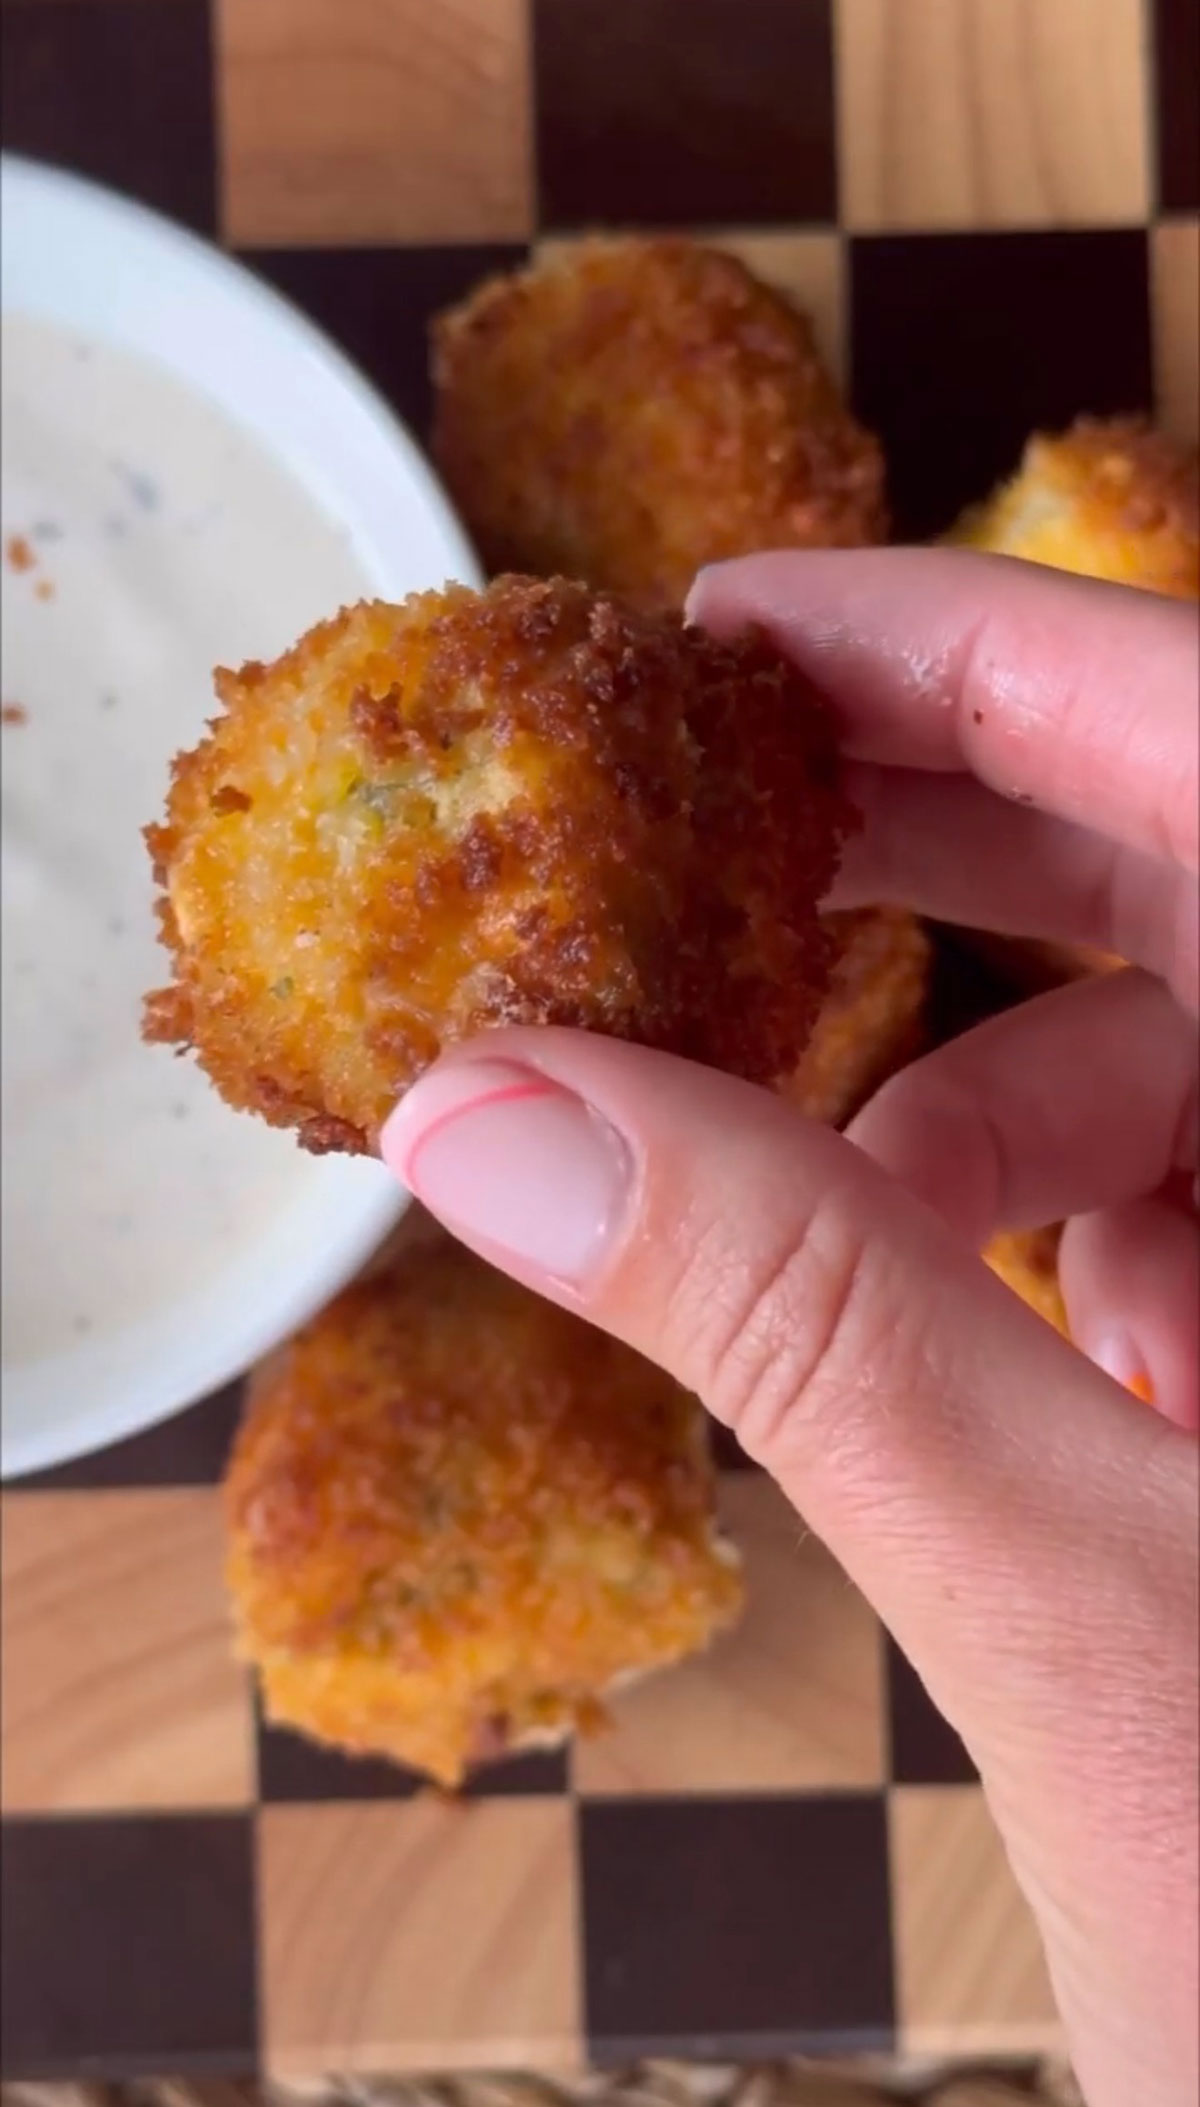
Anything fried reigns supreme in my book, and if you’re looking for the ultimate fried appetizer that’s easy to make and always a crowd-pleaser, look no further than these Fried Pickle Cheese balls. Savory, creamy and packed with gooey cheese, these bite-sized balls are double breaded then fried to crispy golden brown perfection for a super satisfying snack you won’t be able to get enough of. A fun, cheesy twist on classic fried pickles, these fried cheese balls are truly next-level delicious.
Made with a simple mixture of tangy dill pickles, melty cheese, and a crispy, crunchy outside, these Fried Pickle Cheese Balls are downright addictive. We love that you can make them ahead of time, and you can either fry them the old fashioned way or in an air fryer, so they’re perfect for entertaining. These are a surefire way to level-up any game day or party spread — you can thank us later.
If you’re a fried snack lover like us, be sure to try some of our other favorite pickle apps. We love these easy Fried Pickle Straws and these Fried Pickle Deviled Eggs are another tasty twist on a classic.
Why You’ll Love This Recipe
- Perfect Balance of Flavor and Texture: This savory snack combines the delicious tang of dill pickles with gooey melted cheese in one bold, crispy bite.
- Extra Crunchy Exterior: Thanks to the double dredge in egg and panko, these balls have a super satisfying extra-crunchy coating.
- Can Be Made Several Ways: This recipe works with a few different cooking methods — they can be fried on the stovetop or air-fried for a lighter option.
- Great Make-Ahead Appetizer: These are ideal to make in advance and then serve for game days and parties.
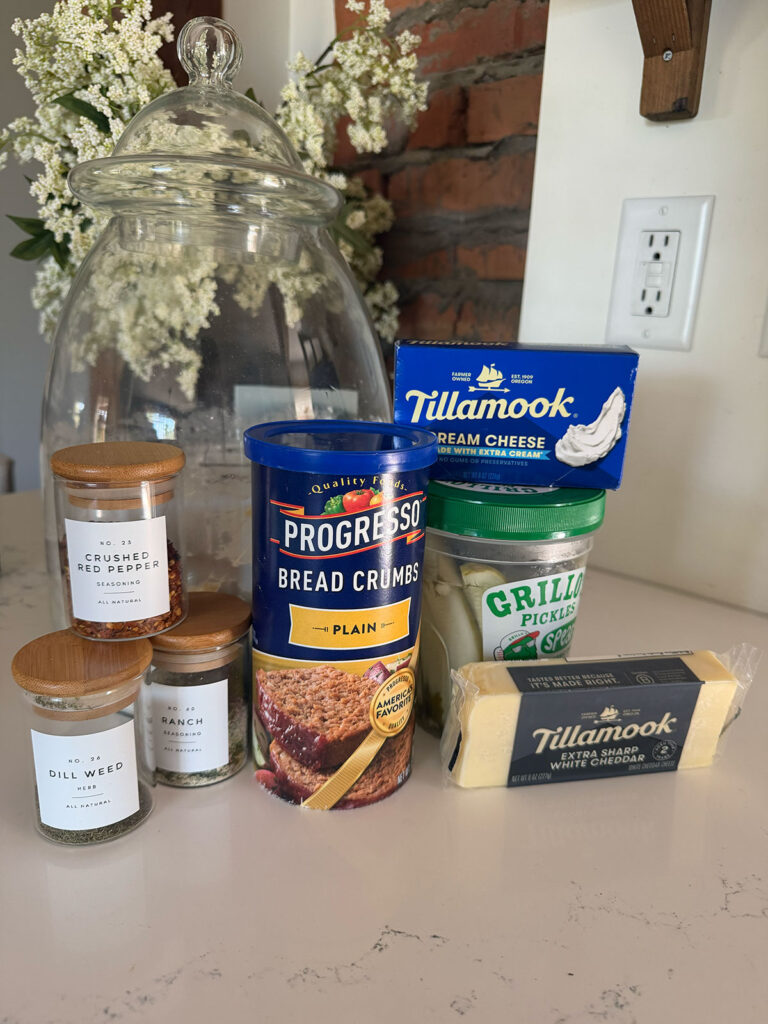
Ingredients
- Cheddar Cheese: Bold, sharp and super melty, freshly grate your own.
- Cream Cheese: Smooth and tangy for richness.
- Dill Pickles: A key flavor ingredient, and packed with salty briney flavor, use your favorite variety.
- Red Pepper Flakes: For a little heat.
- Dried Dill: To add even more dill pickle flavor.
- Salt & Pepper: To taste.
- Ranch Seasoning: Brings bold, zesty flavor.
- Flour: All-purpose works perfectly for dredging.
- Egg: To help the breadcrumbs stick well.
- Panko Breadcrumbs: Light, airy and perfectly crispy.
- Oil: Use a neutral oil, like avocado, to fry in.
How To Make Fried Pickle Cheese Balls
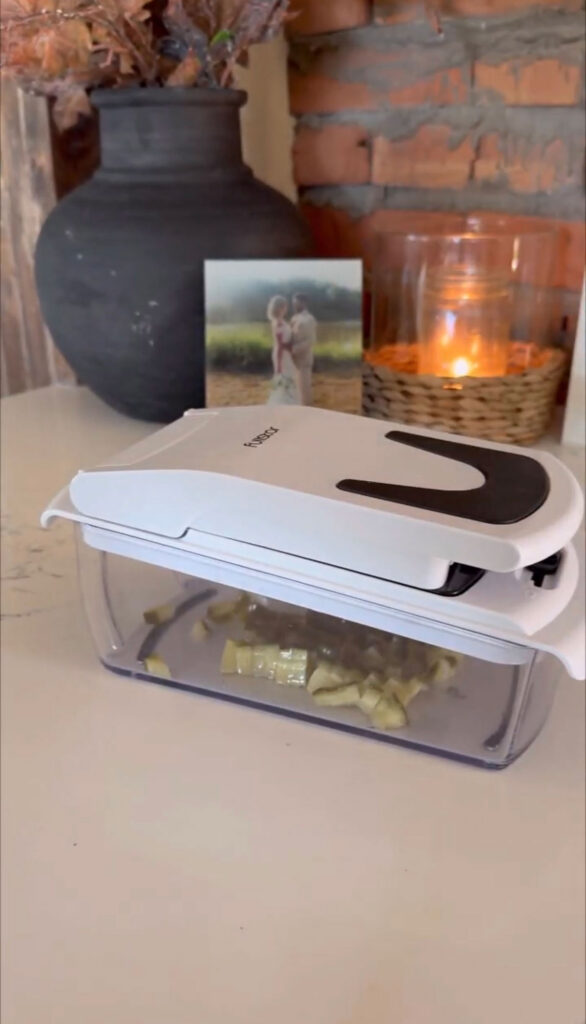
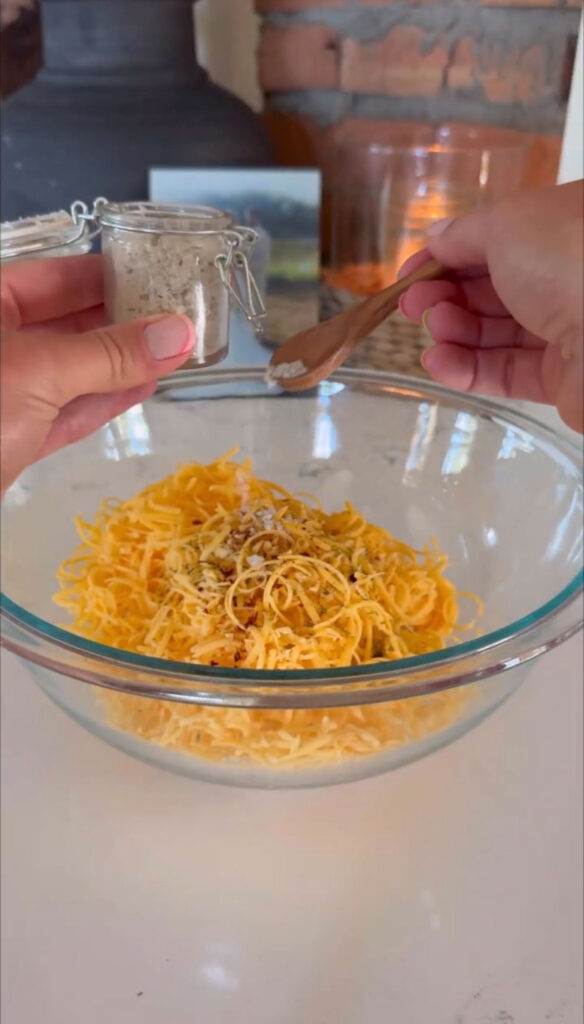
1. In a large bowl, add both cheeses, drained pickles, crushed pepper, salt, dried dill and pepper and mix together. Roll into small balls, about 1 inch and place on a small baking sheet. Flash freeze for 30-45 minutes.
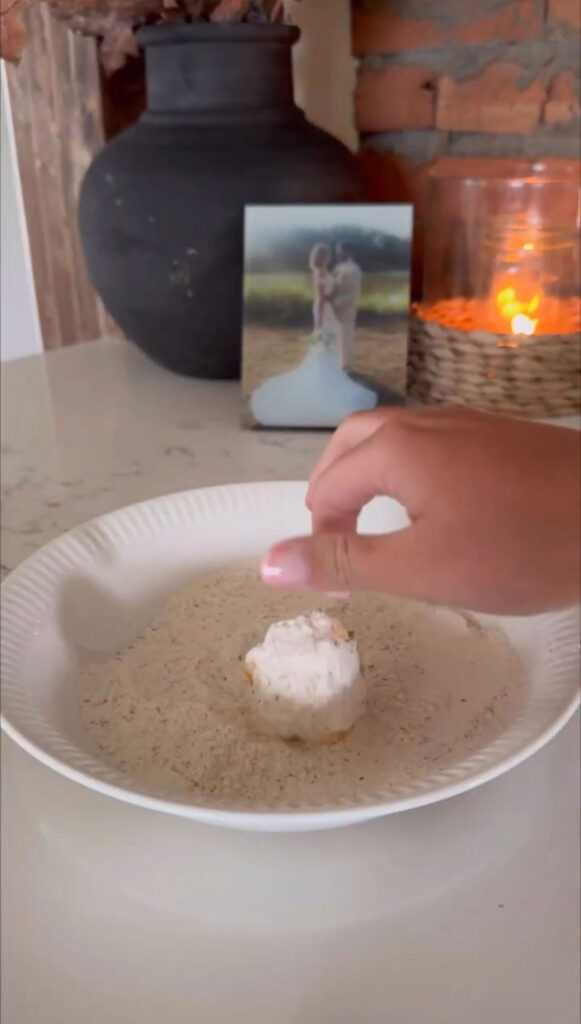
2. Set up a dredging station with 3 bowls. The first bowl with flour and ranch seasoning mixed together, the second with the egg mixed together, and the third with the breadcrumbs.
3. In a large frying pan or skillet, heat oil over medium-high heat. Roll each ball into flour, then into the egg mixture, next in the breadcrumb mixture, back into the egg mixture and back into the breadcrumb mixture.
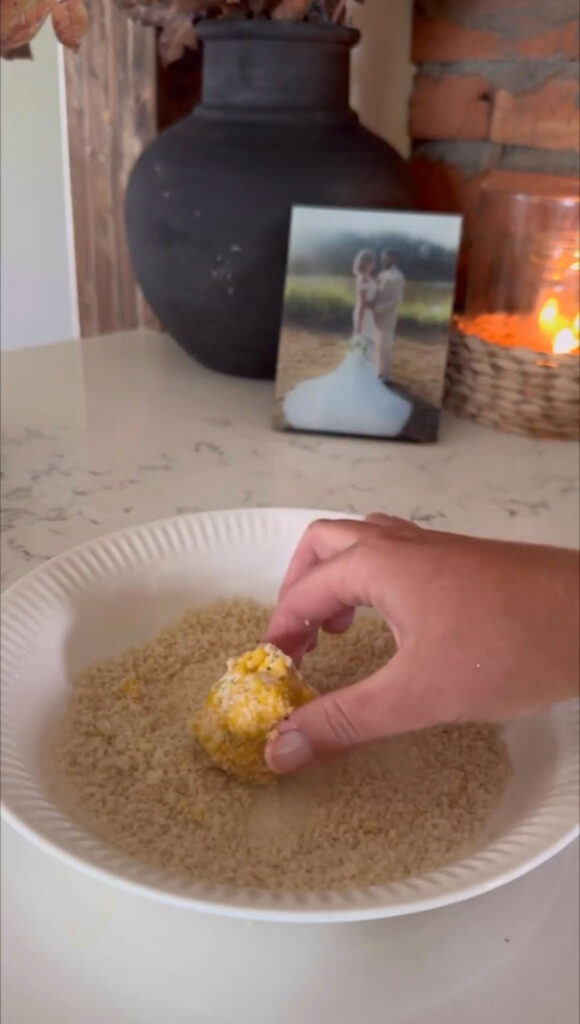
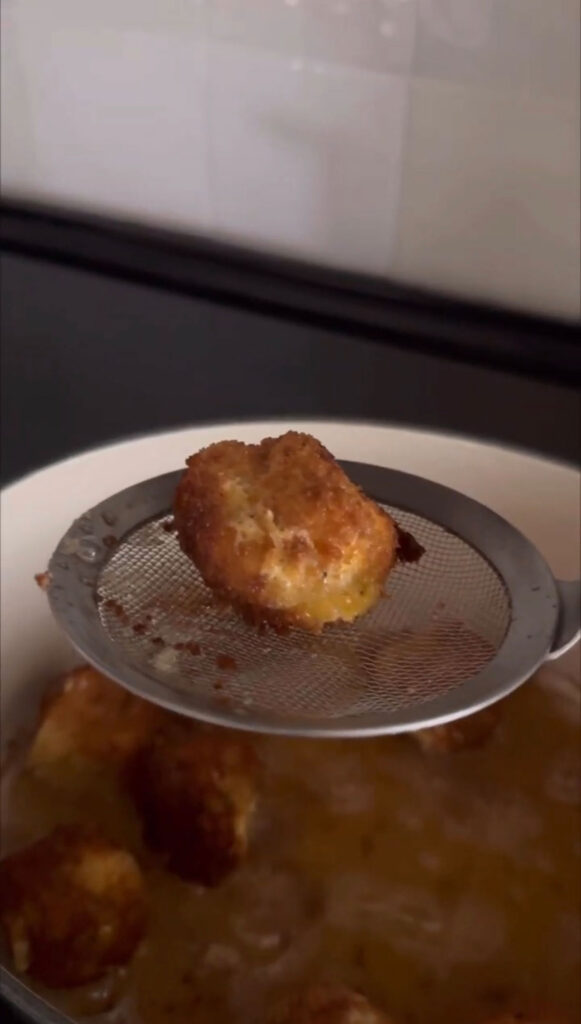
4. Place a few of the balls into the hot oil at a time, cook until golden on all sides. Remove with a slotted spoon and place on a plate lined with paper towels. Work in batches until all are fried up and then serve with your favorite dipping sauce.
5. Note: you can air fry these! Air fry at 400° for 7-10 min or until golden brown. Turn halfway through. I suggest spraying with avocado oil.Enjoy!
Expert Tips
- Flash Freeze Cheese Balls Before Breading: This helps them hold their shape nicely in the hot oil, instead of melting.
- Drain Pickles Well: Get rid of as much excess liquid as possible to prevent the the filling from being too wet.
- Double Dredge: Dredge the cheese balls twice — with egg, panko, then egg and panko again for the crispiest, most substantial coating.
- Fry in Small Batches: This will help the oil temperature stay consistent, and the balls to cook evenly.
Variations & Substitutions
- Air Fry Instead of Pan-Frying: This method makes the cheese balls super crispy and crunchy. Air fry them at 400°F for 7–10 minutes, turning halfway, with a spray of avocado oil.
- Make Them Spicy: Add a pinch of cayenne or extra pepper flakes for a spicier bite.
- Serve with a Dipping Sauce: A creamy ranch or spicy mayo dipping sauce pairs perfectly.
- Try A Different Cheese: Use pepper jack cheese instead of cheddar for a filling with a bit more kick.
Storage
Store leftovers in an airtight container lined with a paper towel in the fridge for up to 4 days. To reheat, warm in the oven or air fryer in a single layer at 375° until crispy and hot.
You can freeze leftovers, too. Store them in a single layer in an airtight container, or in between layers of parchment paper, in an airtight container for up to one month. Reheat in the oven or air fryer as instructed above from frozen.
These are great to make 1-3 days in advance. Combine the mixture and form into balls, then store covered in the fridge until you’re ready to fry. Dredge the cheese balls right before frying, then serve and enjoy.
FAQs
Yes! Air frying is a great cooking method for these, and mess-free. Air fry them at 400°F for 7–10 minutes, turning halfway, with a spray of avocado oil.
This helps the cheese mixture set and hold well in the hot oil during frying.
We like something creamy and cool, like a buttermilk ranch or a spicy mayo.
More Delicious Pickle Recipes
- Dill Pickle Egg Salad
- Dill Pickle And Prosciutto Pizza
- Viral Grillos Pickle Dip
- Dill Pickle Chicken Salad
Fried Pickle Cheese Balls
Ingredients
Method
- In a large bowl, add both cheeses, drained pickles, crushed pepper, salt, dried dill and pepper and mix together. Roll into small balls, about 1 inch and place on a small baking sheet. Flash freeze for 30-45 minutes.
- Set up a dredging station with 3 bowls. The first bowl with flour and ranch seasoning mixed together, the second with the egg mixed together, and the third with the breadcrumbs.
- In a large frying pan or skillet, heat oil over medium-high heat. Roll each ball into flour, then into the egg mixture, next in the breadcrumb mixture, back into the egg mixture and back into the breadcrumb mixture.
- Place a few of the balls into the hot oil at a time, cook until golden on all sides. Remove with a slotted spoon and place on a plate lined with paper towels. Work in batches until all are fried up and then serve with your favorite dipping sauce.Notes– you can air fry these! Air fry at 400° for 7-10 min or until golden brown. Turn halfway through. I suggest spraying with avocado oil.Enjoy!
Notes
- Store leftovers in an airtight container lined with a paper towel in the fridge for up to 4 days. To reheat, warm in the oven or air fryer in a single layer at 375° until crispy and hot.
- Freeze leftovers in a single layer in an airtight container, or in between layers of parchment paper, in an airtight container for up to one month. Reheat in the oven or air fryer as instructed above from frozen.
- You can make these 1-3 days in advance. Combine the mixture and form into balls, then store covered in the fridge until you’re ready to fry. Dredge the cheese balls right before frying, then serve and enjoy.