These quick and easy 30 minute Apple Pie Cinnamon Rolls are soft and indulgent, packed with sweet and spiced autumn flavor. They’re the perfect quick fall treat, thanks to using store-bought canned cinnamon rolls as the base, to enjoy on the weekends or for autumn entertaining.
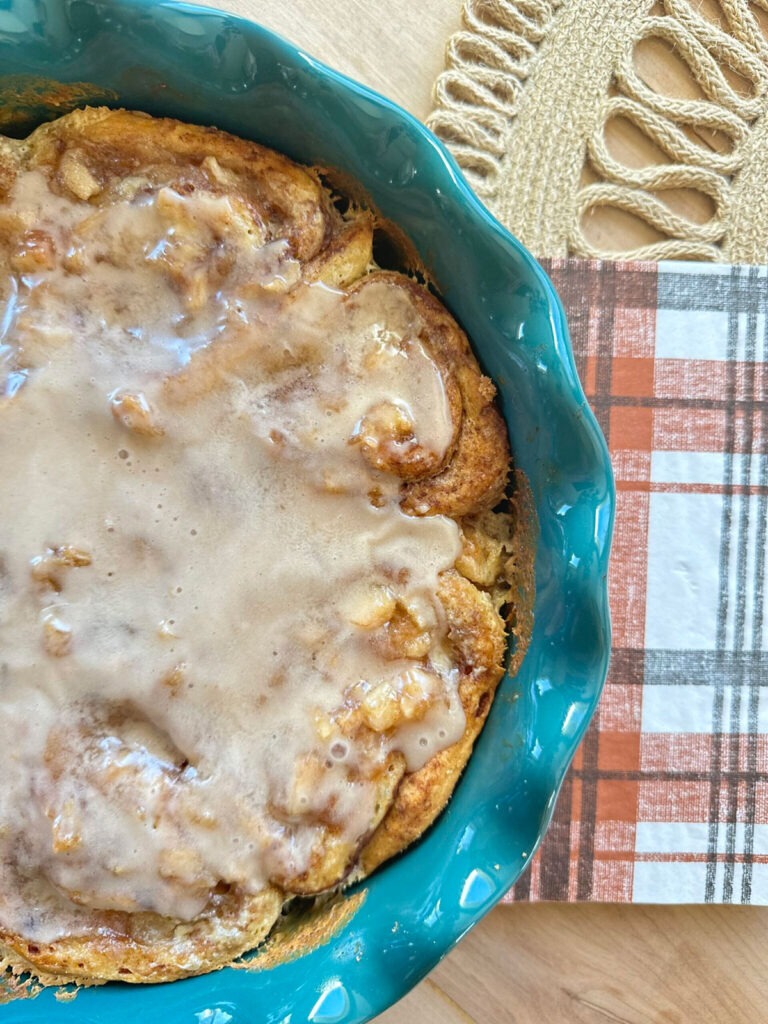
There are some things I like to make homemade, and there are other times I’d rather make…a trip to the store, because the store-bought version gets the job done. And for these Apple Pie Cinnamon Rolls, store-bought canned cinnamon rolls certainly do the trick! These sweet, seasonal rolls are a shortcut fall treat that truly can’t be beat, and thanks to a simple process, they come together fast, making them ideal for cozy breakfasts, weekend brunches, or special occasions.
Sweet and tender canned cinnamon rolls are stuffed with a warm, rich apple pie filling before getting topped with a buttery, crumbly streusel and cinnamon icing. Baked to golden perfection in just 30 minutes, these Apple Pie Cinnamon Rolls are oh so warm, gooey and decadent, and bakery-level delicious. They have become a favorite weekend treat of my husband, so I know your family will devour them too.
If you like this recipe, be sure to try some of our other apple desserts. This Pull Apart Apple Pie Bread is great for entertaining and our Apple Pie Cake is a delicious spin on two classics.
Why You’ll Love This Recipe
- Store-bought Shortcuts Taste Like Homemade: This recipe uses foolproof canned cinnamon rolls and sweet, canned apple pie filling for a fast, low-effort bake that tastes like you spent hours in the kitchen.
- Extra Moist Texture: Thanks to the rich half-and-half poured around the rolls, these stay extra moist while baking.
- Ready in About 30 Minutes: Start to finish, these cinnamon rolls can be served up fast.
- Perfect Breakfast Treat: These sweet rolls are a great warm treat to enjoy with a cup of coffee.
Ingredients
- Cinnamon Rolls: Use your favorite store-bought can variety. They’re foolproof, sweet, and tender every time.
- Apple Pie Filling: Sweet and fruity with the perfect consistency. Use your go-to store-bought can or jar.
- Half & Half: Rich, decadent, and key for keeping the rolls super moist.
- Flour: All-purpose works great here.
- Brown Sugar: Adds a caramelized sweetness.
- Butter: For richness.
- Cinnamon: Adds a warm spiced flavor that pairs nicely with the apple pie filling.
- Powdered Sugar: For a perfectly sweet icing.
- Milk: To thin out the glaze to the perfect texture.
How To Make Apple Pie Cinnamon Rolls
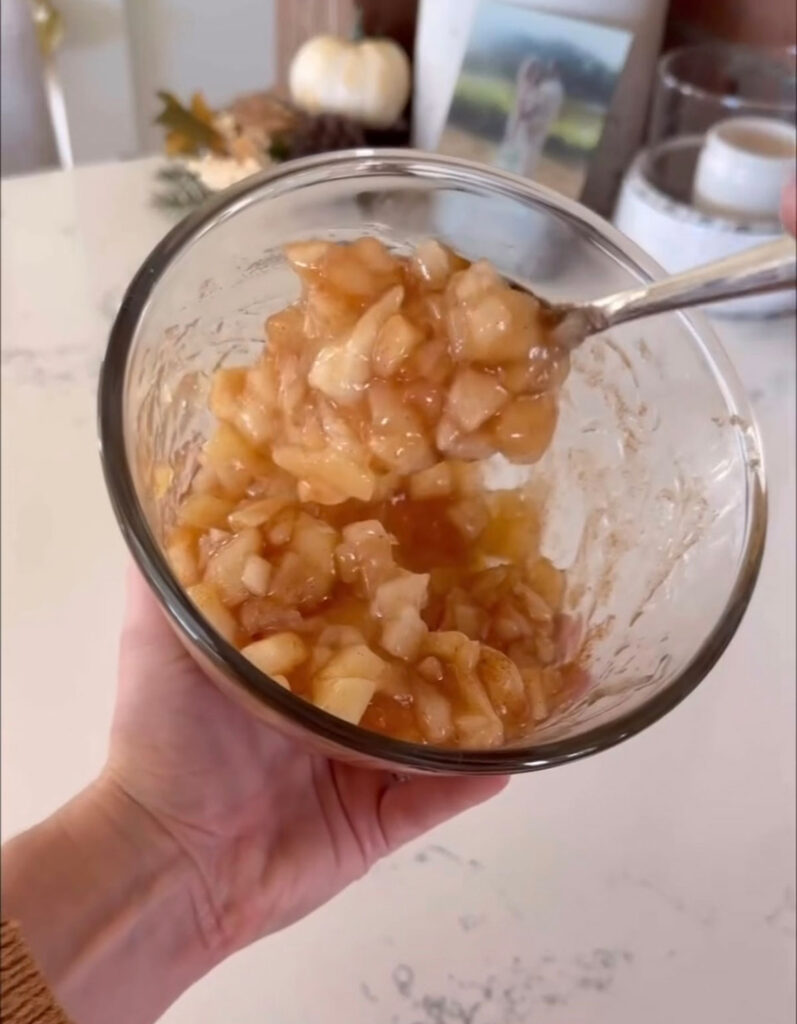
1. Preheat the oven to 375°. Take your cinnamon rolls and place in a greased pie dish or muffin tin. Spread the cinnamon rolls out so you have a cavity to fill them up. Chop up your apple filling so the apples are bite sized pieces and fill the cinnamon rolls to the top.

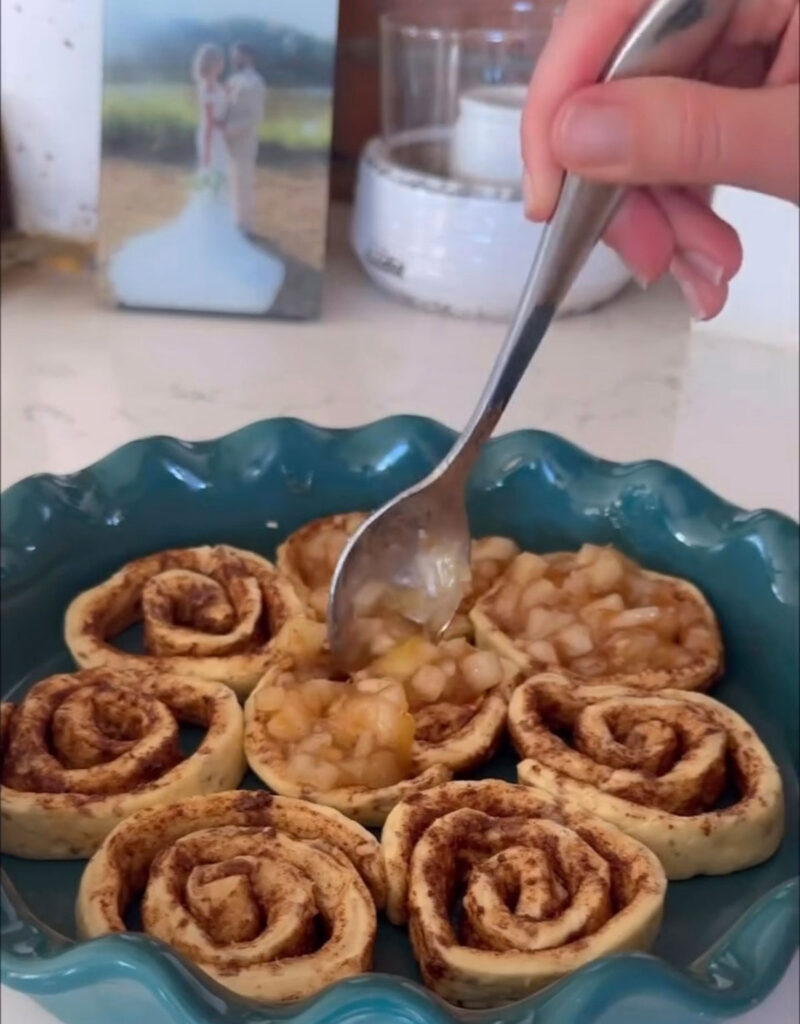
2. Once filled, pour half & half all around the cinnamon rolls. No more than 1/4-1/2 cup. Mixed together the flour, brown sugar, 1/2 tsp cinnamon, and the butter to form a streusel and sprinkle that on top of the cinnamon rolls. Place in the oven and bake for 15 to 17 minutes
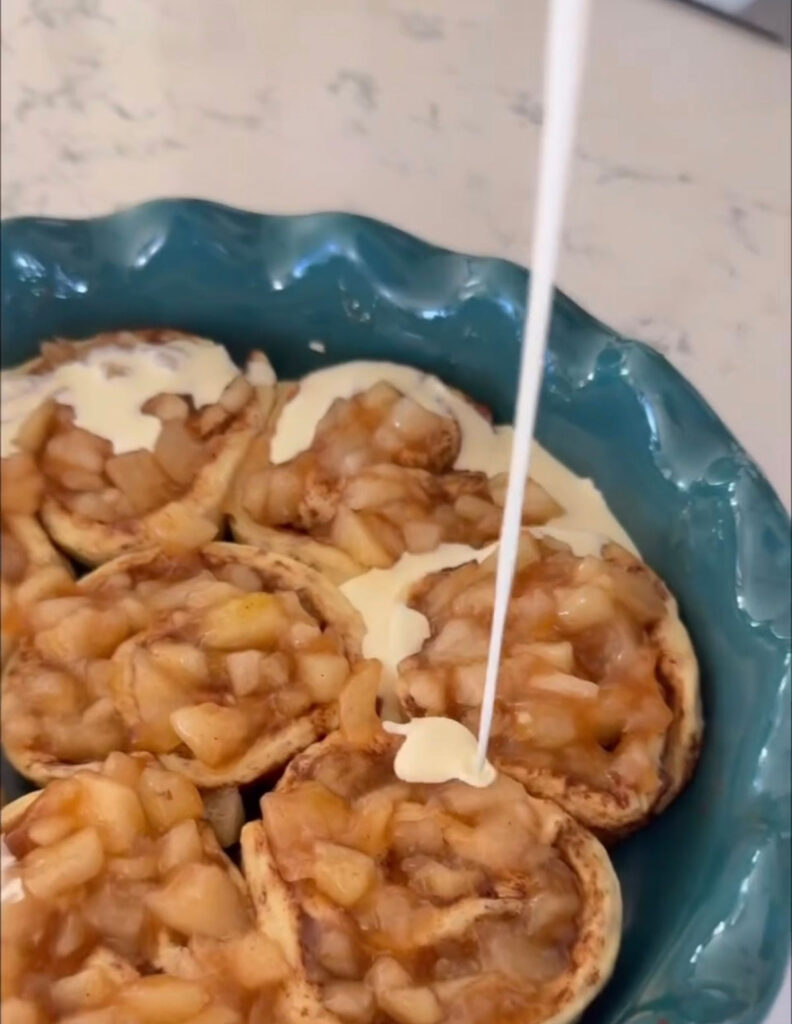
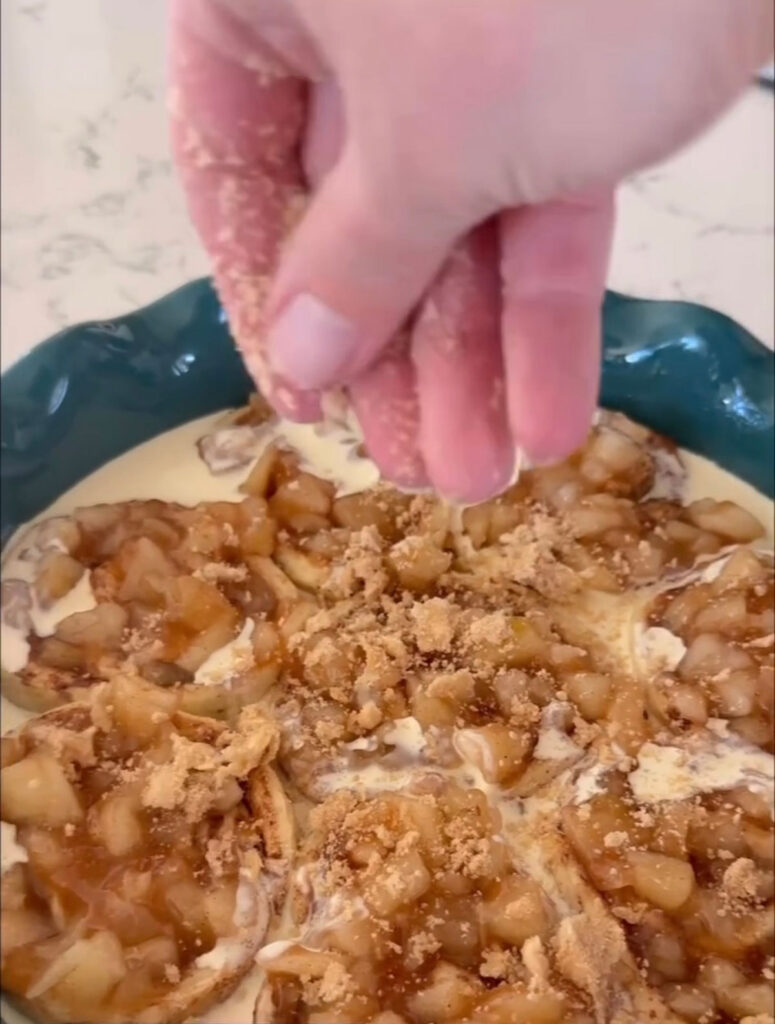
3. While the cinnamon rolls are baking, mix together the powdered sugar, milk and 1/2 tsp cinnamon. Once the cinnamon rolls are golden brown, take out of the oven and drizzle the icing on top.
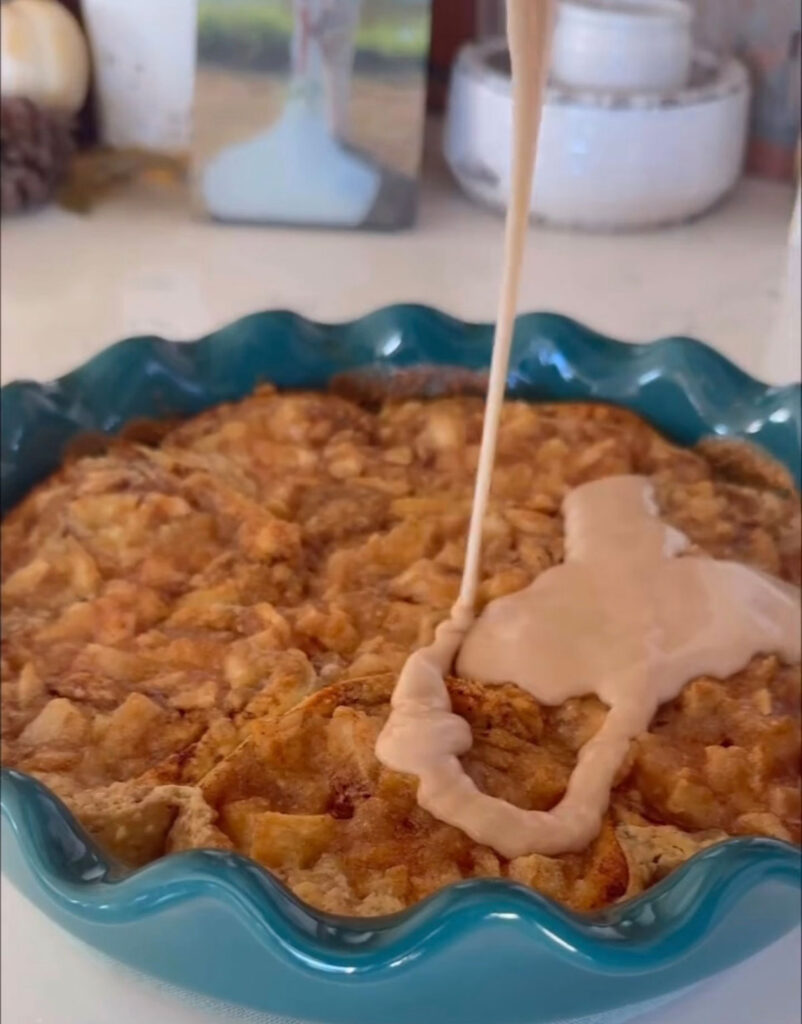
4. Serve hot and enjoy with your cup of coffee!Enjoy!
Expert Tips
- Spread the Rolls Out: Be sure to space them so you’re able to create a real well in the center, so the apple filling has somewhere to sit.
- Don’t Over-pour the Half-and-Half: A little goes a long way here to keep the rolls moist without making them soggy.
- Chop the Apple Pie Filling: Give it a quick rough chop before using, so the apple pieces are bite-sized and distribute easily and evenly into each roll
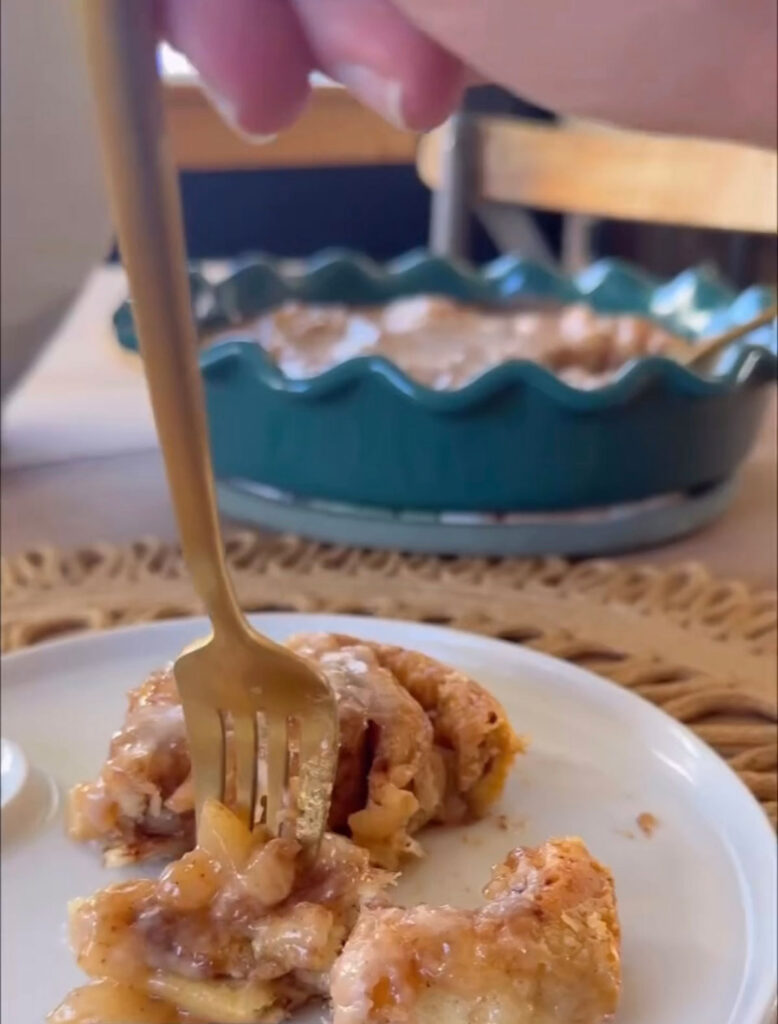
- Serve Warm: This is a must! Serve them out of the oven, right after icing, for the best gooey texture.
Variations
- Use Homemade Cinnamon Roll Dough: If you’ve got the time and a favorite recipe, make a homemade version instead of using the canned for a true “from-scratch” version.
- Try Another Fruit Filling: Swap the apple pie filling for cherry or peach pie filling for a different fruity flavor.
- Add Nuts: Mix in some chopped pecans or walnuts to the streusel topping for extra flavor and crunch.
- Use the Included Cream Cheese Icing: If your canned cinnamon rolls come with a packet or container of icing, don’t toss it! Use it for a delicious shortcut icing.
Storage
Store any leftover cinnamon rolls wrapped tightly or in an airtight container at room temperature for up to 2 days or in the fridge for up to a week. Reheat in a 325° oven wrapped in foil for a few minutes until warm.
Freeze leftover rolls individually wrapped, or in a food storage bag, for up to 3 months. Thaw in the fridge overnight before reheating as instructed above.
These are a great make-ahead breakfast or treat. Prep and assemble the unbaked rolls (except for the half and half), then store in the fridge overnight. When you’re ready to bake the next day, let them come to room temperature, add the half and half, and bake according to the recipe.
FAQs
Absolutely. Homemade cinnamon roll dough will give these rolls an extra “from scratch” taste.
Sure — this will give you mini apple pie “cups”. Simple cut the cinnamon rolls into pieces and flatten them down into the muffin tin before filling with the rest of the ingredients.
Yes! Cherry or peach pie filling would be just as delicious.
Definitely, these are great to prep in advance. Assemble the unbaked cinnamon rolls and store in the fridge, covered, overnight. Bring them to room temperature the next morning, then add the half and half, and bake per the recipe.
More Easy Apple Recipes
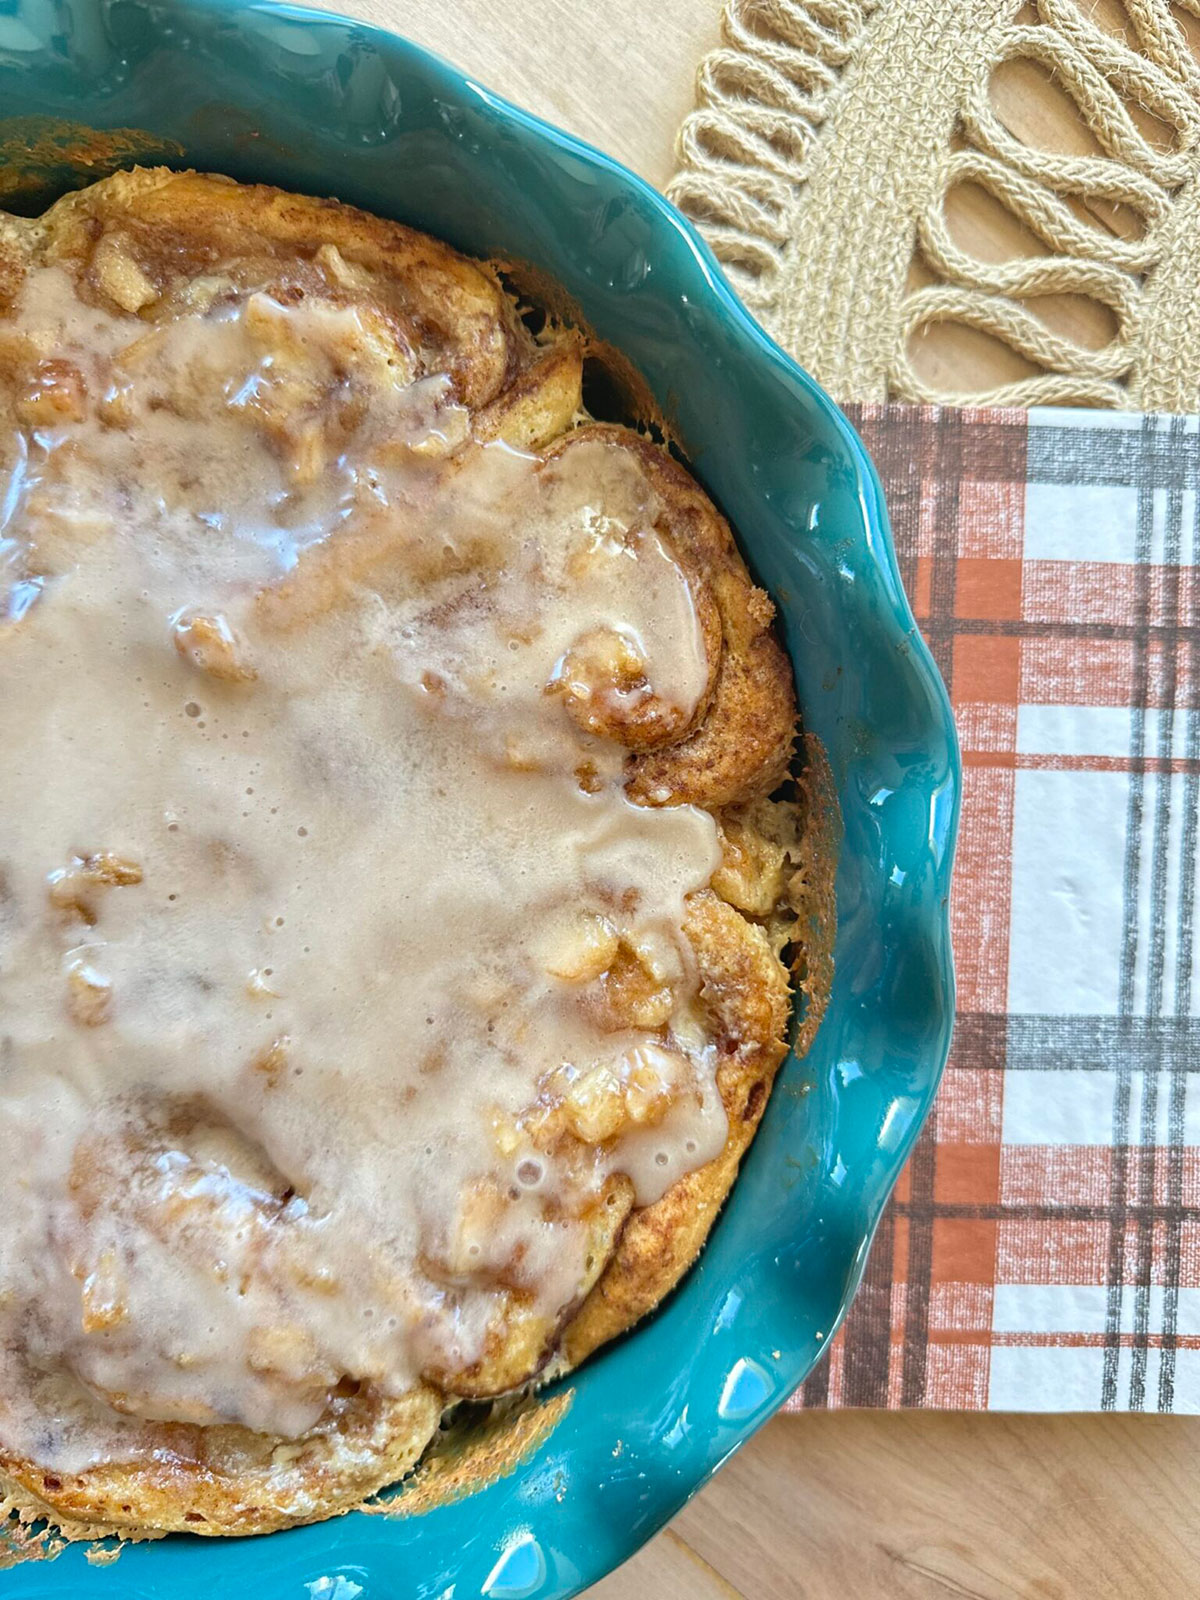
Apple Pie Cinnamon Rolls
Ingredients
Method
- Preheat the oven to 375°. Take your cinnamon rolls and place in a greased pie dish or muffin tin. Spread the cinnamon rolls out so you have a cavity to fill them up. Chop up your apple filling so the apples are bite sized pieces and fill the cinnamon rolls to the top.
- Once filled, pour half & half all around the cinnamon rolls. No more than 1/4-1/2 cup. Mixed together the flower, brown sugar, 1/2 tsp cinnamon, and the butter to form a streusel and sprinkle that on top of the cinnamon rolls. Place in the oven and bake for 15 to 17 minutes.
- While the cinnamon rolls are baking, mix together the powdered sugar, milk and 1/2 tsp cinnamon. Once the cinnamon rolls are golden brown, take out of the oven and drizzle the icing on top.
- Serve hot and enjoy with your cup of coffee!Enjoy!
Notes
- Store leftover rolls wrapped tightly or in an airtight container at room temperature for up to 2 days or in the fridge for up to a week. Reheat in a 325° oven wrapped in foil for a few minutes until warm.
- Freeze leftover rolls individually wrapped, or in a food storage bag, for up to 3 months. Thaw in the fridge overnight before reheating as instructed above.
- Prep and assemble the unbaked rolls (except for the half and half), then store in the fridge overnight. When you’re ready to bake the next day, let them come to room temperature, add the half and half, and bake according to the recipe.