If you’re looking for a hearty and comforting meal, this Slow Cooker Beef Ramen recipe is a must-try. Packed with tender beef, rich broth, and slurp-worthy noodles, this dish is perfect for cozy nights or meal prepping for the week. The best part? The slow cooker does most of the work, leaving you with a delicious, homemade ramen with minimal effort.
Let’s get started!
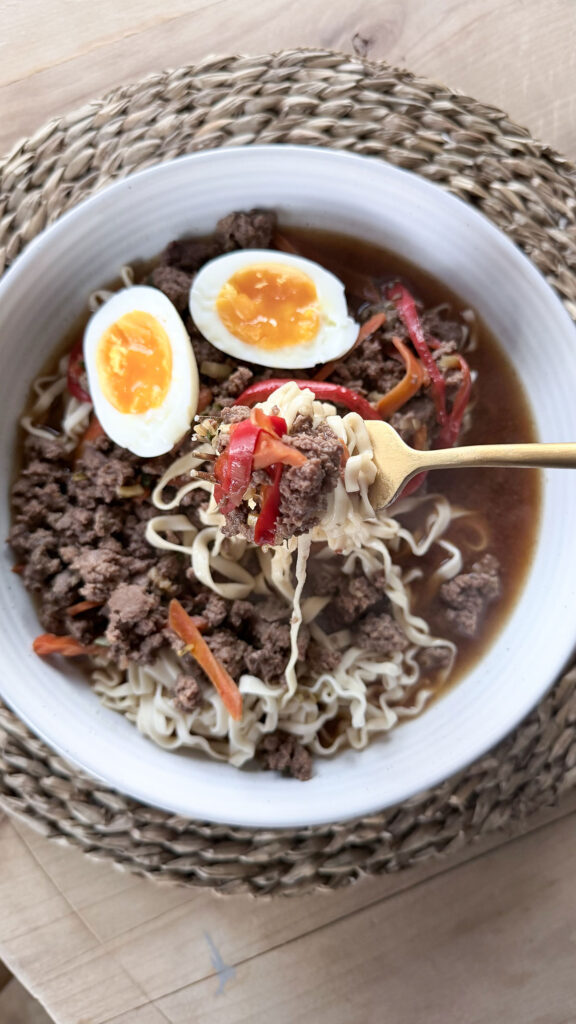
This Slow Cooker Beef Ramen is everything you want on a cold winter night. Layered with flavor but with minimal stress or hassle, just add your ingredients to the crockpot and let it simmer for hours to develop the richest flavors. This is a meal my family loves to customize, I like to set up a toppings bar so everyone can add their own garnishes like scallions, sesame seeds, and even sliced seaweed!
I love the rich flavor of beef, but you can easily use chicken or pork too! That’s the beauty of this recipe, just make it however you please. It also makes for great leftovers and freezes well so dinner can be on the table in a pinch.
When you’re craving your local takeout, make this simple recipe instead, I promise it takes no longer than 15 minutes to prep! If you love using the slow cooker, try my Crockpot Manicotti and Crockpot Chicken and Broccoli.
Why You’ll Love this Recipe
- Rich flavor with minimal prep time. This beef ramen is layered with so many flavors for the coziest meal. It’s so simple to make since the slow cooker simmers everything for you.
- Easy to customize to your liking. Everyone can add their favorite veggies, you can even swap the protein, and use different noodles!
- Fun for a crowd. I often like to serve this for entertaining on a chilly night and make a toppings bar for guests to have fun with their slow cooker ramen.
Ashlee’s Tip: This is the best recipe to use to clean out your fridge on a Friday. I’ve added all different veggies that I have leftover during the week to make the most flavorful and hearty crockpot ramen noodles.
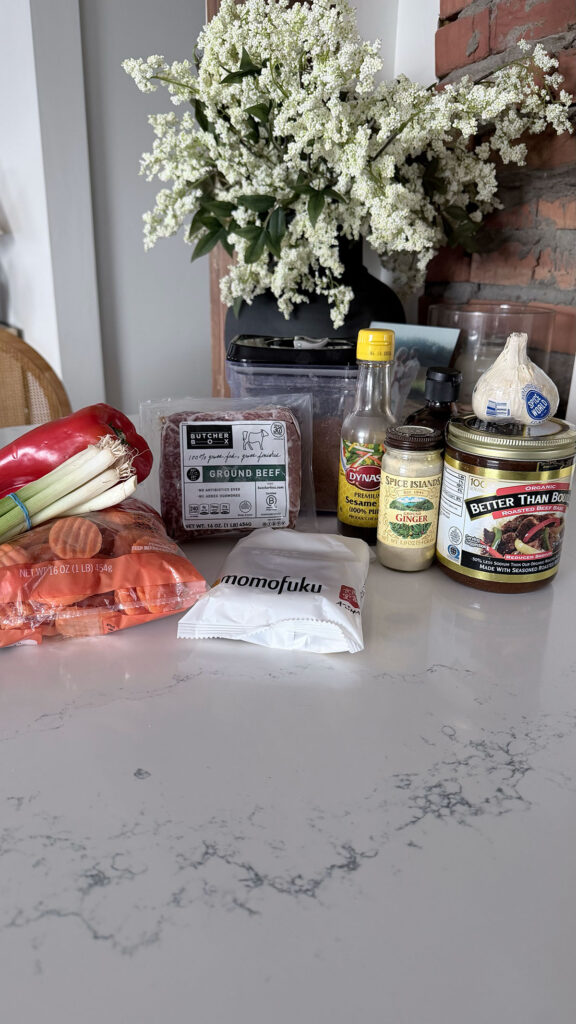
Ingredients
- Ground beef: The protein for the beef ramen.
- Matchstick carrots: Adds nice veggie sweetness and bright color.
- Red bell pepper: Sweet flavor with lots of crunch!
- Large scallions: Adds onion flavor and freshness to the broth.
- Garlic: Infuses the broth with the flavor we all love.
- Low sodium soy sauce: Gives the broth saltiness and a bit of umami.
- Brown sugar: Add a pinch of sugar to round out all of the flavors.
- Ground ginger: Gives a punch of zesty flavor.
- Sesame seed oil: Optional, but adds a little bit of toasted richness to every bite.
- Beef broth: Adds richness and depth of flavor.
- Ramen noodles: Can’t forget the noodles of course!
- Sesame seeds: For garnishing, adds a little bit of nutty crunch.
- Medium boiled eggs: For more protein, plus the yolk adds richness.
How to Make Slow Cooker Beef Ramen
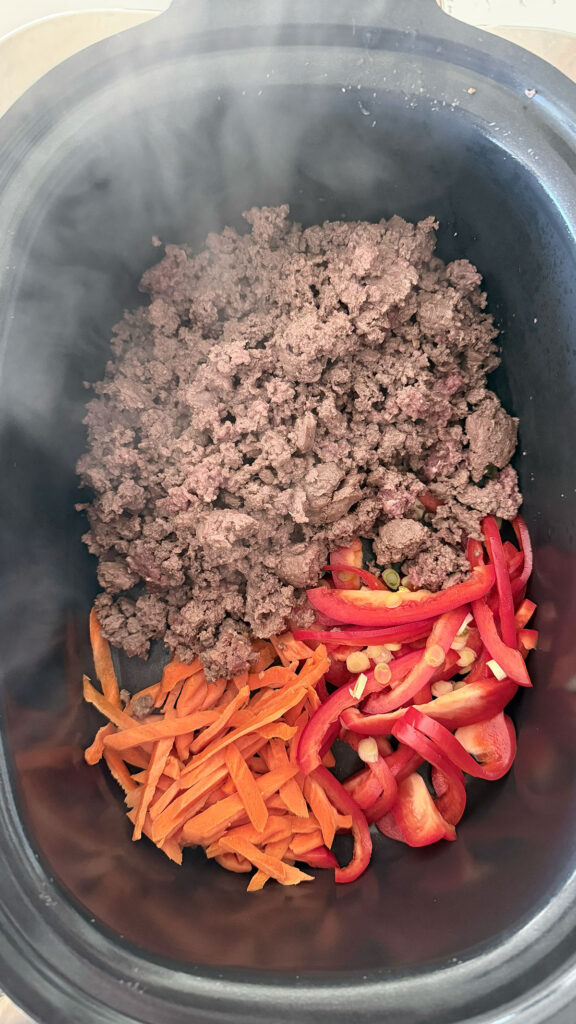
1. To a large skillet over medium heat, brown the beef until no longer pink. Drain any grease, if necessary. Pour the cooked beef into your slow cooker.
2. To the slow cooker add the carrots, red bell pepper and scallions. In a medium bowl, whisk together the garlic, soy sauce, sesame oil, ginger, brown sugar and beef broth.
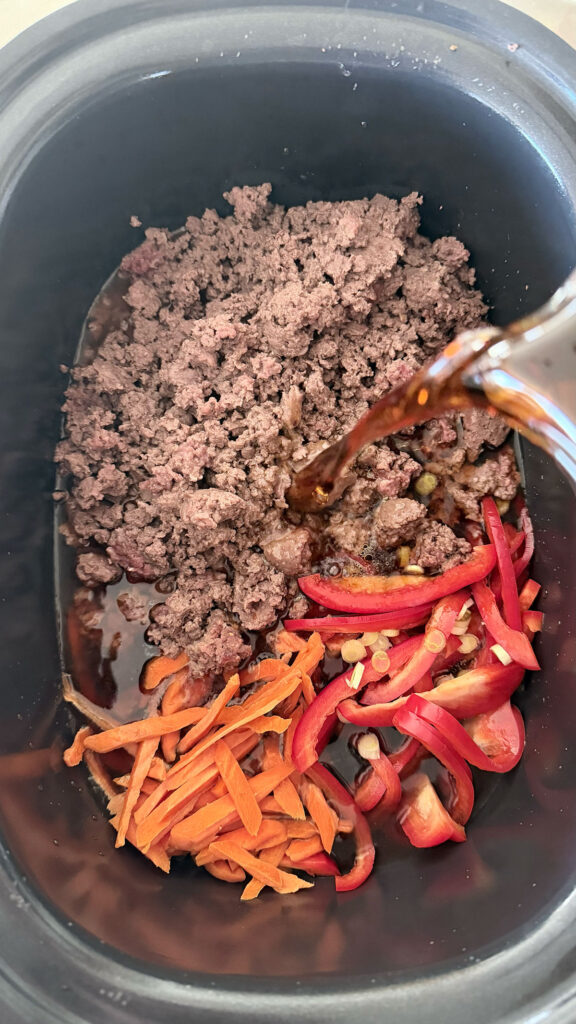
3. Pour the sauce into the slow cooker and stir to combine. Cover and cook on LOW for 2-4 hours.
4. Approximately 30 minutes before serving, add the dry ramen noodles. I love the momofuku brand soy and scallion and even add in the sauce and dried scallions. This is optional- you can just add whatever ramen noodles of choice and discard the seasonings if you’d like. Stir those around frequently to make sure they get all covered and cook evenly.
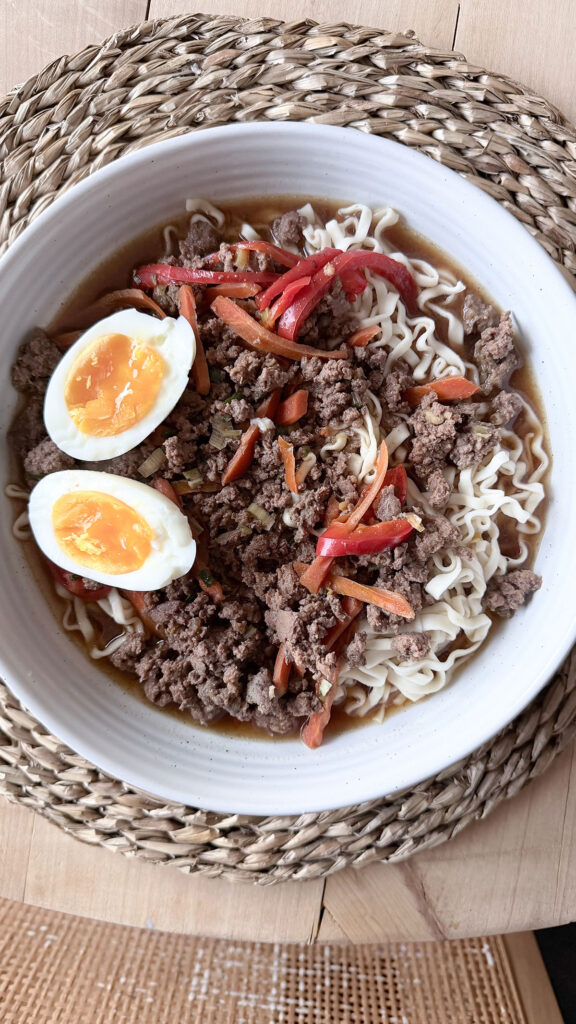
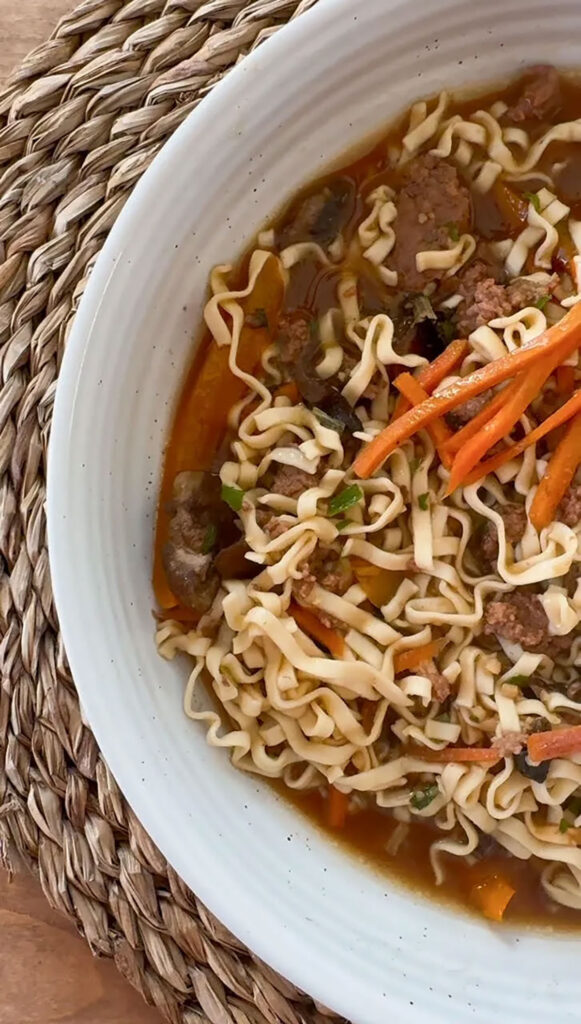
5. When the noodles are tender, serve, topping with additional scallions, boiled eggs and some sesame seeds. I love to add chili crunch on top as well!
Expert Tips
- Brown the protein before adding it to the slow cooker. It’s best to cook it first so that it has the correct texture and infuses the soup with lots of flavor as it cooks.
- Try another protein, you could also use ground chicken, pork, or turkey here and it’s equally delicious.
- A great recipe for cleaning out the fridge. Any leftover veggies you have, add them to this ramen! It’s the perfect Friday night comfort food meal.
- You’ll know that the soup is finished when it’s flavorful to the taste and the aromas are filling your house with rich smells.
Storage
Store any leftovers in an airtight container in the fridge for up to 3 days. Reheat on the stovetop or in the microwave until just heated through.
If you want to freeze the ramen, we recommend freezing it without the noodles for up to 2 months, thaw overnight in the fridge and reheat. Boil additional noodles separately when you are ready to serve after thawing the soup and reheating.
FAQs
No, you want to either cook them separately or add them to the ramen about 30 minutes before serving.
Make sure you cook it long enough and add ingredients like toasted sesame oil, ginger, and garlic to infuse the broth with lots of flavor.
You need to add them to the soup at the right time. Be sure that you cook them about 30 minutes prior to enjoying, so they still have nice texture.
More Easy Slow Cooker Recipes
Check out my Amazon Storefront with some of my slow cooker staples!
Slow Cooker Beef Ramen
Ingredients
Method
- To a large skillet over medium heat, brown the beef until no longer pink.
- Drain any grease, if necessary. Pour the cooked beef into your slow cooker.
- To the slow cooker add the carrots, red bell pepper and scallions. In a medium bowl, whisk together the garlic, soy sauce, sesame oil, ginger, brown sugar and beef broth.
- Pour the sauce into the slow cooker and stir to combine. Cover and cook on LOW for 2-4 hours.
- Approximately 30 minutes before serving, add the dry ramen noodles. I love the momofuku brand soy and scallion and even add in the sauce and dried scallions. This is optional- you can just add whatever ramen noodles of choice and discard the seasonings if you’d like.
- Stir those around frequently to make sure they get all covered and cook evenly.
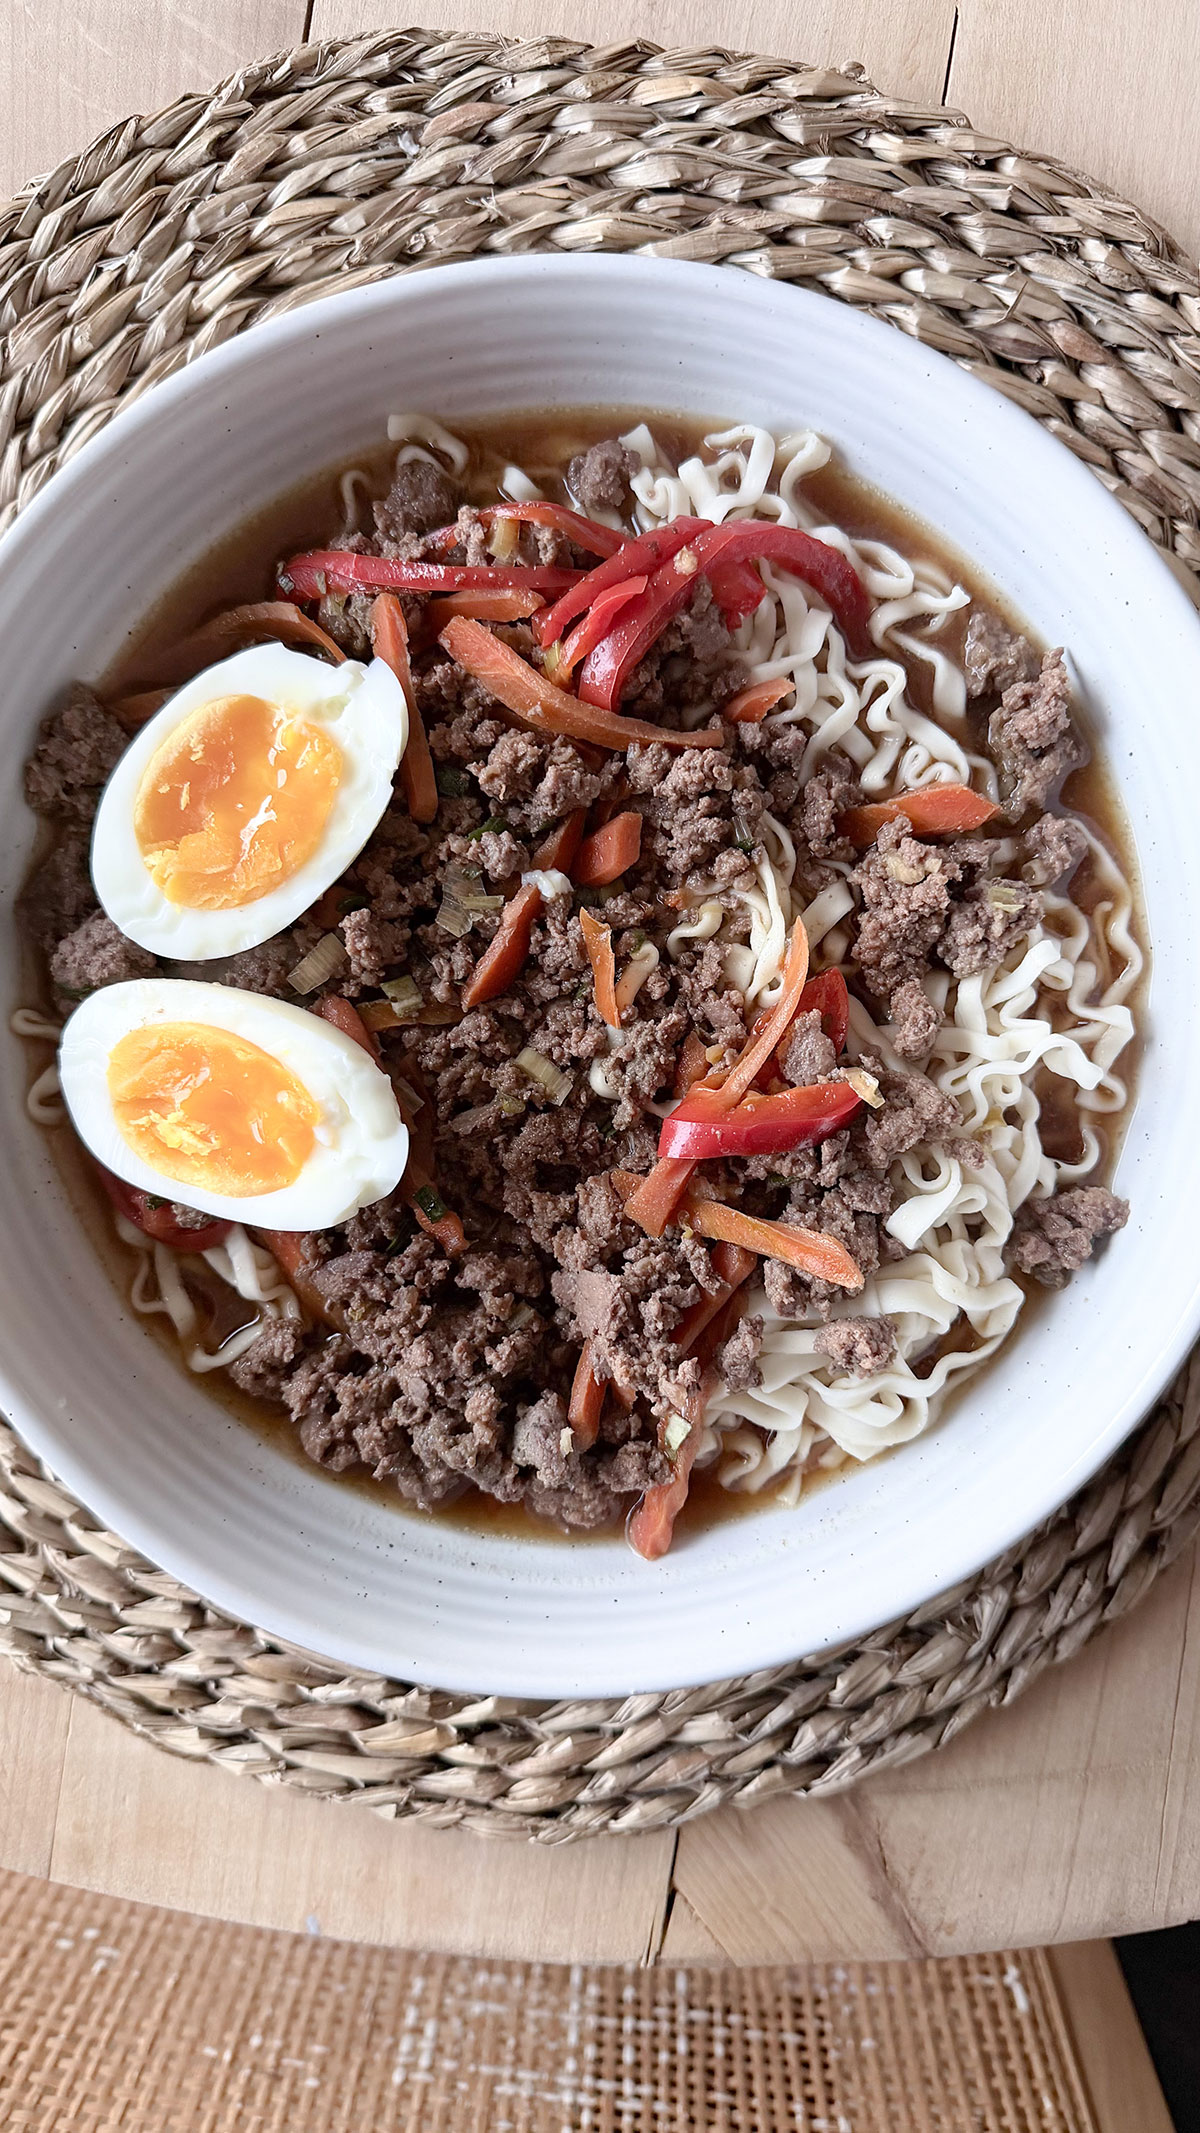
- When the noodles are tender, serve, topping with additional scallions, boiled eggs and some sesame seeds. I love to add chili crunch on top as well!