Cold foam has become a favorite addition to iced coffees, and for good reason! Its smooth, velvety texture adds a creamy layer that perfectly balances the boldness of your coffee. One flavor combo that elevates the experience is maple vanilla cold foam—a sweet and subtly spiced topping that transforms any cold drink into a café-quality treat.
Let’s get started!
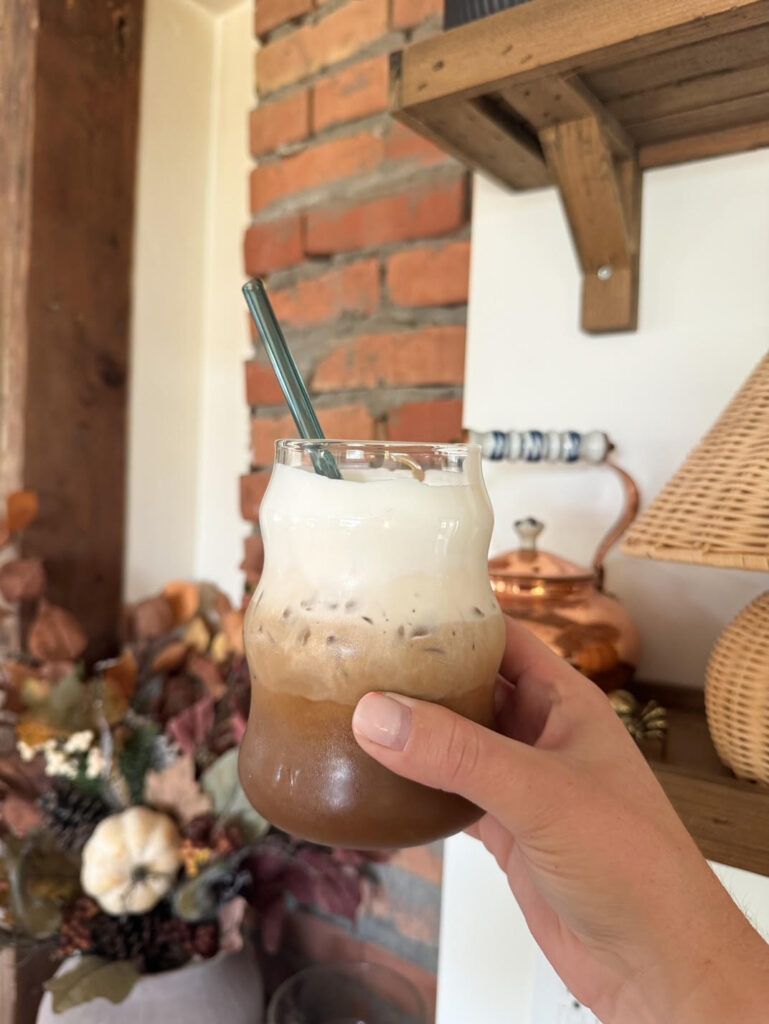
Cold foam has become a favorite addition to iced coffees, and for good reason! Its smooth, velvety texture adds a creamy layer that perfectly balances the boldness of your coffee. One flavor combo that elevates the experience is maple vanilla cold foam—a sweet and subtly spiced topping that transforms any cold drink into a café-quality treat.
If you’ve been indulging in this at coffee shops, you’ll be thrilled to know how easy it is to make at home. Plus, making it yourself gives you the freedom to tweak the sweetness and flavor to your liking. Let’s dive into the recipe!
What is Cold Foam?
Cold foam is simply frothed milk that’s been chilled, creating a light, airy topping perfect for cold coffee beverages. Unlike traditional foam made with steamed milk for hot drinks, cold foam uses cold milk and whips it into a creamy yet fluffy texture. When you add flavors like maple and vanilla, it takes this coffee topper to the next level.
Ingredients:
- 1/4 c heavy whipping cream or choice of milk
- 1 tsp vanilla syrup (more for your coffee)
- 1 tsp maple syrup
- Iced coffee
- Caramel drizzle
Instructions:
- Prepare Your Ingredients
Make sure your heavy whipping cream or milk is cold. This is key for achieving the right texture. If your maple syrup has been in the fridge, that’s perfect, as all the ingredients should be cold to create the best foam. - Combine the Ingredients
In a small mixing cup or jar, add your choice of milk, maple syrup, vanilla syrup, and a pinch of salt (if using). The maple syrup will add sweetness and a rich, autumnal flavor, while the vanilla adds warmth. - Froth the Milk Mixture
Use a handheld milk frother or an electric frother to whip the milk mixture. If you don’t have one, you can use a blender or shake the mixture vigorously in a mason jar. Froth until the mixture doubles in size and creates a thick foam. This usually takes about 20-30 seconds with a frother. - Serve Over Iced Coffee
Pour your iced coffee into a glass, leaving a little room at the top for the foam. Gently spoon or pour the maple vanilla cold foam over the top. The foam will float above the coffee and slowly mix into your drink as you sip. Drizzle over your caramel syrup if you’re using for an extra touch! - Enjoy!
That’s it! You now have a café-quality cold foam at home. The combination of maple syrup and vanilla gives it a deliciously sweet and fragrant twist, making your iced coffee feel like a luxurious treat.
Pro Tips:
- Adjust the sweetness: You can increase or decrease the amount of maple syrup to suit your taste. If you prefer less sweetness, start with half a teaspoon.
- Make it extra fancy: For an added touch, sprinkle a little cinnamon, nutmeg, or even sea salt on top of the foam.
- Experiment with flavors: Swap out vanilla for almond extract or add a dash of pumpkin spice for a seasonal twist.
SHOP My Favorite Coffee Pitcher Here
Ingredients
Method
- Prepare Your Ingredients
- Make sure your heavy cream or milk is cold. This is key for achieving the right texture. If your maple syrup has been in the fridge, that’s perfect, as all the ingredients should be cold to create the best foam.
- Combine the Ingredients
- In a small mixing cup or jar, add your whipping cream or cold milk, maple syrup, vanilla extract, and a pinch of salt (if using). The maple syrup will add sweetness and a rich, autumnal flavor, while the vanilla adds warmth.
- Froth the Milk Mixture
- Use a handheld milk frother or an electric frother to whip the milk mixture. If you don’t have one, you can use a blender or shake the mixture vigorously in a mason jar. Froth until the mixture doubles in size and creates a thick foam. This usually takes about 20-30 seconds with a frother.
- Serve Over Iced Coffee
- Pour your iced coffee into a glass, leaving a little room at the top for the foam. Gently spoon or pour the maple vanilla cold foam over the top. The foam will float above the coffee and slowly mix into your drink as you sip. Drizzle over some caramel if you’d like a little extra touch!
- That’s it! You now have a café-quality cold foam at home. The combination of maple syrup and vanilla gives it a deliciously sweet and fragrant twist, making your iced coffee feel like a luxurious treat.Enjoy!
Notes
Pro Tips: Adjust the sweetness: You can increase or decrease the amount of maple syrup to suit your taste. If you prefer less sweetness, start with half a tablespoon. Make it extra fancy: For an added touch, sprinkle a little cinnamon, nutmeg, or even sea salt on top of the foam. Experiment with flavors: Swap out vanilla for almond extract or add a dash of pumpkin spice for a seasonal twist.