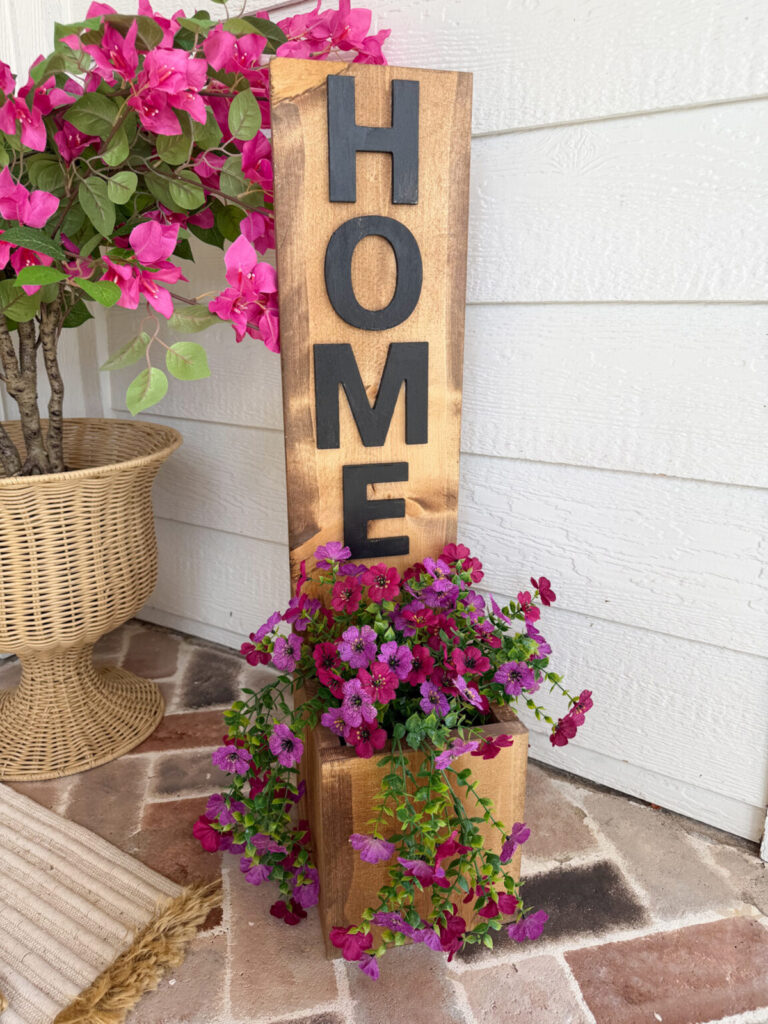
If you’re looking for a simple way to instantly upgrade your front porch, this DIY porch planter box with a vertical “HOME” sign is one of my favorite projects ever. It’s budget-friendly, beginner-friendly, and gives that cozy farmhouse feel we all love. The best part is you can make this however you want. Switch out the Home sign for “Welcome”, Last name or house numbers.
The other great thing about this project is it is a one day project! You only need a few materials and basic tools to make this happen!
Why You’ll Love This DIY Planter
Planter boxes are perfect for adding curb appeal while keeping your plants contained and easy to maintain. They also help protect roots and keep moisture where your plants need it most.
✔ Beginner-friendly
✔ Affordable materials
✔ Customizable size + stain
✔ Adds instant charm to your porch
Materials You’ll Need
- 1x8x8 board
- Wood letters (to spell “HOME”)
- Wood stain or paint
- Wood glue
- Nail gun (I used 1/4 inch nails)
- Miter saw or jigsaw
Cut List
- Long board: (1) 30 inches
- Side boards (2): 7 ½ inches
- Front board: (1) 8 ¼ inches
- Bottom: (1) 7 ¼ inches
Step-by-Step Instructions
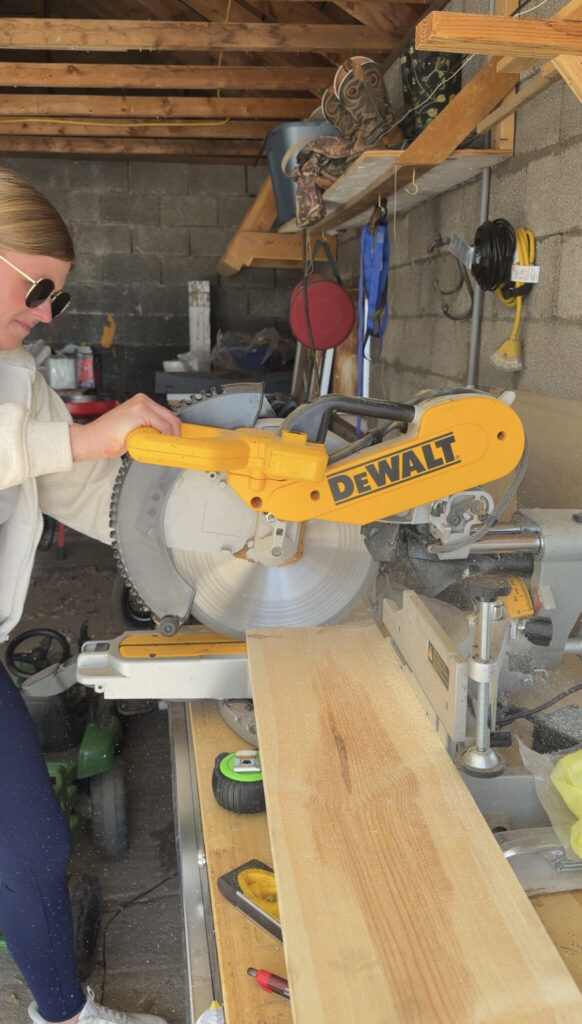
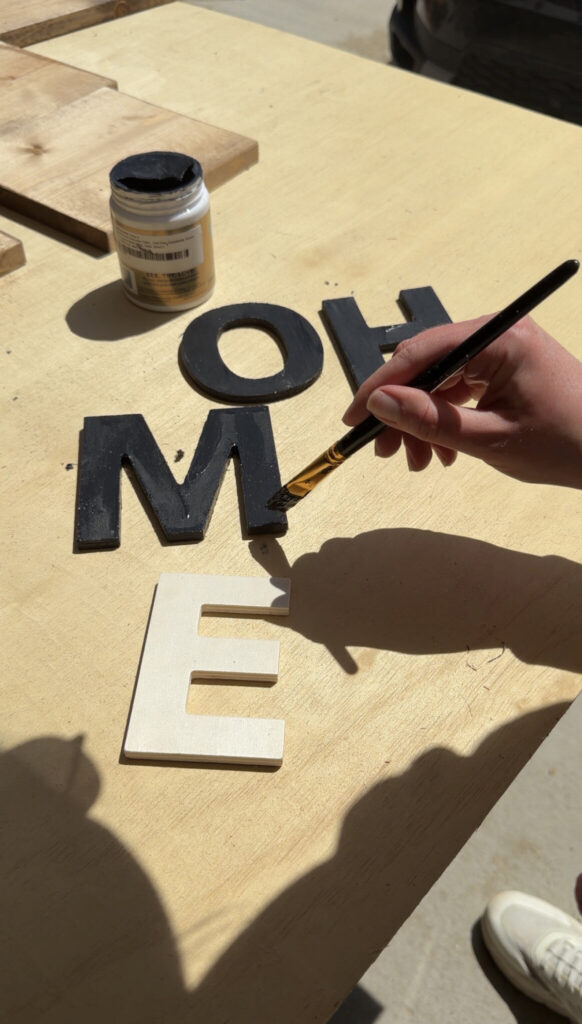
Step 1: Cut Your Wood
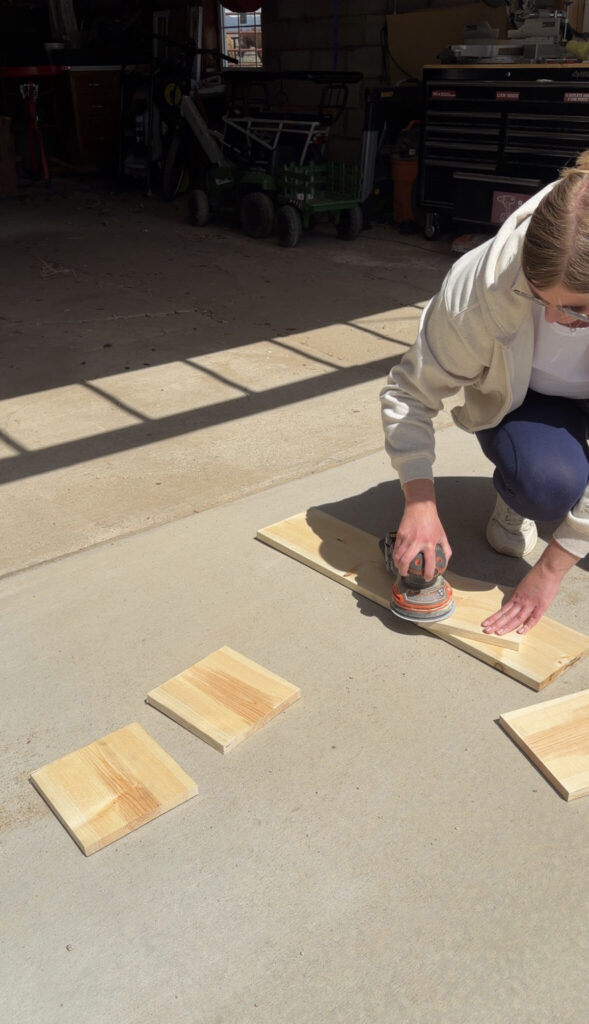
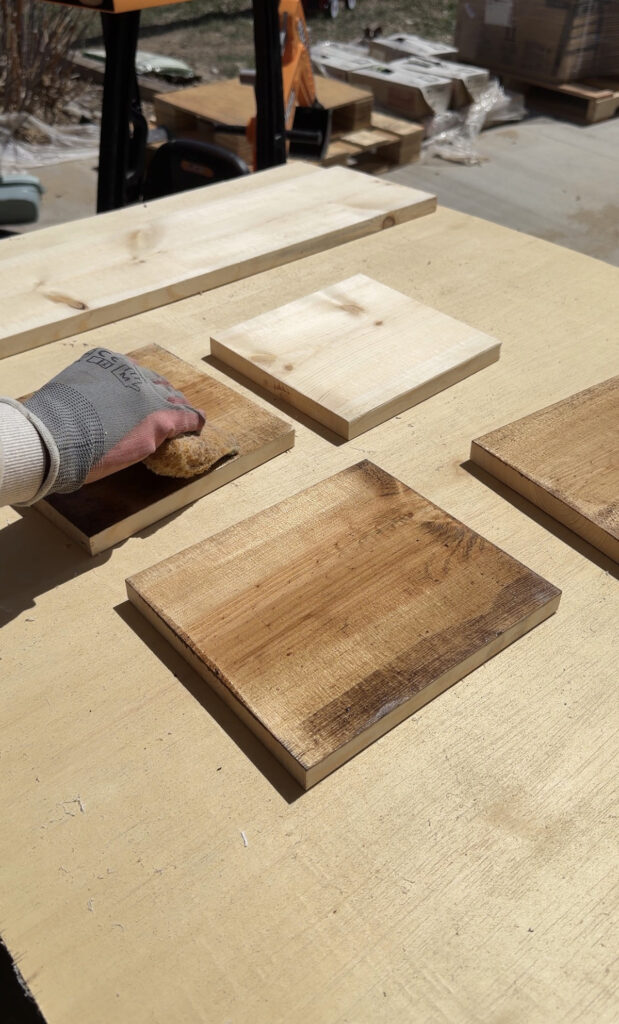
Start by cutting all your pieces according to the measurements above. Taking your time here ensures everything fits together clean and square. I like to then go in with a 120 grit sand paper and sand the edges just to make sure everything looks clean. At this time I would either paint or stain. I use my go to stain, special walnut. Let everything dry.
Pro tip: Accurate cuts make assembly way easier and prevent gaps later (trust me on this one).
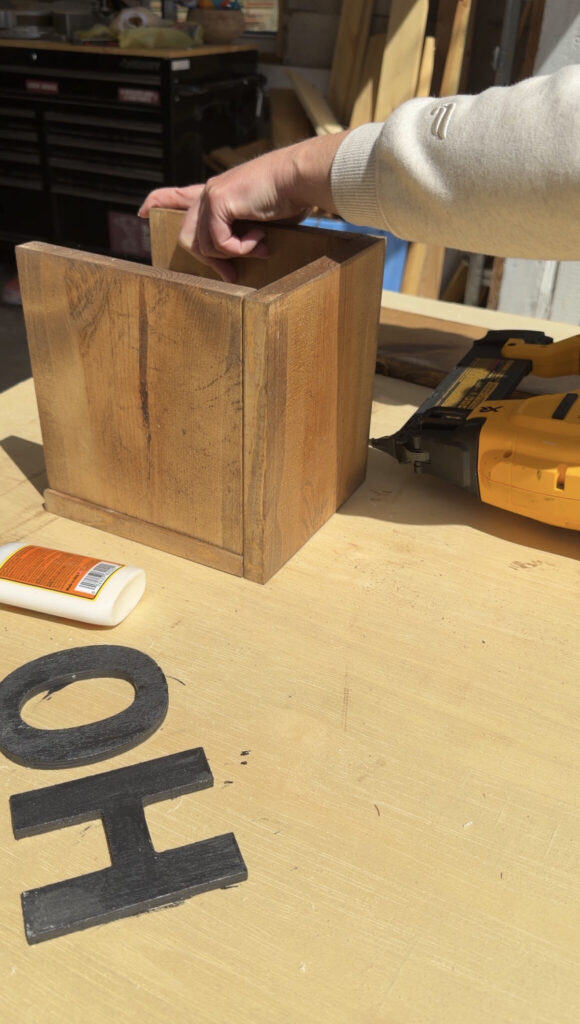
Step 2: Assemble the Planter Box
Using your nail gun and wood glue:
- Attach the side boards to the front board with wood glue and then the nail gun. Make sure everything is lined up and straight.
- Secure the bottom piece inside the box with wood glue and the nail gun.
This creates your base planter box that will hold your flowers.
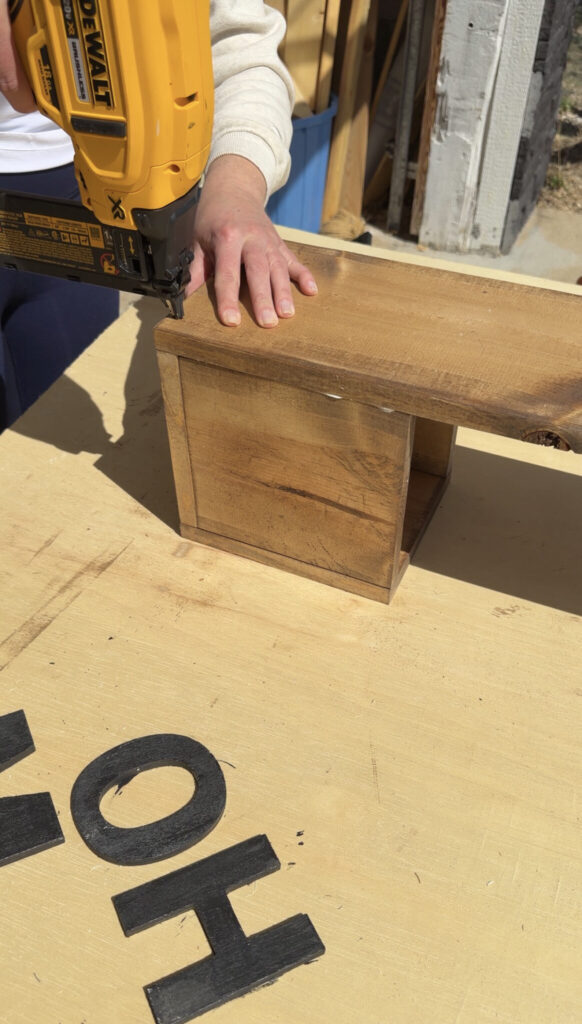
Step 3: Attach the Back Board
Take your 30-inch long board and attach it vertically to the back of the planter box with wood glue and nails.
This becomes the “sign” portion where your HOME letters will go.
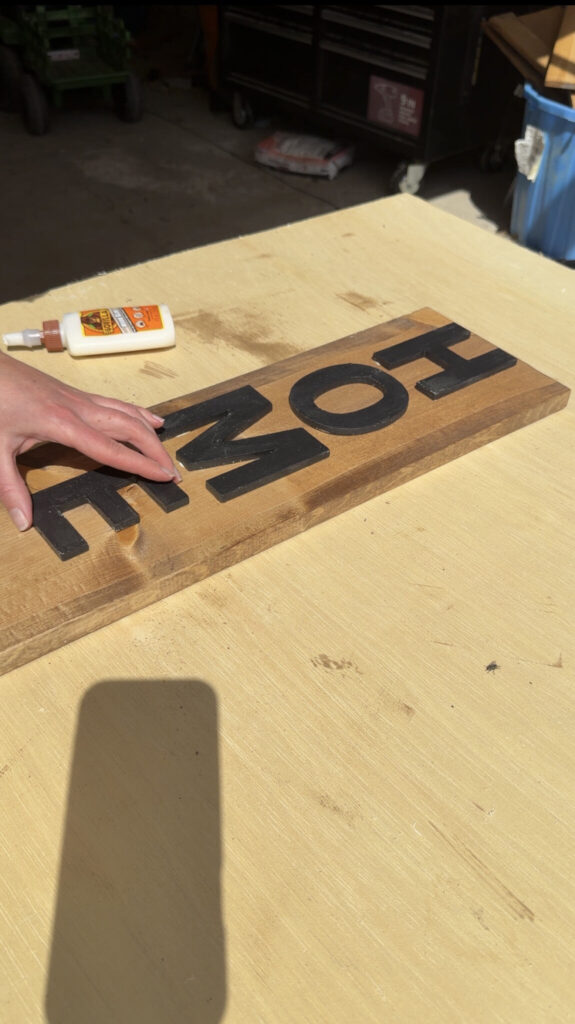
Step 5: Add Your “HOME” Letters
Arrange your wood letters vertically on the back board and attach them using wood glue or a nail gun.
Spacing tip: Lay them out first before attaching so everything looks balanced!
Step 6: Add Flowers
Fill your planter with your favorite flowers—cascading ones work BEST for this look. I prefer to add a pot on the inside and then my flowers but you can plant right in it, just make sure to drill holes either way to allow for proper drainage!
Some great options:
- Petunias
- Calibrachoa
- Ivy
Styling Tips
- Place it next to a welcome mat or chair
- Add a lantern or basket nearby
- Use bright seasonal flowers for a pop of color
This is one of those pieces that makes your whole porch feel styled without trying too hard.
Variations to Try
Make this DIY your own!
- Swap “HOME” for “HELLO” or your last name
- Use black + white paint for a modern look
- Distress the wood for a more rustic feel
- Add hooks for seasonal decor
How to Make It Last
Wood planters are exposed to moisture, so a few simple steps will extend the life:
- Use outdoor-rated stain or sealer
- Drill small drainage holes in the bottom
- Add a liner or plastic pot inside
Proper drainage is super important to keep your plants healthy and prevent rot.
This DIY planter is one of those projects that looks high-end but is SO simple to make. It’s perfect for spring, summer, or even switching up for different seasons.
And let’s be honest… anything that makes your porch feel cute AND cozy is a win!