This year, I decided to kick off January by redoing my closet! Storage is pretty limited in my house, so I wanted to optimize the space, and give it a good refresh! One of my favorite DIY’s for this project has been my DIY fancy mirror! More details below on how to take a plain mirror and give it an expensive feel & look! Let’s dive in.
Materials You’ll Need:
- A plain mirror (any size of your choice) (This is a great affordable option!)
- Silicone casting mold (with your preferred decorative design)
- Epoxy resin and hardener
- Mixing cups and stirring sticks
- Strong adhesive (Loctite or similar)
- Gold spray paint or acrylic paint
- Paintbrush (if using acrylic paint)
- Protective gloves and a drop cloth
Step-by-Step Instructions:
Step 1: Create the Resin Details
- Prepare your workspace by covering it with a drop cloth and wearing gloves for safety.
- Mix the epoxy resin and hardener according to the manufacturer’s instructions.
- Pour the resin into the silicone molds, ensuring even distribution.
- Allow the resin to dry. I used a 1:1 ratio of casting resin. The directions on the bottle were super easy to follow.
- It took about 5-10 minutes for each mold to dry.
- Once cured, carefully remove the resin pieces from the mold.
Step 2: Attach the Resin Details to the Mirror
- Lay out your resin pieces around the mirror’s edge to determine placement.
- Apply a strong adhesive to the mirror frame and attach your moldings on top.
- Allow the glue to dry completely before moving on to the next step.
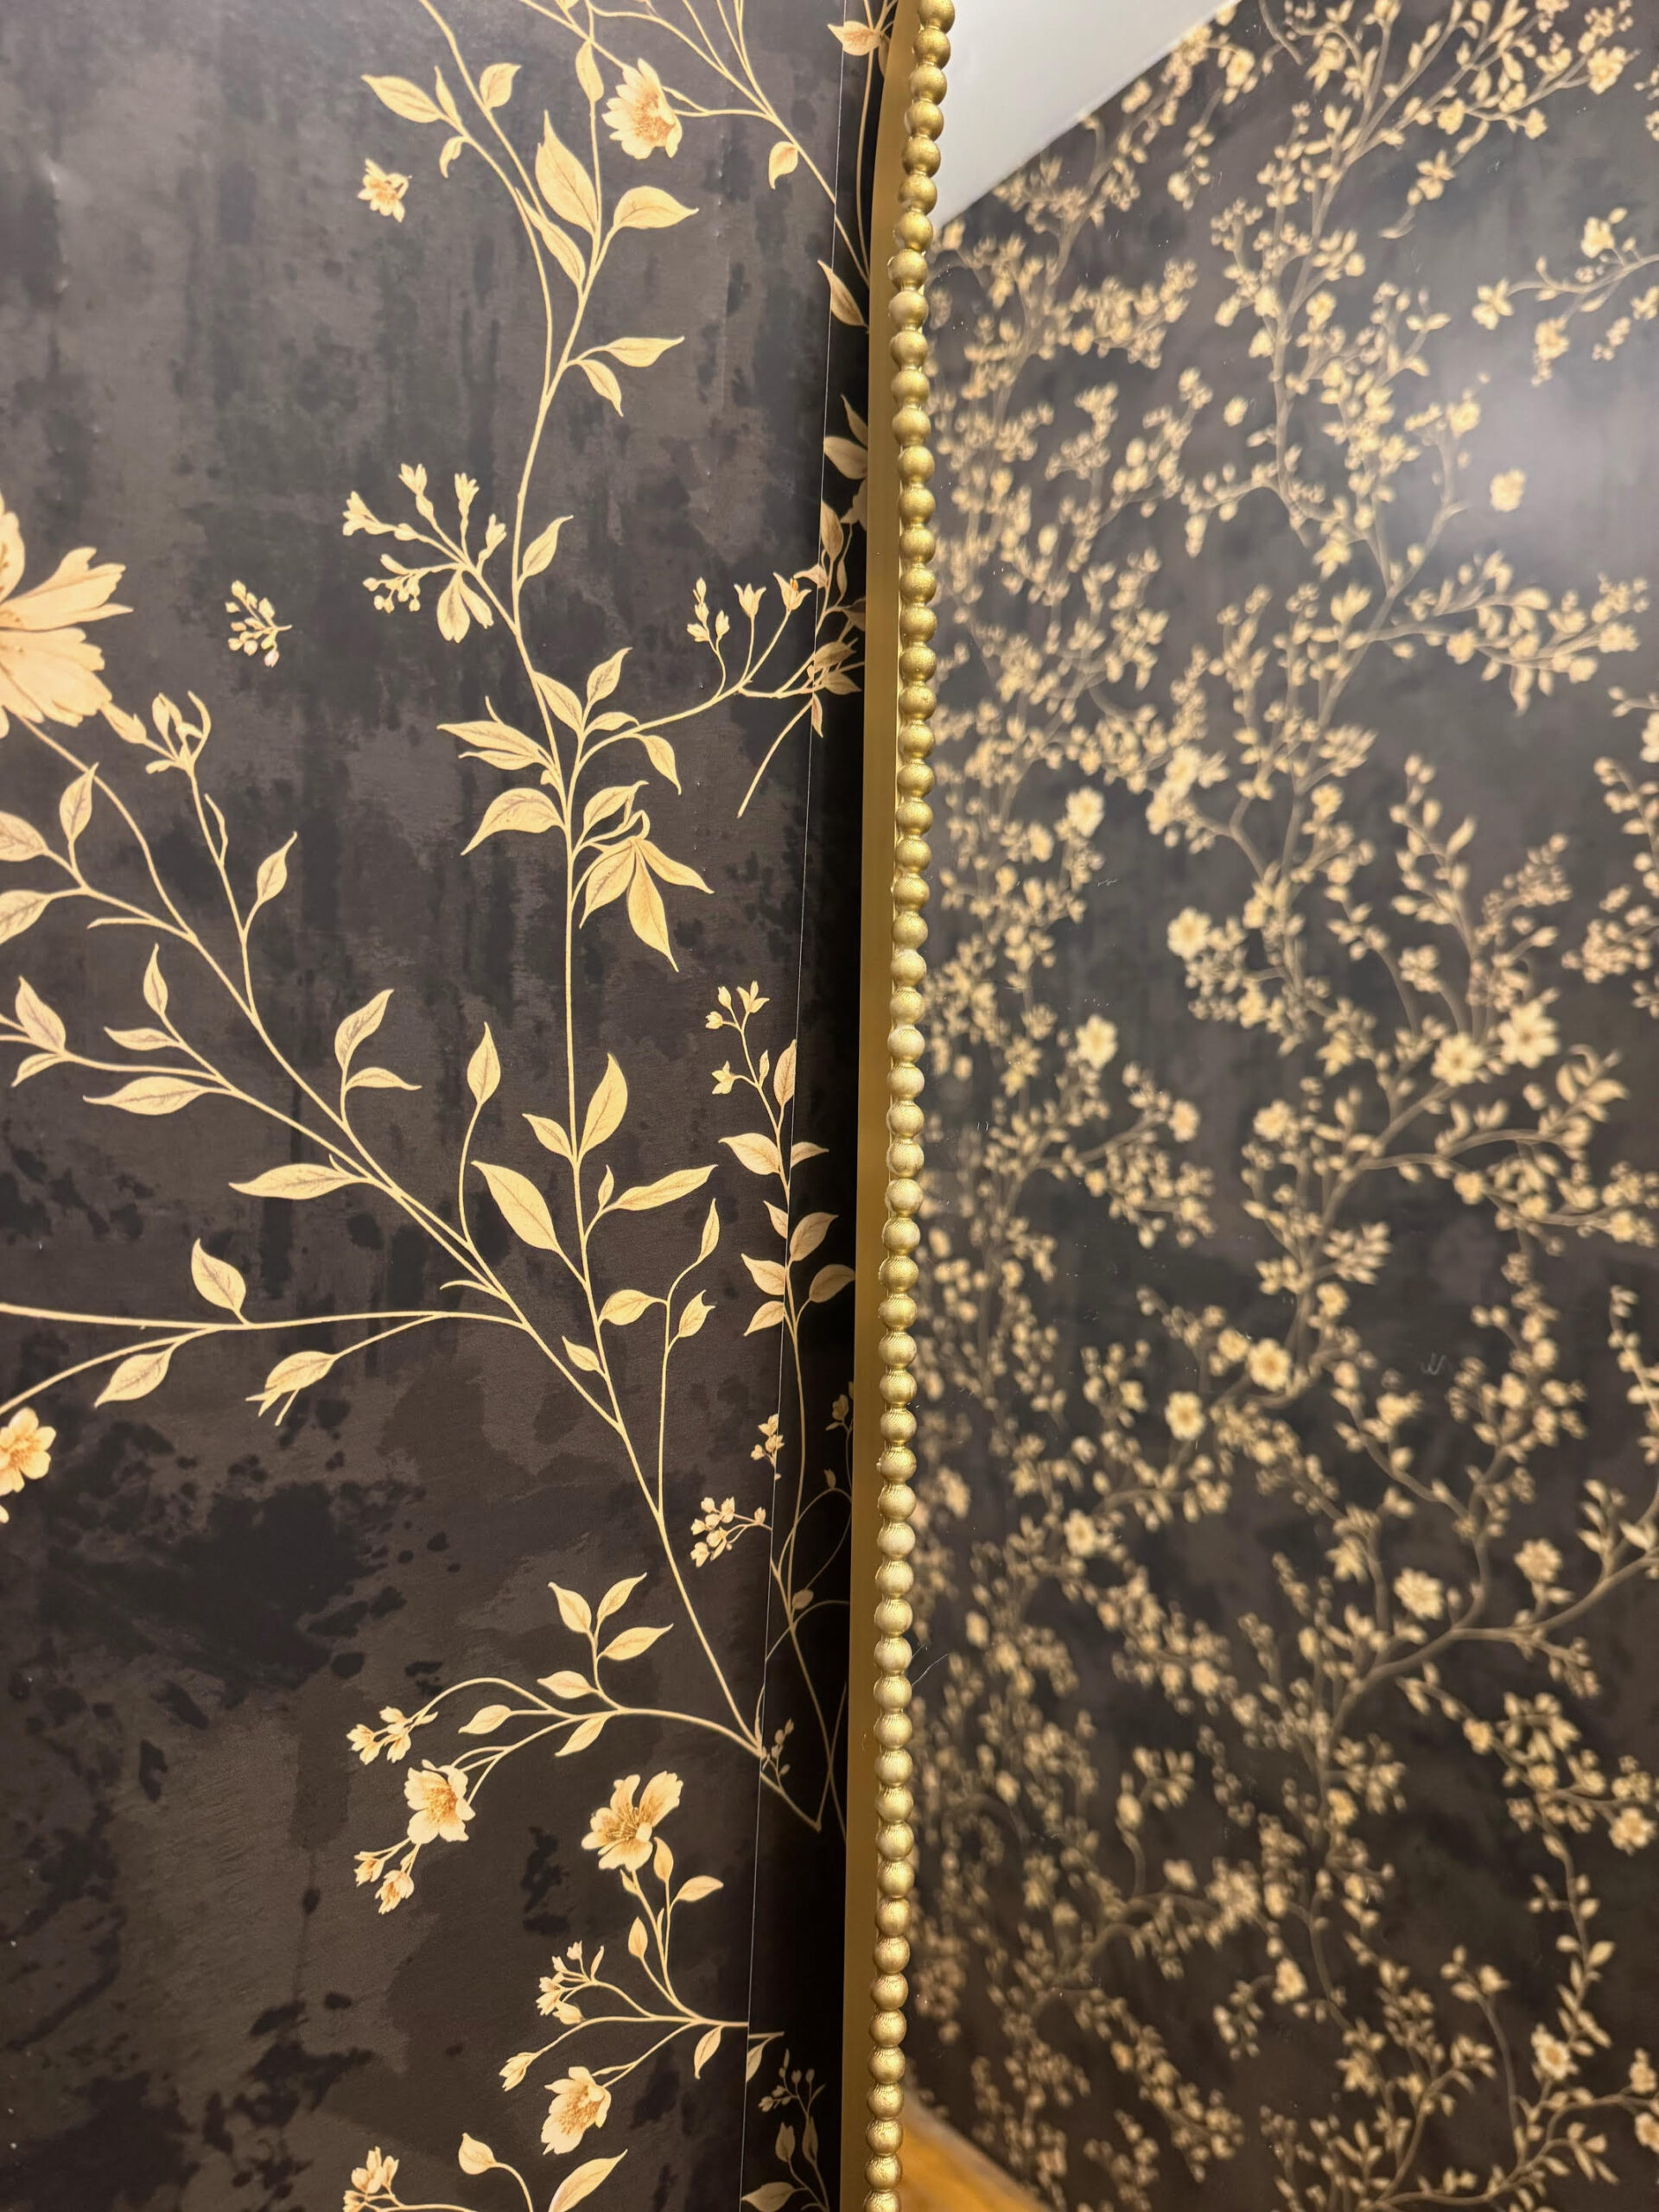
Step 3: Paint the Trim Gold
- If using spray paint, cover the mirror’s reflective surface with painter’s tape to protect it.
- Apply a few thin coats of gold spray paint to the resin trim, allowing each coat to dry before adding the next.
- If using acrylic paint, use a paintbrush to carefully coat the resin pieces with gold paint.
- Let the paint dry completely before handling or displaying the mirror.
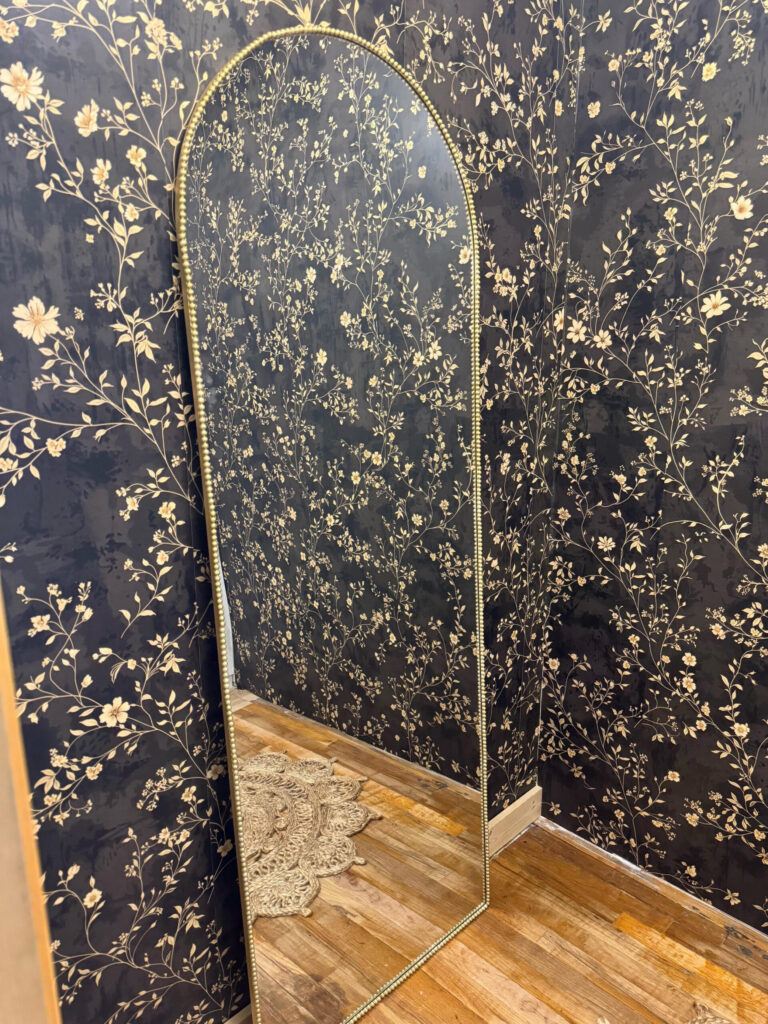
Voila! You are left with a beautiful, luxe inspired mirror.
Check out this DIY in real-time on my “CLOSET” highlight over on my Instagram!

DIY Fancy Mirror
This year, I decided to kick off January by redoing my closet! Storage is pretty limited in my house, so I wanted to optimize the space, and give it a good refresh! One of my favorite DIY's for this project has been my DIY fancy mirror! More details below on how to take a plain mirror and give it an expensive feel & look! Let's dive in.
Materials
- A plain mirror (any size of your choice)
- Silicone casting mold (with your preferred decorative design)
- Epoxy resin and hardener
- Mixing cups and stirring sticks
- Mold release spray (optional)
- Strong adhesive (E6000 or similar)
- Gold spray paint or acrylic paint
- Paintbrush (if using acrylic paint)
- Protective gloves and a drop cloth
Instructions
Step 1: Create the Resin Details
Prepare your workspace by covering it with a drop cloth and wearing gloves for safety.
Mix the epoxy resin and hardener according to the manufacturer’s instructions.
Pour the resin into the silicone molds, ensuring even distribution.
Allow the resin to cure fully (typically 24–48 hours, depending on the resin used).
Once cured, carefully remove the resin pieces from the mold.
Step 2: Attach the Resin Details to the Mirror
Lay out your resin pieces around the mirror’s edge to determine placement.
Apply a strong adhesive to the back of each resin piece and press it firmly onto the mirror’s frame or edges.
Allow the glue to dry completely before moving on to the next step.
Step 3: Paint the Trim Gold
If using spray paint, cover the mirror’s reflective surface with painter’s tape to protect it.
Apply a few thin coats of gold spray paint to the resin trim, allowing each coat to dry before adding the next.
If using acrylic paint, use a paintbrush to carefully coat the resin pieces with gold paint.
Let the paint dry completely before handling or displaying the mirror.