Creating a DIY dry mix for “cream of something” soup is a fantastic way to save time and avoid unnecessary additives in store-bought canned soups. This base is versatile, allowing you to make cream of mushroom, chicken, celery, or even broccoli soups with just a few adjustments. Here’s a step-by-step guide to making this dry mix along with tips for using it in various recipes.
Let’s get started!
Creating a DIY dry mix for “cream of something” soup is a fantastic way to save time and avoid unnecessary additives in store-bought canned soups. This base is versatile, allowing you to make cream of mushroom, chicken, celery, or even broccoli soups with just a few adjustments. Here’s a step-by-step guide to making this dry mix along with tips for using it in various recipes.
Ingredients
- 1 cup dry non-fat milk – This creates a creamy base without needing liquid dairy.
- 3/4 cup cornstarch – Acts as a thickener, giving the soup a rich, creamy consistency.
- 1/4 cup powdered chicken or vegetable bouillon – Adds depth and umami. You can choose a low-sodium version if preferred.
- 4 tbsp minced freeze dried onions or 2 tbsp onion powder – Adds good flavor.
- 1 tbsp garlic powder – For a mild garlic background.
- 1 tsp dried basil – Adds a bit of sweetness to the mix.
- 1 tsp dried parsley – Optional, but it gives the soup a more herbaceous flavor.
- 1 tsp black pepper – Adjust to taste, or add more if you prefer a stronger pepper flavor.
Instructions
Combine Ingredients
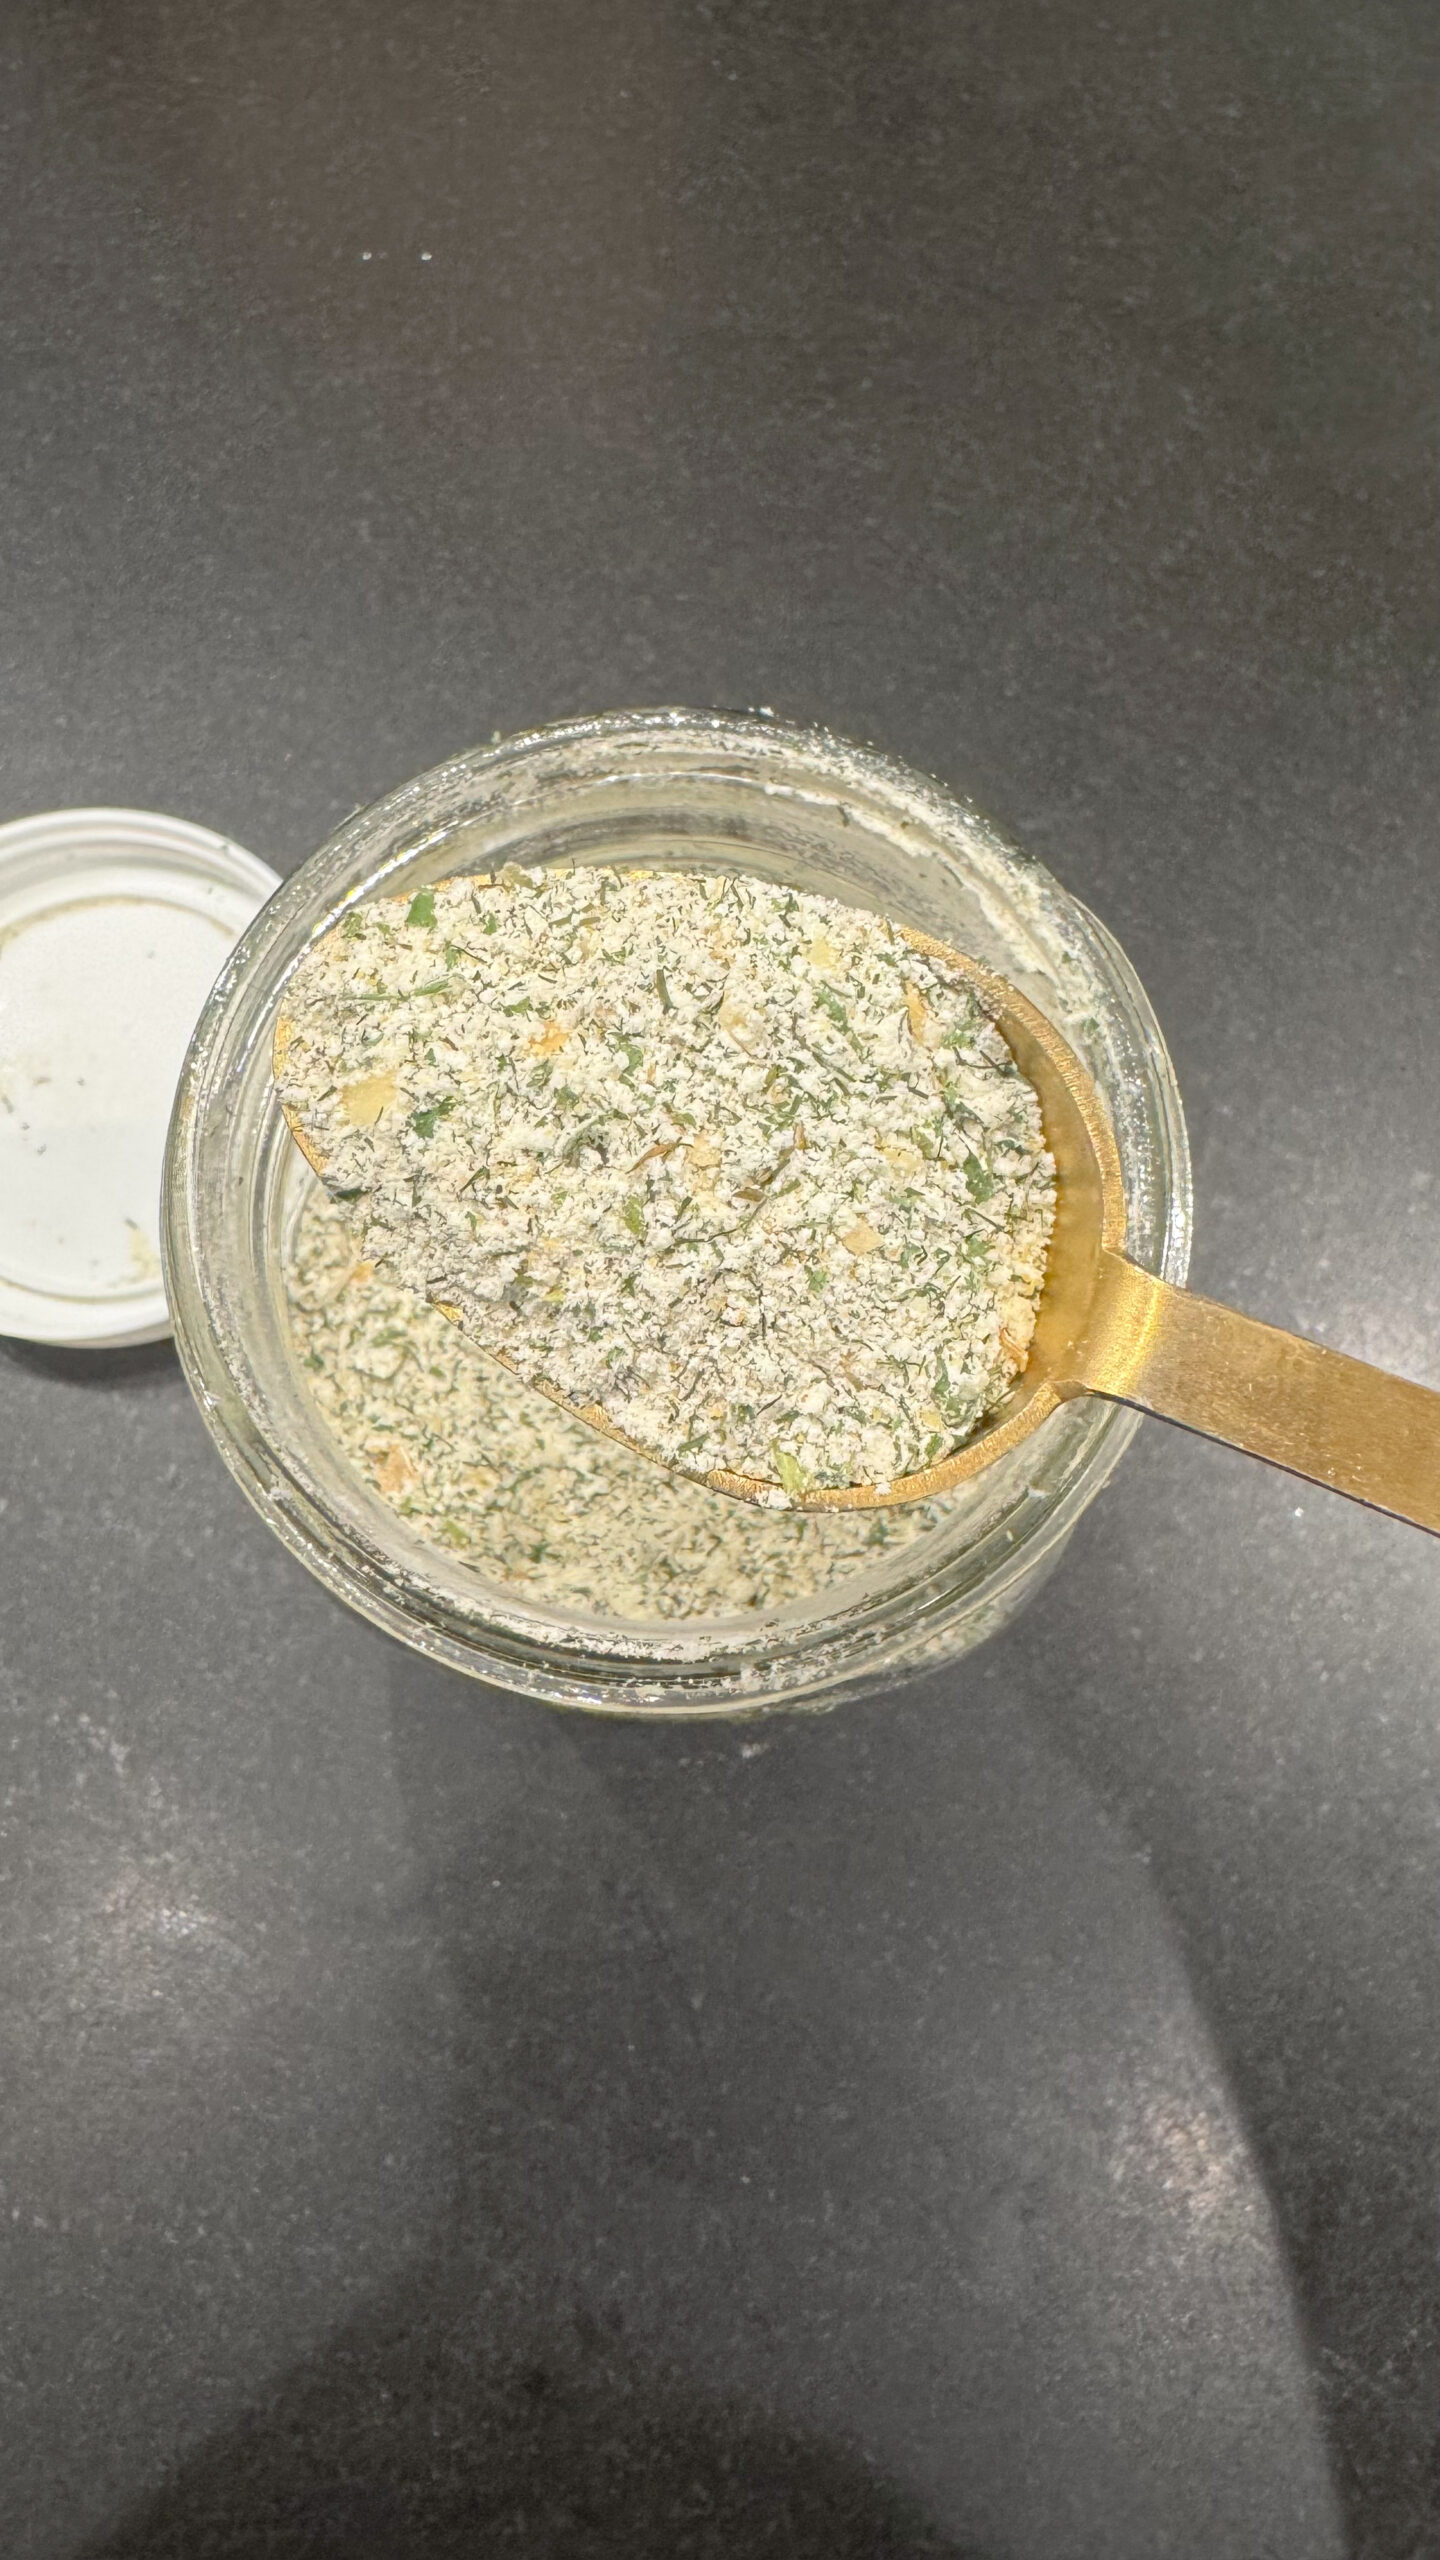
In a large mixing bowl, combine the powdered milk, cornstarch, bouillon, onion powder, basil, parsley, and black pepper. Whisk thoroughly to make sure everything is evenly distributed.
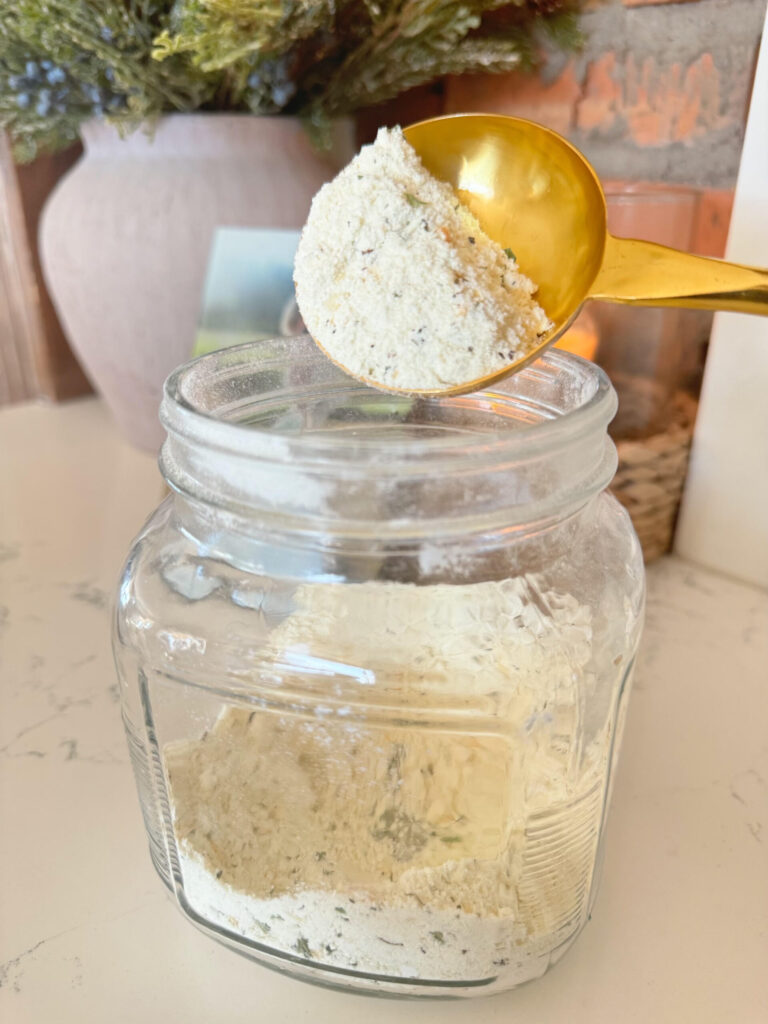
Store the Mix
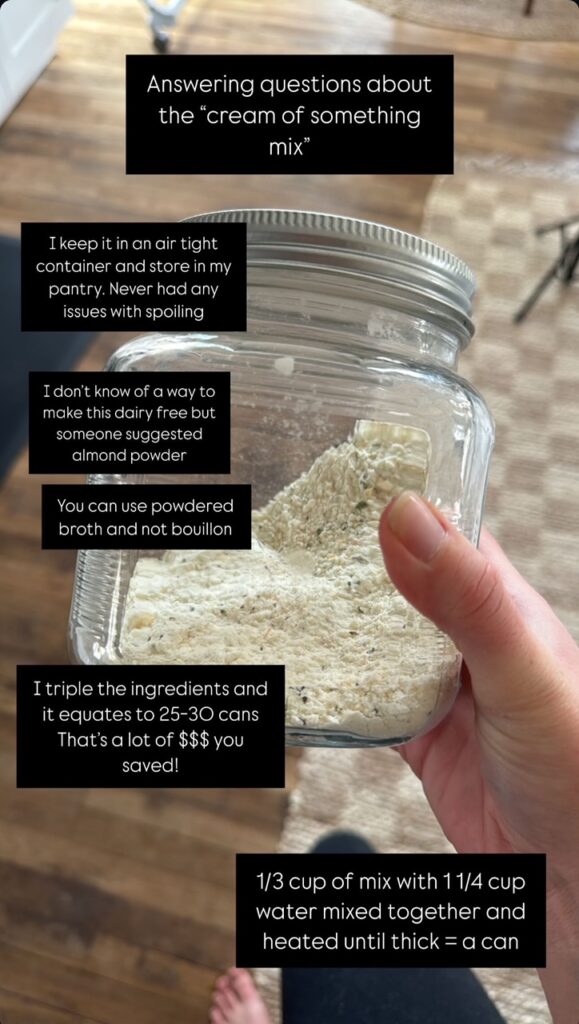
Transfer the mixture to an airtight container or jar. Store in a cool, dry place. This mix should last for 6–12 months, depending on the freshness of your ingredients.
How to Use the Mix
To make one “can” of condensed cream soup (equivalent to about 1 ¼ cups of soup):
- Combine ⅓ cup of the dry soup mix with 1 ¼ cups of cold water in a small saucepan.
- Whisk until smooth and cook over medium heat.
- Stir continuously until the mixture thickens, about 3–5 minutes.
- Remove from heat and let it cool slightly before using in recipes.
Customize Your Soup Base
Here’s how to turn this base into different “cream of something” flavors:
- Cream of Mushroom: Add ¼ cup finely chopped mushrooms while cooking the soup base.
- Cream of Chicken: Use chicken bouillon powder in the mix, or add shredded cooked chicken as it cooks.
- Cream of Celery: Add ¼ cup finely diced celery while cooking.
- Cream of Broccoli: Add ¼ cup finely chopped broccoli, and cook until tender.
Tips for Use
- As a Base for Casseroles: Substitute this mix for any canned cream soup in casseroles for a homemade touch.
- Adjust the Consistency: If you want a thinner soup, add a bit more water. For a thicker consistency, reduce the water slightly.
- Flavor Boosters: Add a dash of Worcestershire sauce, a sprinkle of parmesan, or even a bit of white wine to add unique depth to your soups.
Ingredients
Method
- Combine ⅓ cup of the dry soup mix with 1 ¼ cups of cold water in a small saucepan.
- Whisk until smooth and cook over medium heat.
- Stir continuously until the mixture thickens, about 3–5 minutes.
- Remove from heat and let it cool slightly before using in recipes.