When it comes to comfort food, few things hit the spot like chicken tenders. But what if you could enjoy all the crispiness and flavor without the guilt? Enter Crispy Baked Chicken Tenders—a lighter, healthier version of the beloved dish that doesn’t skimp on taste. Perfect for a family dinner, meal prep, or a quick snack, these baked tenders are sure to become a staple in your kitchen.
Let’s get started!
When it comes to comfort food, few things hit the spot like chicken tenders. But what if you could enjoy all the crispiness and flavor without the guilt? Enter Crispy Baked Chicken Tenders—a lighter, healthier version of the beloved dish that doesn’t skimp on taste. Perfect for a family dinner, meal prep, or a quick snack, these baked tenders are sure to become a staple in your kitchen.
Ingredients
- 2 lbs. chicken tenders
- 1 cup pickle brine
- 1 1/3 cups panko bread crumbs
- 1 cup all-purpose flour
- 1 tsp baking powder
- 2 large eggs
- 1 tsp garlic powder
- Salt and freshly ground black pepper
Instructions
Place your chicken tenders in a shallow dish or bowl and pour in the pickle brine. Cover and place in fridge for 2 hours.
Preheat your oven to 425°F. Spray a large oven-safe cooling rack with non-stick spray and place it over an 18 by 13-inch baking sheet.
In one dish, combine the flour and baking powder. In a second dish whisk the eggs. In a third dish, combine the panko bread crumbs, dried dill, garlic powder, salt and pepper.
Begin by dipping two chicken tenders at a time into the flour, ensuring they are evenly coated. Next, dip them into the whisked eggs. Finally, coat them in the panko mixture, pressing gently to ensure the crumbs adhere well. Shake off any excess coating.
Place the coated chicken tenders on the rack, ensuring there is space between each tender for even cooking.
Place in the preheated oven. Bake for 15-20 minutes, turning half way and you want the tenders to be golden brown.
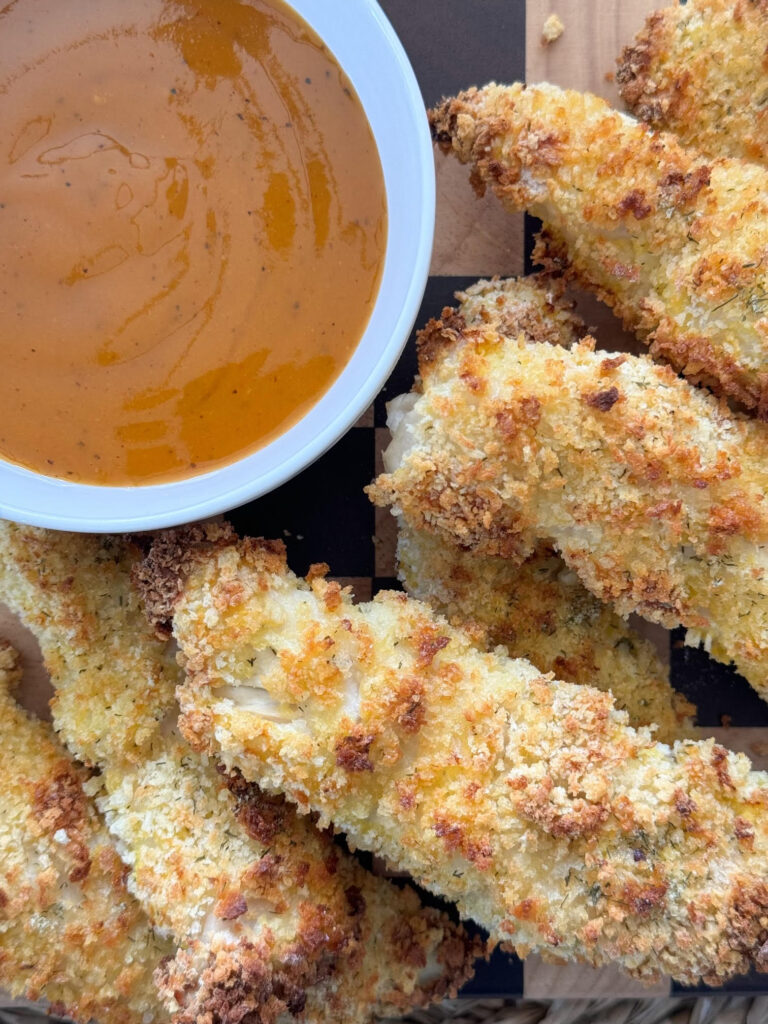
Serve up with your favorite sauce and enjoy!
Notes- want more dill flavor? Add dill and salt to the panko
Why You’ll Love This Recipe:
- Healthier Option: Baked, not fried, these chicken tenders are lower in fat and calories without sacrificing flavor.
- Simple and Quick: With minimal prep and a quick bake time, this recipe is perfect for busy weeknights.
- Kid-Friendly: A hit with both kids and adults, these tenders are sure to please even the pickiest eaters.
- Make-Ahead Friendly: Marinate the chicken ahead of time or even freeze the breaded tenders for an easy meal later on.
Ingredients
Method
- Place your chicken tenders in a shallow dish or bowl and pour in the pickle brine. Cover and place in fridge for 2 hours.
- Preheat your oven to 425°F. Spray a large oven-safe cooling rack with non-stick spray and place it over an 18 by 13-inch baking sheet.
- In one dish, combine the flour and baking powder. In a second dish whisk the eggs. In a third dish, combine the panko bread crumbs, dried dill, garlic powder, salt and pepper.
- Begin by dipping two chicken tenders at a time into the flour, ensuring they are evenly coated. Next, dip them into the whisked eggs. Finally, coat them in the panko mixture, pressing gently to ensure the crumbs adhere well. Shake off any excess coating.
- Place the coated chicken tenders on the rack, ensuring there is space between each tender for even cooking.
- Place in the preheated oven. Bake for 15-20 minutes, turning half way and you want the tenders to be golden brown.
- Serve up with your favorite sauce and enjoy!
Notes
Notes- want more dill flavor? Add dill and salt to the panko