There’s something magical about homemade marshmallows—soft, fluffy clouds of sweetness that melt in your mouth. Unlike store-bought ones, these homemade treats have a richer flavor and a pillowy texture that’s simply irresistible. The best part? They’re easier to make than you’d think! With just a handful of ingredients, you can whip up a batch of vanilla marshmallows perfect for hot cocoa, s’mores, or snacking on their own.
Let’s get started!
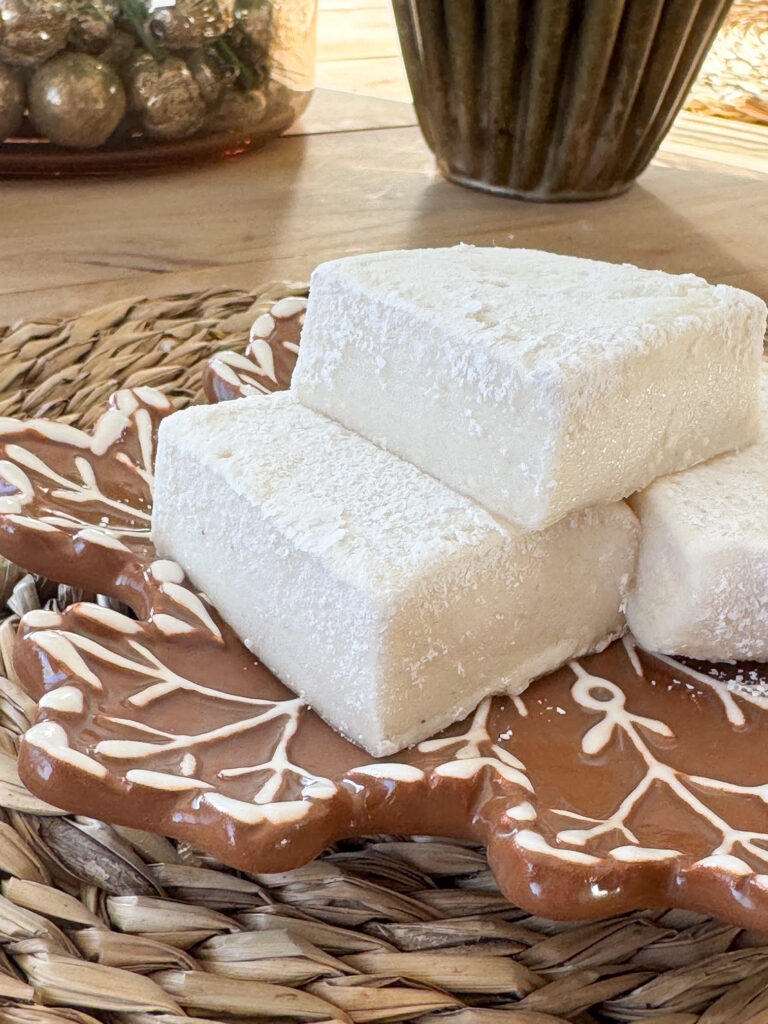
There’s something magical about homemade marshmallows—soft, fluffy clouds of sweetness that melt in your mouth. Unlike store-bought ones, these homemade treats have a richer flavor and a pillowy texture that’s simply irresistible. The best part? They’re easier to make than you’d think! With just a handful of ingredients, you can whip up a batch of vanilla marshmallows perfect for hot cocoa, s’mores, or snacking on their own.
Ingredients:
- 3 packages unflavored gelatin (1/4 oz packages)
- 3/4 cup cold water divided
- 2 cups granulated sugar
- 2/3 cup light corn syrup
- 1/4 teaspoon salt
- 2 teaspoons vanilla extract
- 1/4 cup confectioners sugar
Directions:
Lightly spray a 9×9-inch baking pan with cooking spray. Line pan with parchment paper, leaving a 2-inch overhang on all sides; set aside.
In the bowl of a stand mixer fitted with the whisk attachment, sprinkle the 3 packets of gelatin over 1/2 cup cold water; let stand for 10 minutes. If you don’t have a stand mixer you can use a hand mixer and you want the whisk attachment.
In a saucepan, combine sugar, corn syrup, and remaining 1/4 cup water. Place saucepan over medium-high heat and bring to a boil; boil rapidly for 1 minute. Watch it carefully as it can boil and overflow!
Remove the mixture from heat and with the mixer on medium/high, slowly pour the boiling syrup down the side of the mixer bowl into gelatin mixture. Add salt and continue mixing for 12 minutes. Add vanilla and mix until well combined.
Spray a rubber spatula with cooking spray. Spread marshmallow mixture evenly into pan using prepared spatula. Spray a sheet of plastic wrap with cooking spray and place spray side down, on top of marshmallows. Let stand for 2 hours.
Carefully remove marshmallows from pan. Remove all plastic wrap and discard. Cut marshmallows into 1-inch squares using a knife that you have sprayed with non-stick cooking spray or dip in confectioners sugar.
Sift confectioners sugar into a large bowl. Working in batches, add marshmallows to bowl and toss to coat.
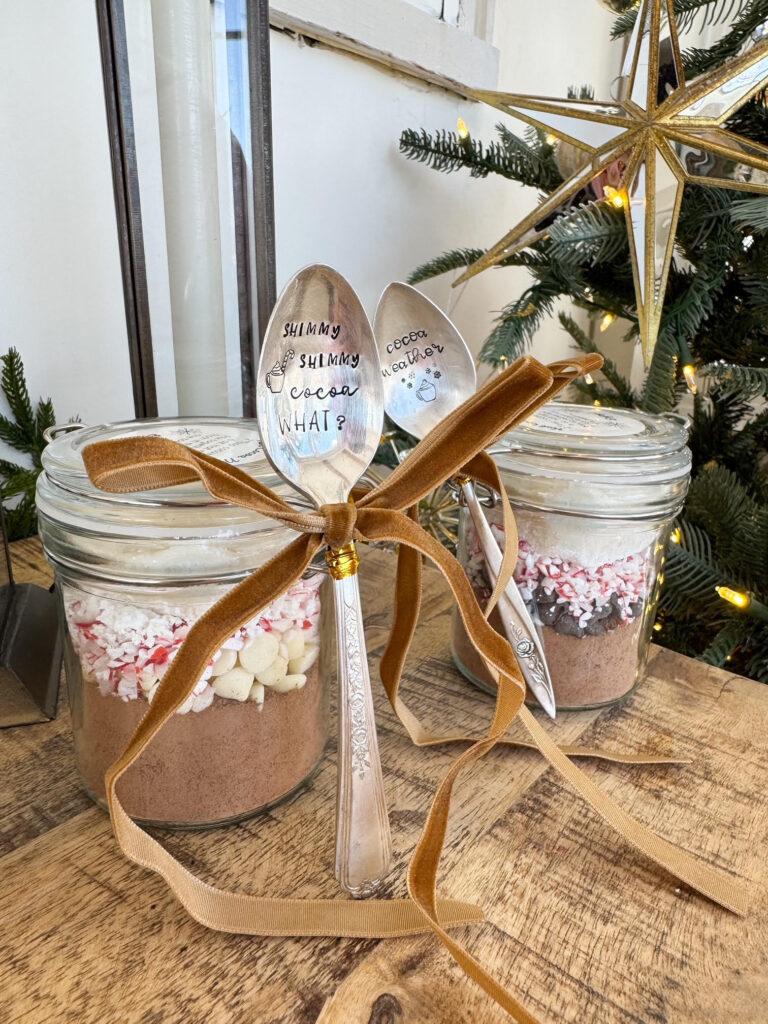
One of my favorite gifts to give to coworkers, teachers, secret santa, etc. are these DIY cocoa sets!
I add a hot cocoa mix, crushed peppermint, and my homemade marshmallows! They are a super cute & affordable gift idea. I always add one of my holiday spoons to the jar as well!
You can view my holiday Cocoa Collection here.
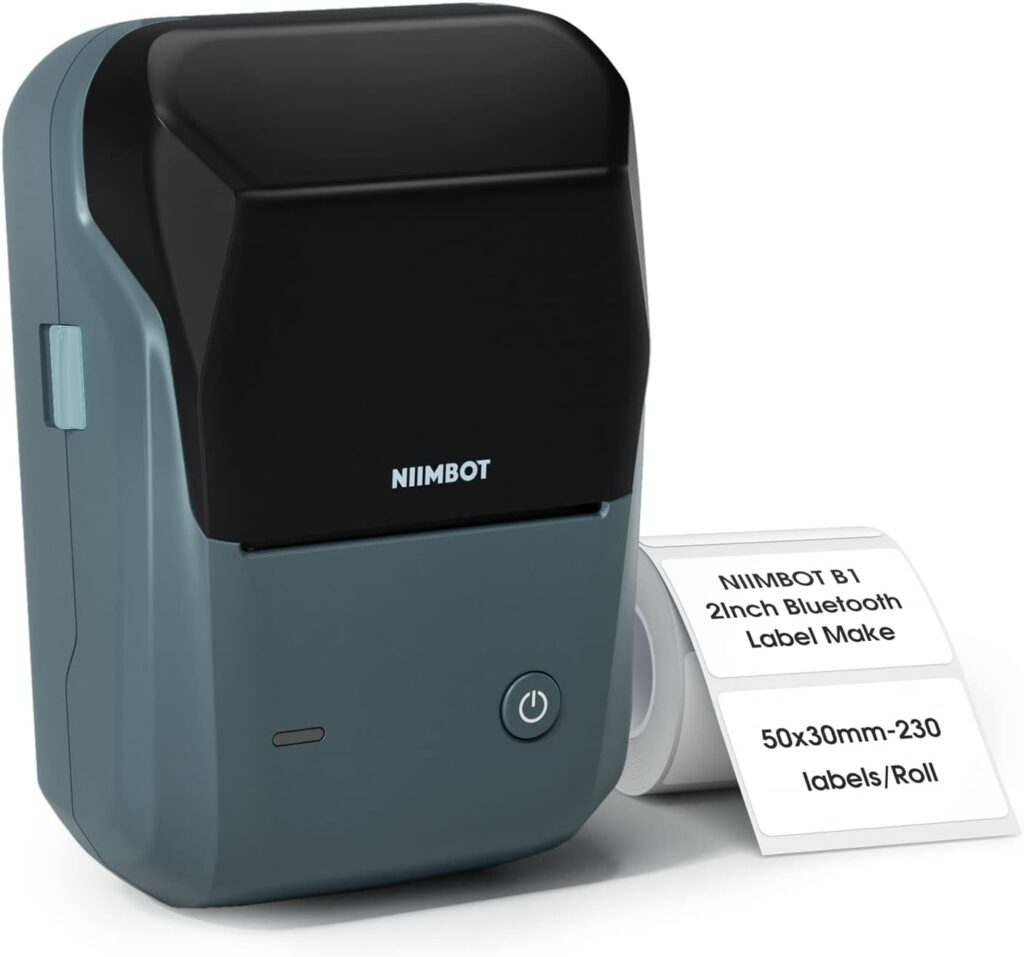
The label maker I use to label the jars!
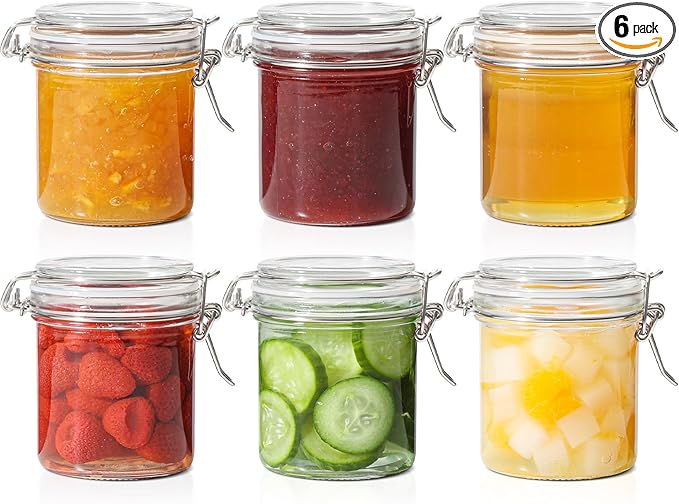
The jars I use for the hot cocoa mix & marshmallows!
Ingredients
Method
- Lightly spray a 9×9-inch baking pan with cooking spray. Line pan with parchment paper, leaving a 2-inch overhang on all sides; set aside. In the bowl of a stand mixer fitted with the whisk attachment, sprinkle the 3 packets of gelatin over 1/2 cup cold water; let stand for 10 minutes. If you don’t have a stand mixer you can use a hand mixer and you want the whisk attachment.
- In a saucepan, combine sugar, corn syrup, and remaining 1/4 cup water. Place saucepan over medium-high heat and bring to a boil; boil rapidly for 1 minute. Watch it carefully as it can boil and overflow!
- Remove the mixture from heat and with the mixer on medium/high, slowly pour the boiling syrup down the side of the mixer bowl into gelatin mixture. Add salt and continue mixing for 12 minutes. Add vanilla and mix until well combined.
- Spray a rubber spatula with cooking spray. Spread marshmallow mixture evenly into pan using prepared spatula. Spray a sheet of plastic wrap with cooking spray and place spray side down, on top of marshmallows.
- Let stand for 2 hours. Carefully remove marshmallows from pan. Remove all plastic wrap and discard. Cut marshmallows into 1-inch squares using a knife that you have sprayed with non-stick cooking spray or dip in confectioners' sugar.
- Sift confectioners' sugar into a large bowl. Working in batches, add marshmallows to bowl and toss to coat.Enjoy!