DIY Laundry Cart
4.0 Stars (4 Reviews)
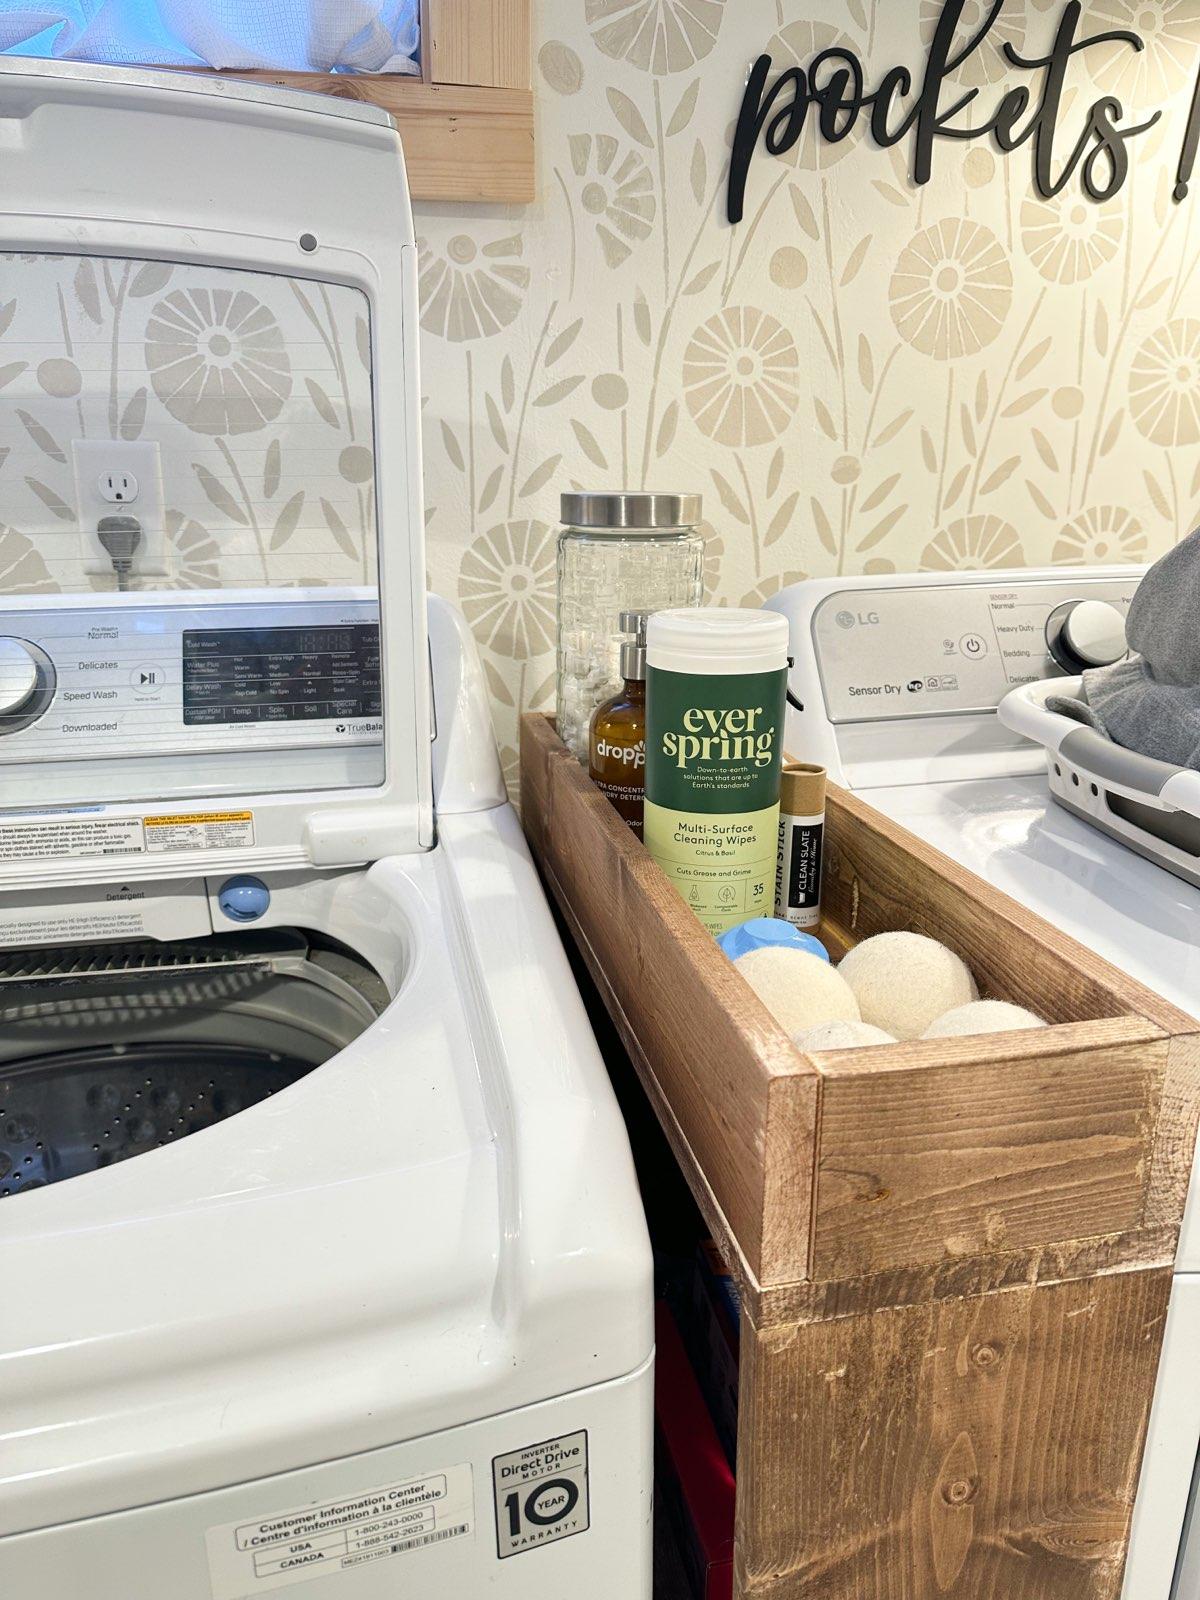
Anyone else struggle with the awkward space between their washer and dryer or just have limited space and need to maximize every square inch?! I came up with a DIY solution for maximum storage and function that made me love my laundry space again! Be sure to follow along on my Instagram @thesassybarn and watch my highlight reel “Laundry Cart” to see the whole process!
Materials
- 1x8x8 wood pieces
- 1x8x4 wood pieces
- Kreg Jig
- Wheels
- Wood glue
- Saw
Instructions
- To kick off this project, I measured the length and width of the opening between my washer and dryer. This is the perfect space to add some additional storage!
- Next, I cut my boards to the correct length and width to fit my space using my saw.
- Then, I created pocket holes with my Kreg jigand attached the boards to make the basic square structure for my cart. I used screws and wood glue to combine them!
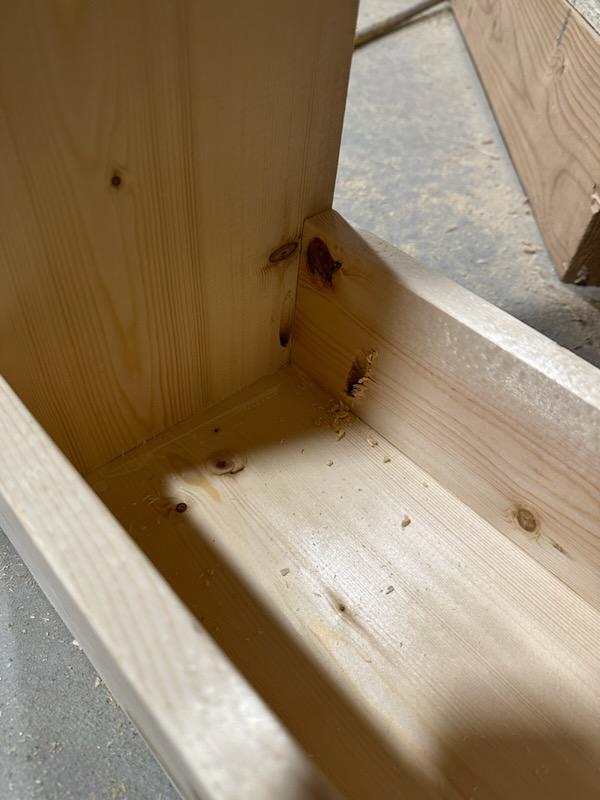
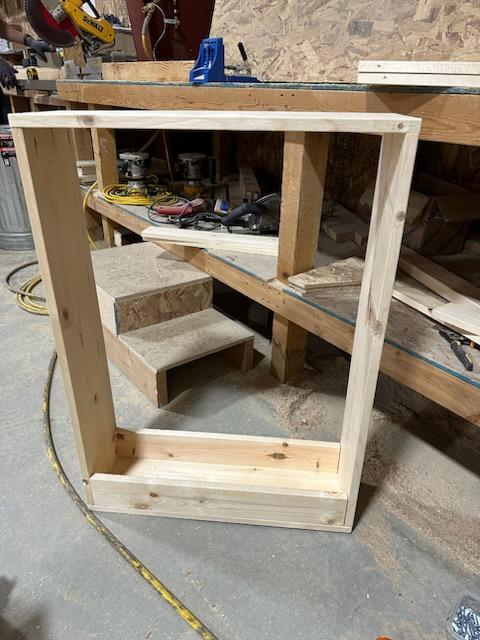
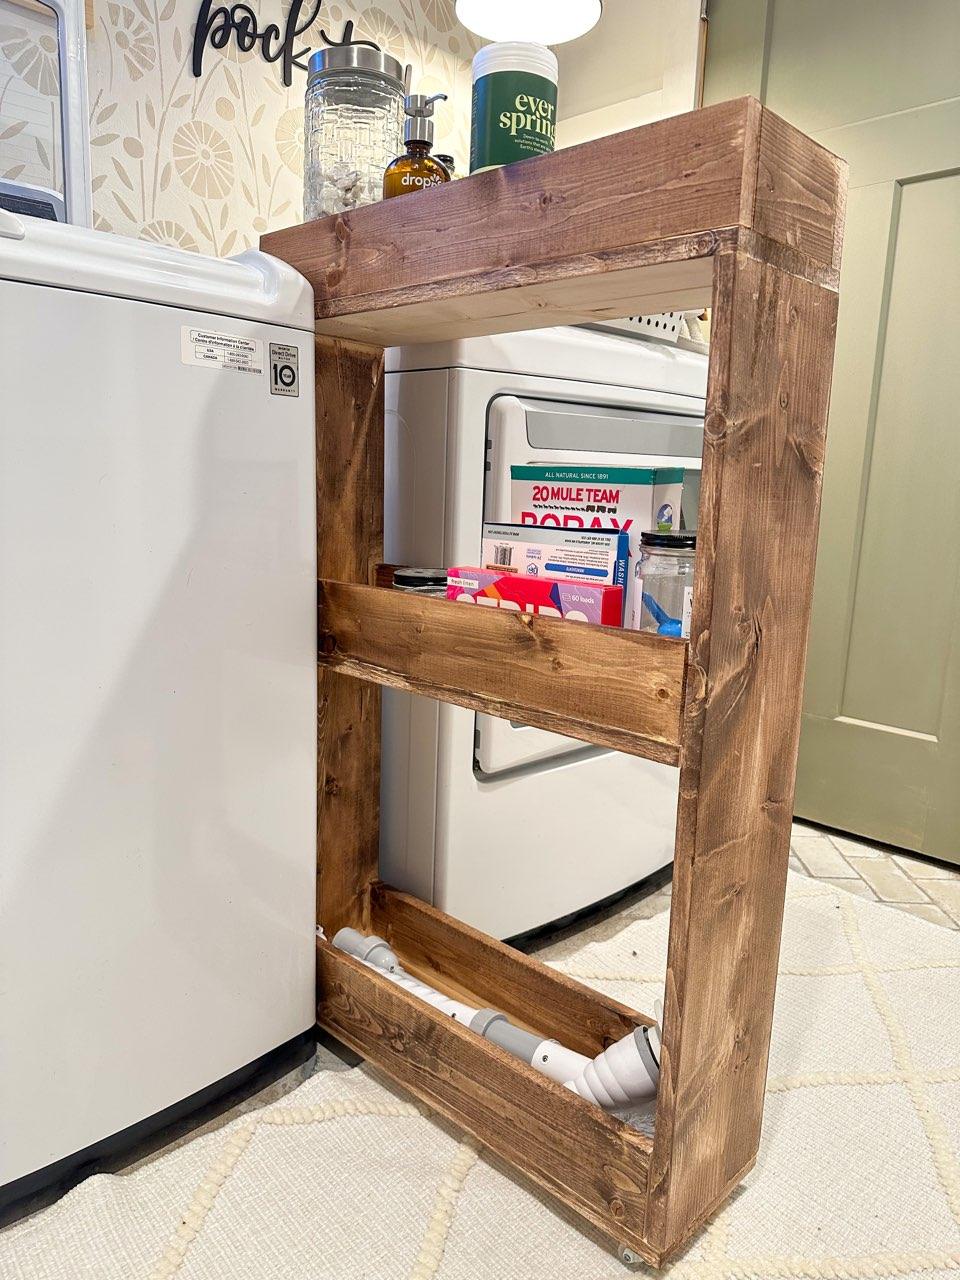
- After the base was finished, I built the middle shelf using 1x4 boards. I also added 1x4s to the sides of the cart to form 3 shelves for storage! Be sure to follow along with this build and see a visual of this DIY on my Instagram @thesassybarn !
- I again attached everything with my Kreg jigand screws! Once the piece was fully assembled I did a light sanding and stained her Special Walnut, which is one of my favorite stains!
- The finishing touch were these cute and functional wheels I added to the bottom so this cart can roll in and out of its space for restocks and cleaning!
Notes
I absolutely love how this simple project makes my laundry space functional and almost bearable! If you try it out, be sure to tag me @thesassybarn so I can see your work! Oh, and be sure to check the pockets!
The Sassy Barn