The holidays are the perfect time to bring out the bubbly and impress your guests with creative, festive decor. Why not combine both by making your own DIY holiday ice bucket or wine chiller? This project is not only easy and affordable but also a great conversation starter. Here’s how to create a stunning centerpiece that keeps your beverages cold and your holiday spirit high!
Let’s get started!
The holidays are the perfect time to bring out the bubbly and impress your guests with creative, festive decor. Why not combine both by making your own DIY holiday ice bucket or wine chiller? This project is not only easy and affordable but also a great conversation starter. Here’s how to create a stunning centerpiece that keeps your beverages cold and your holiday spirit high!
Materials
- Ice mold (I like this one https://amzlink.to/az0SV14ZiUNBS)
- Pine branches (fresh or faux)
Directions
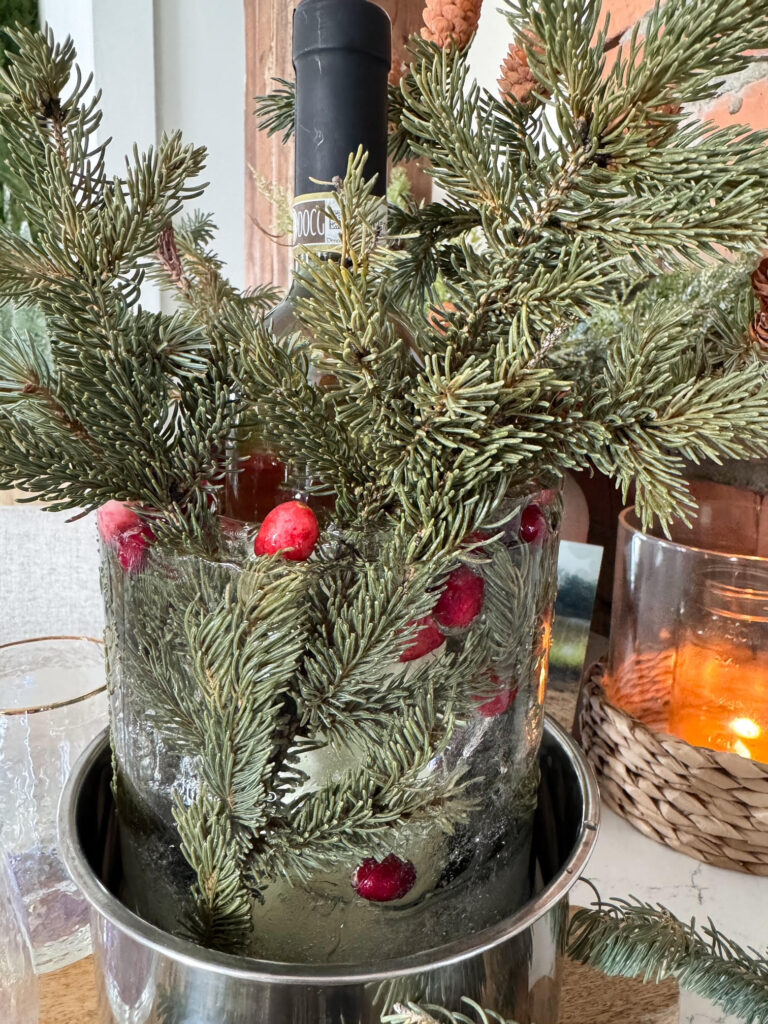
Fresh cranberriesI have some really pretty pine trees on my property that are a little overgrown so I cut a few that had some fun baby pinecones on them. I added them to the ice mold bucket and then I added fresh cranberries. I made sure to press down the cranberries just so they weren’t sitting only on the top. I then poured the water on top, making sure to fill it completely to the top.
For this next step obviously because the pine branches are sticking out it might be a little tricky for you to get it into your freezer, where I live, it is below freezing temp so I was able to stick this outside on my porch and it froze overnight. This would work great in a standup freezer or cut your branches a little smaller so that it will fit in a standard size freezer.
Once frozen run under warm water just enough so that you can loosen the ice from the mold, take out and place in the bucket. I added some pine branches around it and some ornaments to make it nice and festive. Enjoy!
Tips- you can really get creative and make this your own. You just wanna make sure that you let it freeze for at least 24 hours in advance so that it is fully frozen, so give yourself enough time to make this in advance.
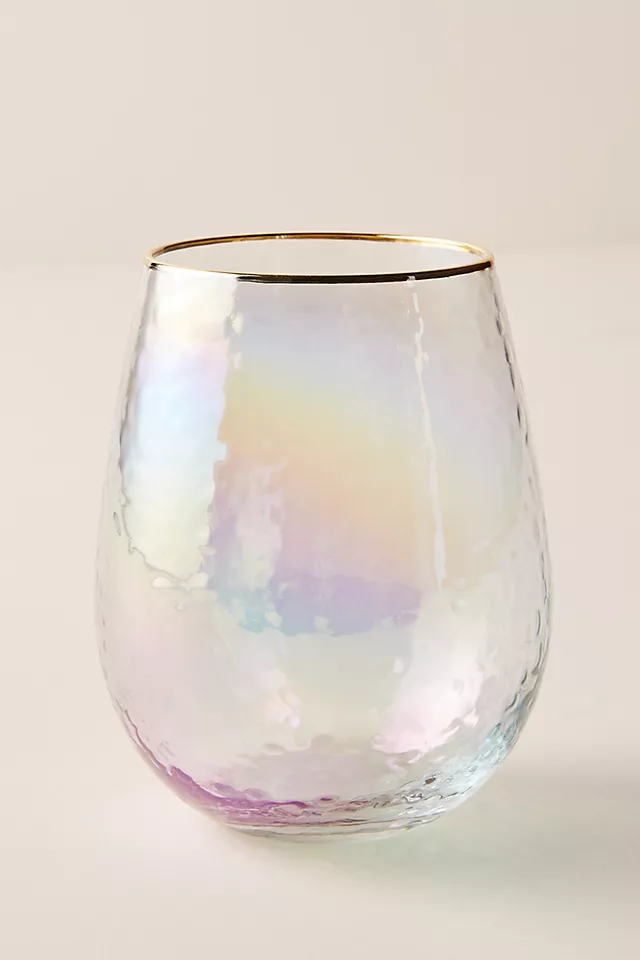
The cutest glasses to go with your beverage of choice!
Ingredients
Method
- I have some really pretty pine trees on my property that are a little overgrown so I cut a few that had some fun baby pinecones on them. I added them to the ice mold bucket and then I added fresh cranberries. I made sure to press down the cranberries just so they weren’t sitting only on the top. I then poured the water on top, making sure to fill it completely to the top.
- For this next step obviously because the pine branches are sticking out it might be a little tricky for you to get it into your freezer, where I live, it is below freezing temp so I was able to stick this outside on my porch and it froze overnight. This would work great in a standup freezer or cut your branches a little smaller so that it will fit in a standard size freezer.
- Once frozen run under warm water just enough so that you can loosen the ice from the mold, take out and place in the bucket. I added some pine branches around it and some ornaments to make it nice and festive. Enjoy!
- Tips- you can really get creative and make this your own. You just wanna make sure that you let it freeze for at least 24 hours in advance so that it is fully frozen, so give yourself enough time to make this in advance.