Pickle salt is a tangy, zesty seasoning that can add a delightful punch of flavor to a wide variety of dishes. If you love the taste of pickles and want to incorporate that unique flavor into more of your cooking, making your own pickle salt at home is easier than you might think. This DIY seasoning can be sprinkled on everything from popcorn to roasted vegetables, and it’s sure to become a staple in your spice cabinet. In this blog post, I’ll guide you through the simple steps to create your own pickle salt and share some tips on how to use it in your cooking.
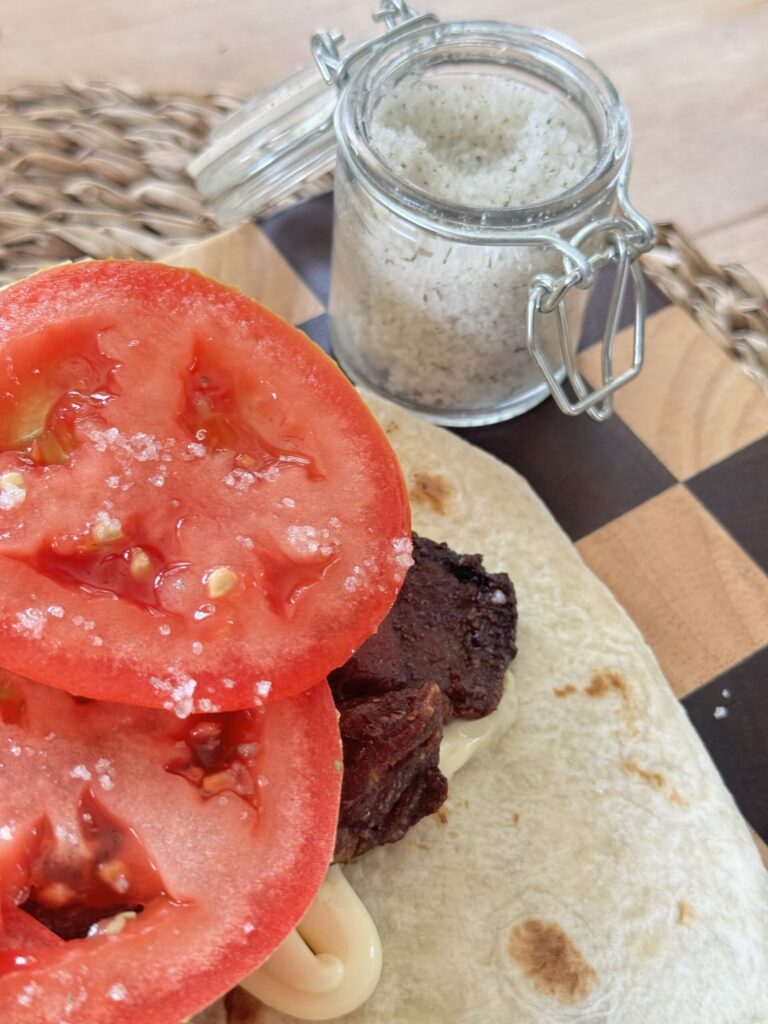
What is Pickle Salt?
Pickle salt is essentially a flavored salt that mimics the tangy, savory taste of pickles. It’s made by blending salt with dried pickle brine or pickle-flavored seasonings. This seasoning captures the essence of your favorite pickles in a convenient, easy-to-use form.
Why Make Your Own Pickle Salt?
Making your own pickle salt allows you to control the ingredients and tailor the flavor to your liking. Whether you prefer a classic dill pickle flavor or something spicier, you can customize your pickle salt to suit your tastes. Plus, it’s a great way to use up leftover pickle brine, reducing food waste while adding a unique twist to your dishes.
Ingredients:
- Kosher salt or sea salt (1 cup)
- Pickle brine (from your favorite pickles, about 1/4 cup)
- Dried dill weed (1-2 tablespoons, optional)
- Garlic powder (1 teaspoon, optional)
- Onion powder (1 teaspoon, optional)
- Mustard seeds (1 teaspoon, optional)
Instructions:
- Prepare the Brine:
- Start by straining your pickle brine to remove any large particles or seeds. You’ll need about 1/4 cup of brine for every cup of salt.
- Mix the Salt and Brine:
- In a large bowl, combine the salt with the pickle brine. Stir until the salt is evenly coated with the brine. The mixture should be slightly damp but not too wet.
- Dry the Salt:
- Spread the salt mixture evenly on a baking sheet lined with parchment paper. Allow it to dry at room temperature for 1-2 days, stirring occasionally. If you’re in a hurry, you can speed up the drying process by placing the baking sheet in an oven set to the lowest temperature (around 170°F or 75°C) for 2-3 hours, stirring occasionally.
- Add Seasonings (Optional):
- Once the salt is completely dry, you can add additional seasonings to enhance the pickle flavor. Dried dill weed, garlic powder, onion powder, and mustard seeds all work well. Mix the seasonings thoroughly into the dried salt.
- Store the Pickle Salt:
- Transfer the pickle salt to an airtight container or spice jar. It will keep for several months in a cool, dry place.
How to Use Pickle Salt:
Now that you have your homemade pickle salt, the possibilities are endless! Here are a few ideas to get you started:
- Sprinkle on Popcorn: Add a tangy twist to your movie night snack.
- Season Roasted Vegetables: Toss your favorite veggies with pickle salt before roasting for extra flavor.
- Enhance Grilled Meats: Use pickle salt as a dry rub for chicken, pork, or beef.
- Top Deviled Eggs: Sprinkle a bit of pickle salt on deviled eggs for an added zing.
- Finish Salads: A pinch of pickle salt can elevate the flavor of salads, especially potato or coleslaw.
Ingredients
Method
- Start by straining your pickle brine to remove any large particles or seeds. You’ll need about 1/4 cup of brine for every cup of salt.
- Mix the Salt and Brine:
- In a large bowl, combine the salt with the pickle brine. Stir until the salt is evenly coated with the brine. The mixture should be slightly damp but not too wet.
- Spread the salt mixture evenly on a baking sheet lined with parchment paper. Allow it to dry at room temperature for 1-2 days, stirring occasionally. If you’re in a hurry, you can speed up the drying process by placing the baking sheet in an oven set to the lowest temperature (around 170°F or 75°C) for 2-3 hours, stirring occasionally.
- Once the salt is completely dry, you can add additional seasonings to enhance the pickle flavor. Dried dill weed, garlic powder, onion powder, and mustard seeds all work well. Mix the seasonings thoroughly into the dried salt.
- Store the Pickle Salt:
- Transfer the pickle salt to an airtight container or spice jar. It will keep for several months in a cool, dry place.