DIY Console Table
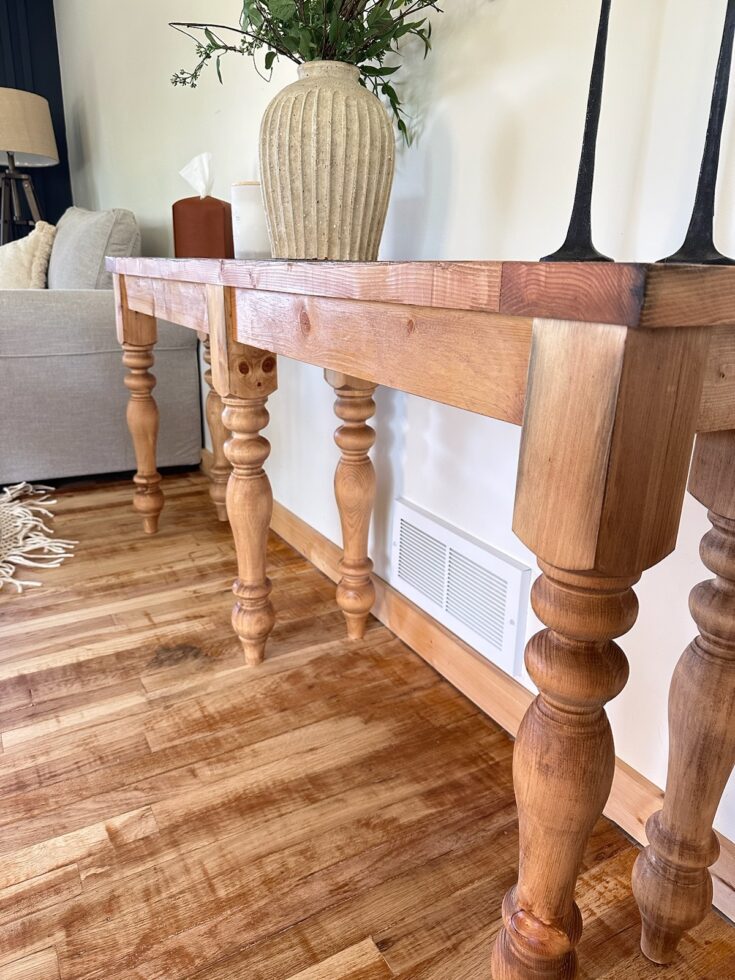
I was itching to get going on a bigger project, and this was perfect for me! I MADE this 7 foot long console table in ONE day, and you can too! Let’s get started! For more visual- check out my highlight reel on Instagram “Console Table”.
Materials
- 4 (2x4 ) pieces of wood for the table top
- 1 (2x6) piece of wood for the ends of the table top
- 1x4 pieces of wood for the skirt (# depending on length of table)
- 6 legs from Carolina Leg Co
- Wood Glue
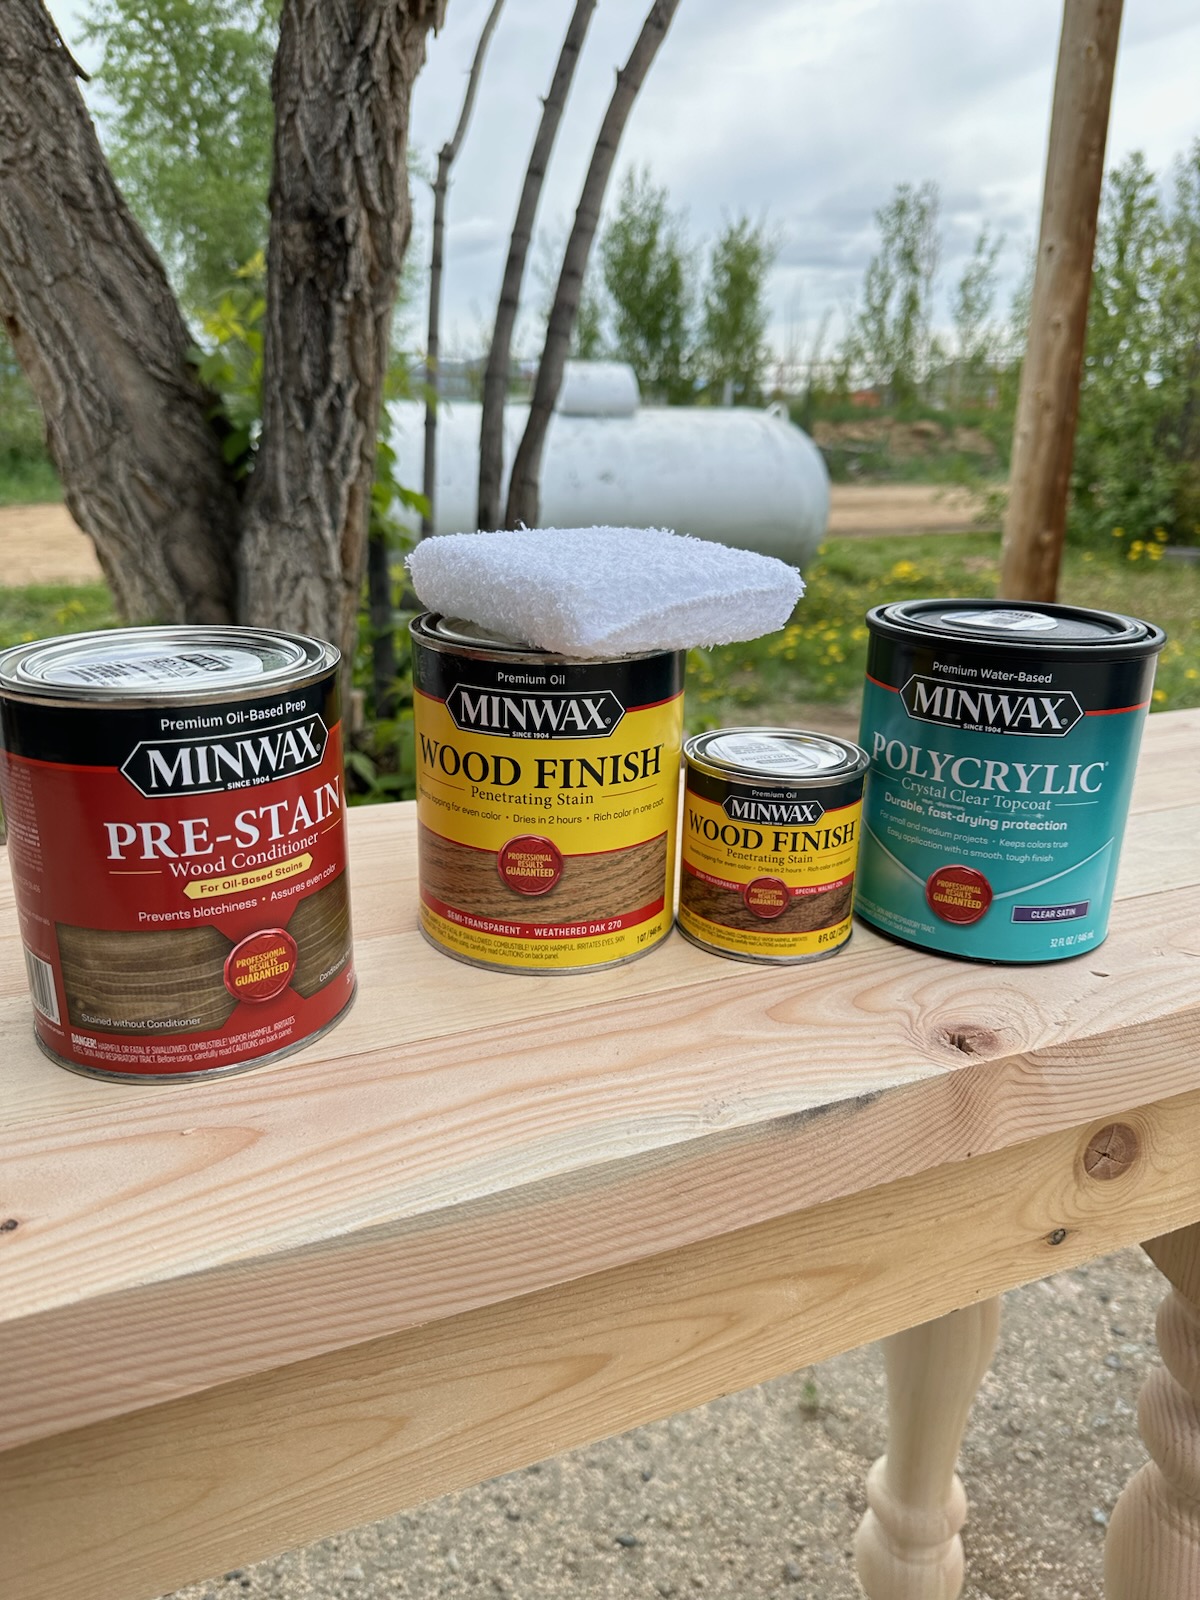
- Staining pad
- Pre stain (wood conditioner)
- Stain of your choice (my favorite combination is Weathered Oak and Special Walnut )
- Minwax Polycrylic to seal
Tools
- Kreg Jig
- Screws
- Saw- for cutting pieces to length
Instructions
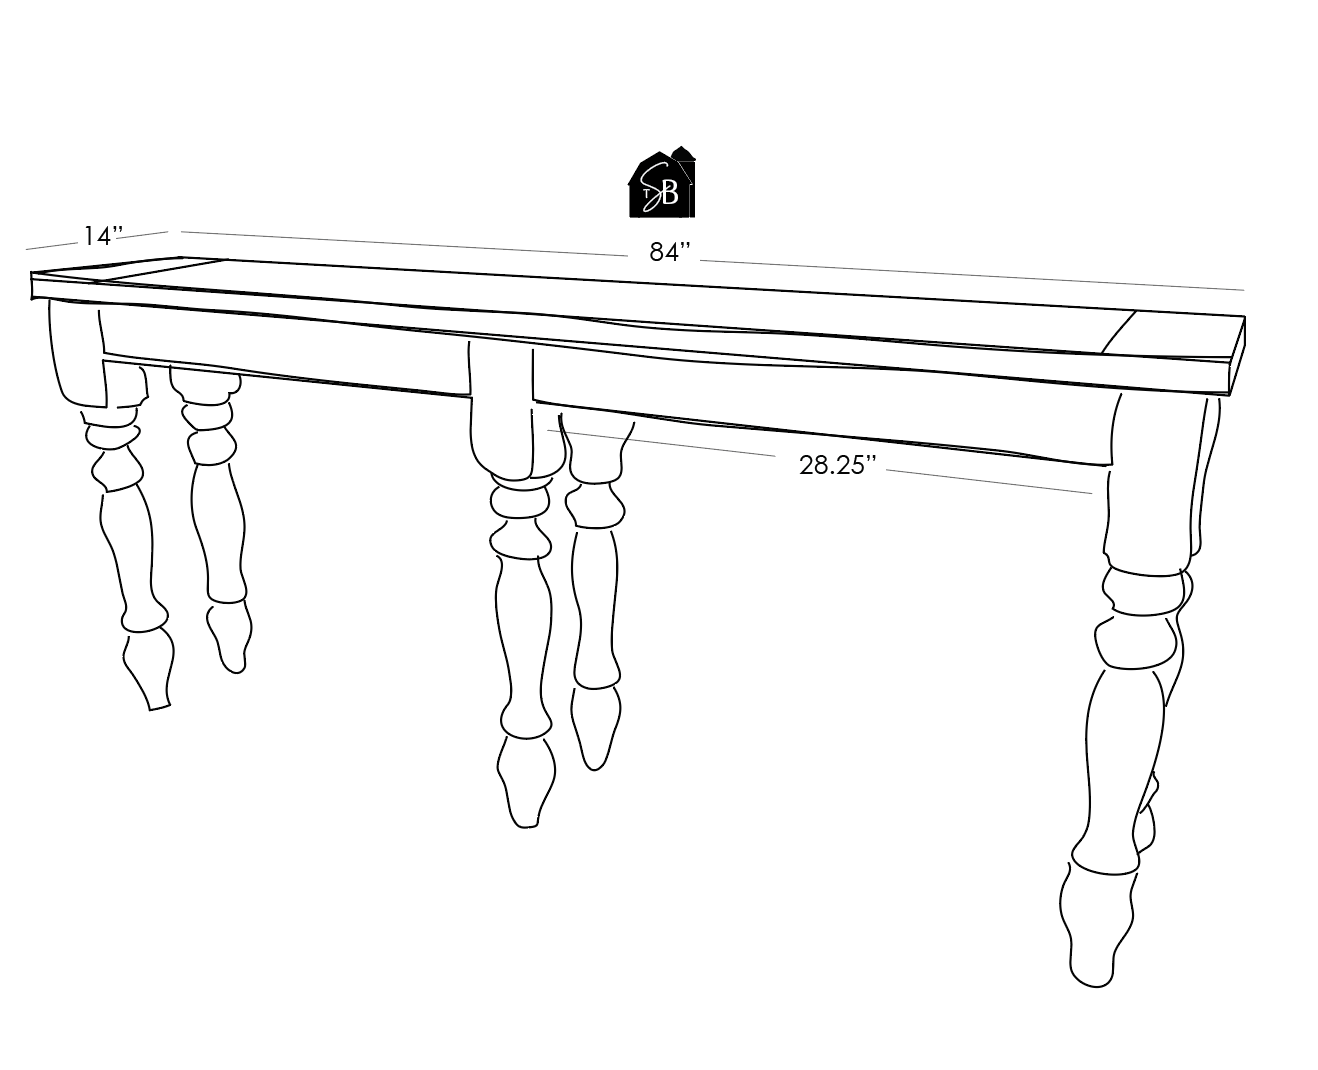 To begin, I cut my table top (2x4 ) pieces to length using my saw ( I used 4 pieces total)
 - Next, I measured my end pieces (2x6 size) to create a “Baker’s Top” - these boards run perpendicular to the long boards from step 1
- I pre drilled pocket holes in these pieces so they attach seamlessly underneath with my Kreg jig and screws
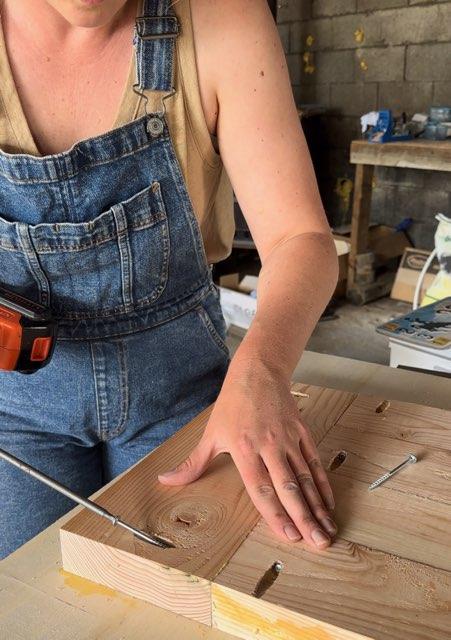
- I used wood glue to secure them even better in addition to the Kreg jig screws
- Next, I attached all 6 legs from Carolina Leg Co - Carolina Leg Co using my Kreg Jig and screws
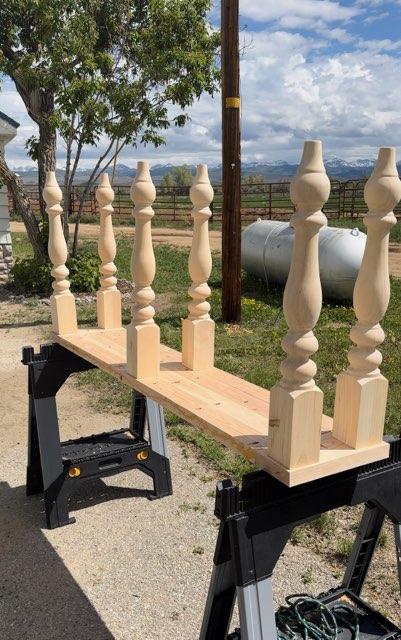
- I then created a skirt with (1x4) pieces of wood around the legs
- Once it was completed, I used a wood conditioner to create a smooth surface for my stain to soak into
- Next I stained the piece with Weathered Oak and Special Walnut ( my favorite combo!) I use this staining pad as well.
- I used some left over black stain which I rubbed on the edges to create a more rustic and textured look!- I LOVE doing this to my DIY pieces, I think it creates so much dimension!
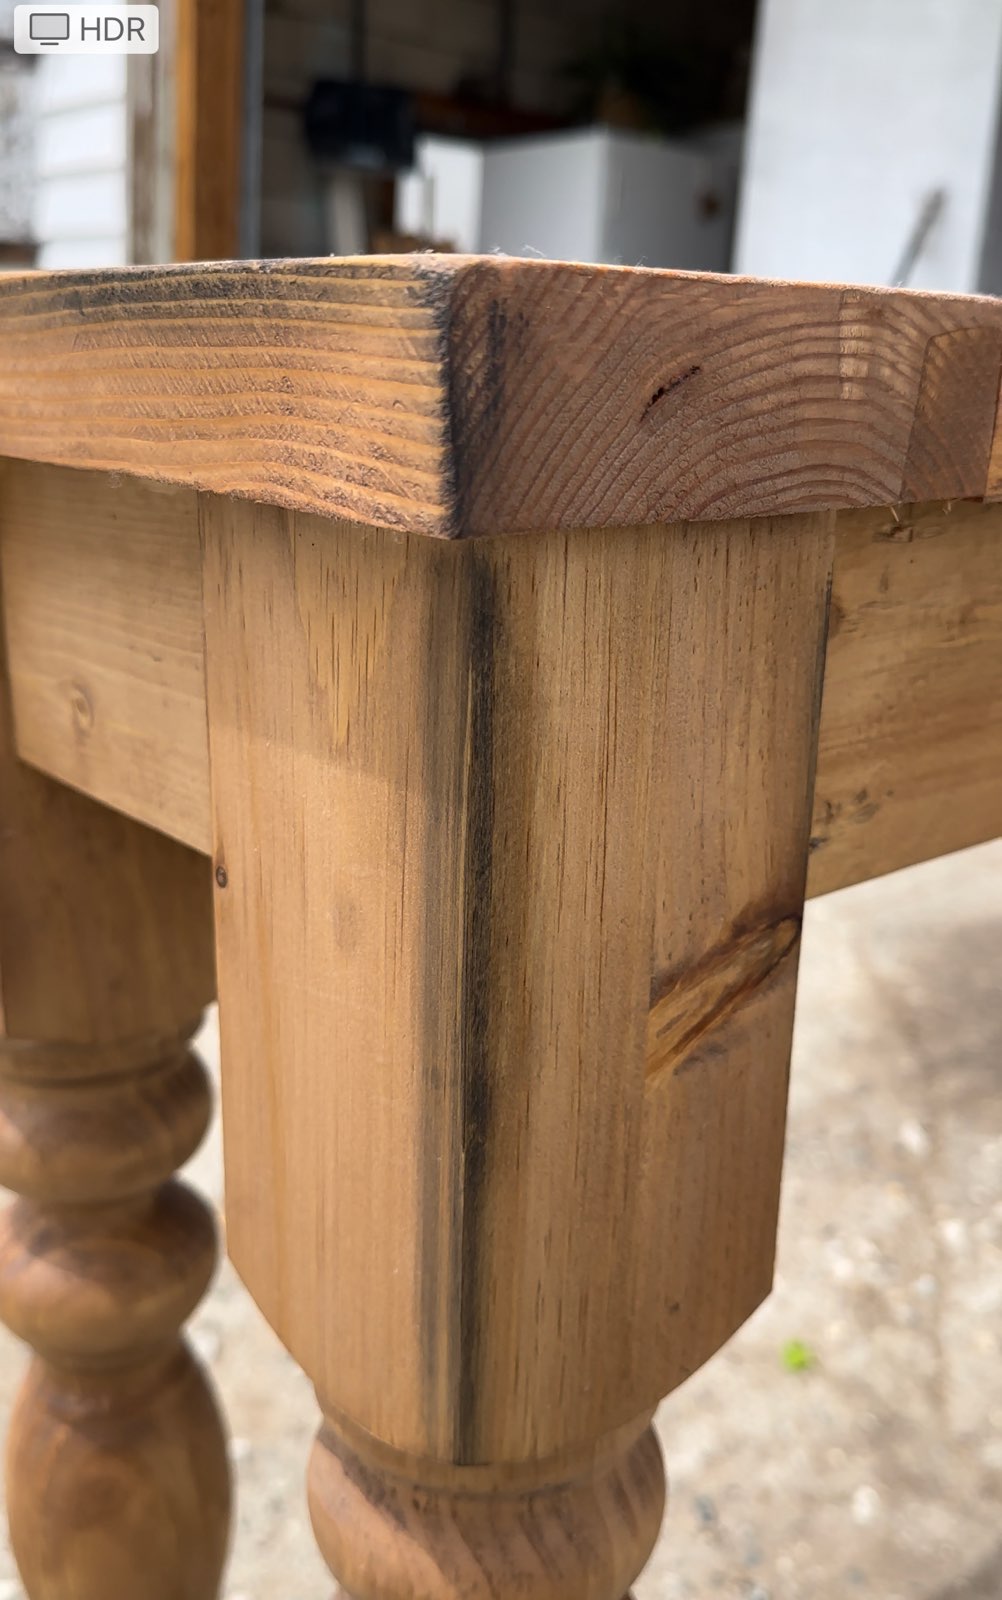
- I finished the piece with my go-to Polycrylic sealer