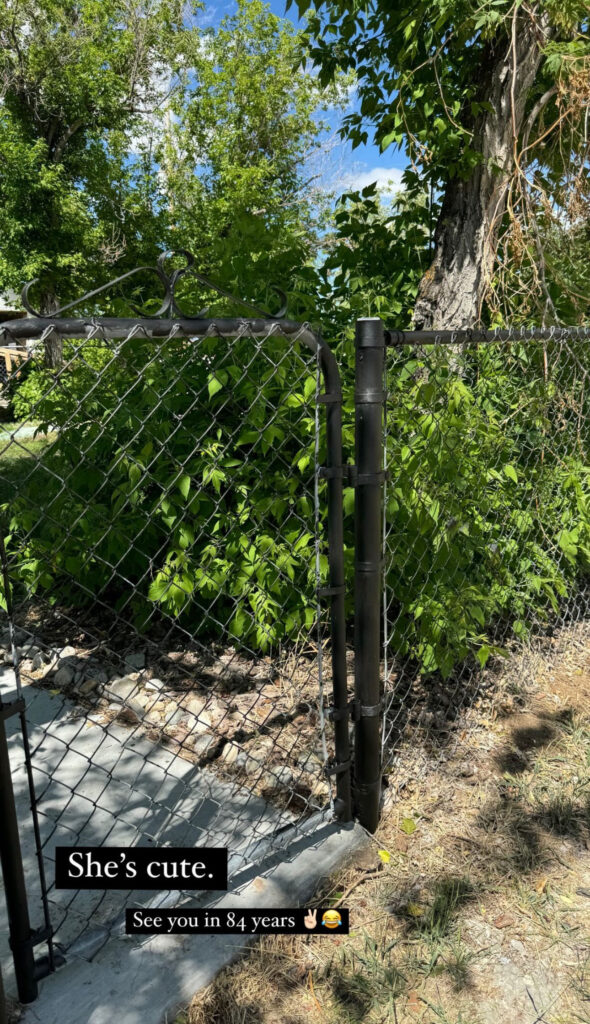
If you’ve ever stared out at your backyard and felt like your chain link fence was making everything look a little… bleh—I feel you. I decided it was finally time to give mine a facelift, and I’m here to tell you: painting your chain link fence is easier than you think! Plus, it makes a huge difference.
What You’ll Need:
- Asphalt Fence Paint (yep, the black kind used on farms – it’s super durable and budget-friendly)
- Nappy Roller (look for something thick to get into all the nooks of the chain link)
- Paint Brush (for those tricky corners and touch-ups)
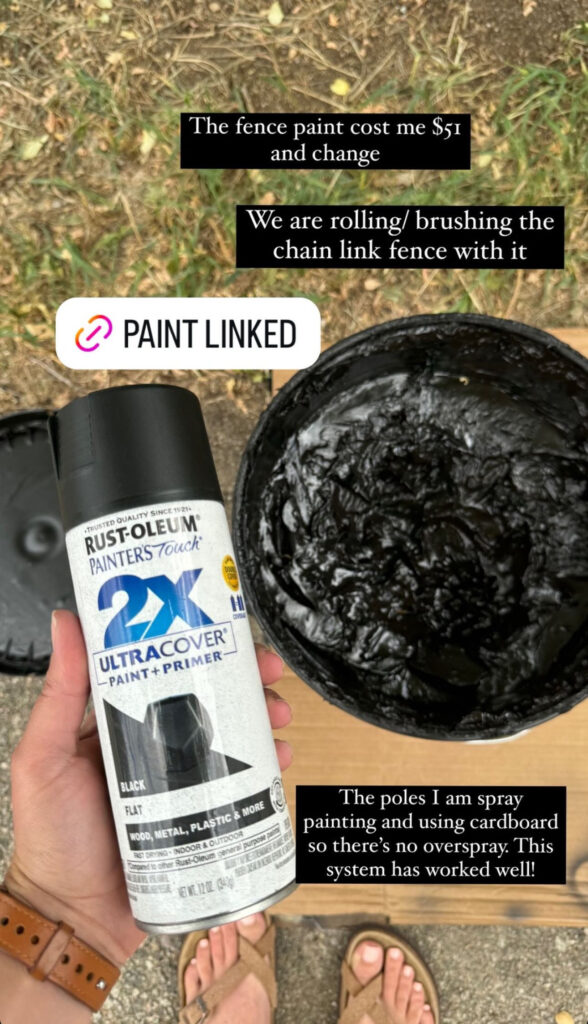
- Rustoleum Spray Paint (for the metal poles—more on that below!)
- Drop cloth or cardboard (optional but helpful to catch drips)
Step 1: Prep the Fence
Before anything else, I gave the fence a quick cleaning. A broom to knock off spiderwebs and dust, then a wipe-down with a damp rag where needed. Nothing too fancy—you just want a relatively clean surface so the paint sticks.
Step 2: Rolling On the Fence Paint
I used asphalt fence paint and applied it with a nappy roller. The thicker roller helps push paint into all the twists and turns of the chain link without too much effort.
Tip: This paint is messy—be sure to wear old clothes and gloves. I also laid down some cardboard under the fence line to protect the grass from drips.
I worked in sections, rolling up and down, then side to side. Don’t be afraid to load up your roller—it soaks in quite a bit.
Step 3: Brush in the Detail
After rolling, I went back with a paint brush to hit any missed spots or tighter areas around where the fence meets the posts. This step gives it a more polished, even finish.
Step 4: Spray Painting the Poles
For the metal poles, I grabbed a can of Rustoleum spray paint in a flat black finish. This gave them a sleek, clean look and helped everything blend together beautifully.
Tip: Hold your spray can about 10–12 inches from the pole and use sweeping motions to avoid drips. You may want to do two light coats for even coverage.
DIY Fence Painting

If you’ve ever stared out at your backyard and felt like your chain link fence was making everything look a little... bleh—I feel you. I decided it was finally time to give mine a facelift, and I’m here to tell you: painting your chain link fence is easier than you think! Plus, it makes a huge difference.
Materials
- Asphalt Fence Paint (yep, the black kind used on farms – it’s super durable and budget-friendly)
- Nappy Roller (look for something thick to get into all the nooks of the chain link)
- Paint Brush (for those tricky corners and touch-ups)
- Rustoleum Spray Paint (for the metal poles—more on that below!)
- Drop cloth or cardboard (optional but helpful to catch drips)
Instructions
Step 1: Prep the Fence
Before anything else, I gave the fence a quick cleaning. A broom to knock off spiderwebs and dust, then a wipe-down with a damp rag where needed. Nothing too fancy—you just want a relatively clean surface so the paint sticks.
Step 2: Rolling On the Fence Paint
I used asphalt fence paint and applied it with a nappy roller. The thicker roller helps push paint into all the twists and turns of the chain link without too much effort.
Tip: This paint is messy—be sure to wear old clothes and gloves. I also laid down some cardboard under the fence line to protect the grass from drips.
I worked in sections, rolling up and down, then side to side. Don’t be afraid to load up your roller—it soaks in quite a bit.
Step 3: Brush in the Details
After rolling, I went back with a paint brush to hit any missed spots or tighter areas around where the fence meets the posts. This step gives it a more polished, even finish.
Step 4: Spray Painting the Poles
For the metal poles, I grabbed a can of Rustoleum spray paint in a flat black finish. This gave them a sleek, clean look and helped everything blend together beautifully.
Tip: Hold your spray can about 10–12 inches from the pole and use sweeping motions to avoid drips. You may want to do two light coats for even coverage.