The Sassy Barn
I'm Ashlee
I hope you’ve got a coffee or tea in hand and are ready for some fun! I’ve created a space for you to not only stay updated on new shop items, but to find weeknight meals cleaning tips and DIYs.
Categories
eat till it hurts
diy
IKEA Rast Hack
December 29, 2022
IKEA Rast Hack

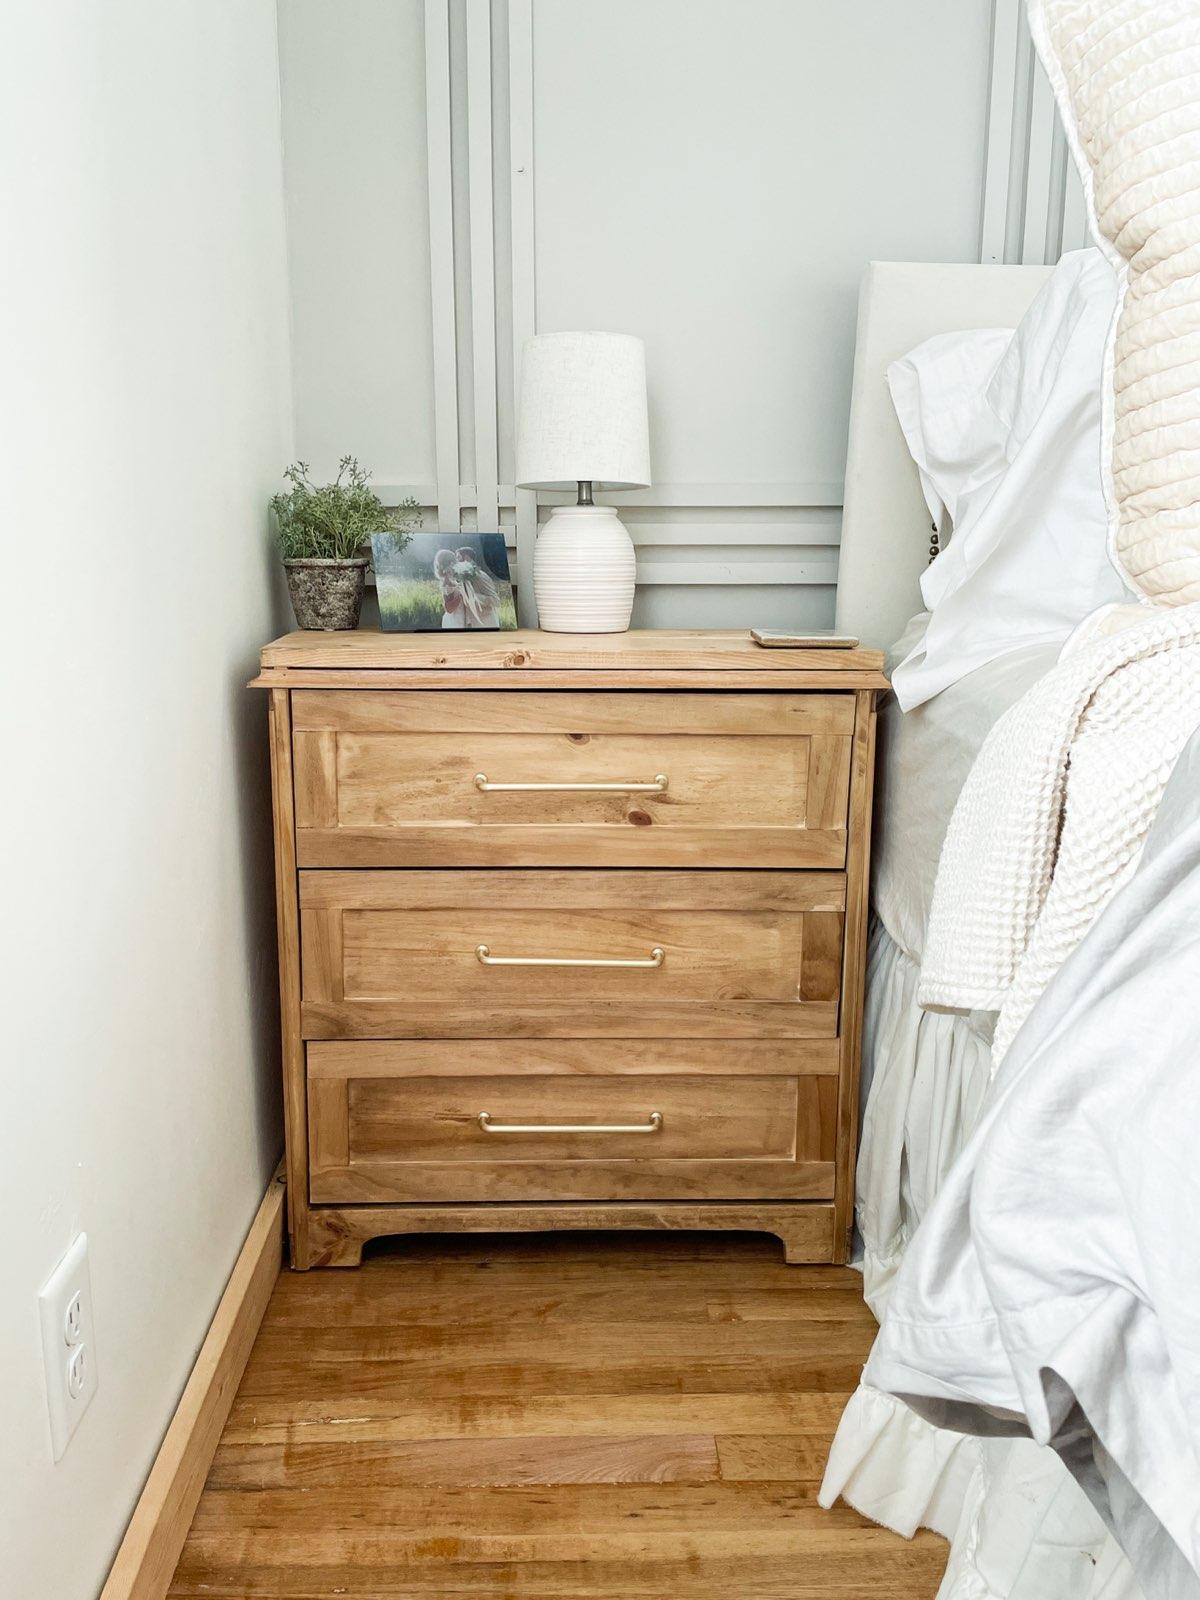
Watch as I transform the Ikea Rast nightstand into a beautiful piece with more character and charm! This DIY elevates a simple and affordable nightstand into something authentic and charming with minimal tools and supplies! Any beginner DIYer can tackle this project! Be sure to follow along on Instagram @thesassybarn and watch my highlight reel “Rast Hack” as you read through this blog post for a visual!
Materials
- IKEA Rast nightstand
- Wood glue and filler
- (1)1x16 or (2) 1x8 pieces of wood cut to size
- Molding for trim detail
- Lattice trim for sides and drawer fronts
- Hardware from @battlecreekhardware
- Stain
- Sealer
Tools
- Table saw
- Jig Saw
- Drill
- Miter shears
Instructions
1. I started this project by filling the knob holes in the drawers with wood filler and cutting the lattice trim to size.

2. I attached the lattice “trim work” to the drawer fronts and sides of the nightstand with wood glue and ¾ inch brad nails. This simple detail elevates the look so much already!
3. While those pieces were drying, I worked on the bottom part of the nightstand. I took the basic rectangle pieces that come standard, used my jigsaw, and cut out a rounded bottom piece for the nightstand. This added so much character and some rustic charm!
4. Next I added molding to the top of the nightstand- I started with the front piece and cut the molding to a 45 degree angle. I had to notch out a piece so the molding would lay flat across the top.
5. After attaching the front piece of molding, I cut the side and back pieces to 45 degree angles as well and attached them. I used these miter shears to cut perfect angles. This tool is a game changer for cutting molding and doing trim work!
6. Once I reassembled the nightstand I gave it all a good sanding. Then, I used Minwax pre stain wood conditioner. Sometimes Ikea wood can take on a different color than the stain, so I always use this wood conditioner on these products!
7. The stain I chose to go with for this nightstand is Early American and Pickled Oak from Minwax. You can get my favorite staining pad here. There is no special ratio for the stain combination!
8. After staining, I used my favorite sealer, Minwax Polycrylic water based sealer in “clear satin”. I apply this with this easy grip paintbrush!
9.Next, I drilled a hole to attach the hardware. My drill can be found here and is a great one for beginners to try out! The hardware is my favorite and it's from @battlecreakhardware. Be sure to use my discount code SASSY15 when you order from there for 15% off!
10. After I attached the hardware, the nightstands were finished! I could not be happier with how they turned out! The lattice, stain, and hardware completely transform this basic nightstand into something beautiful!
Notes
Be sure to tag me @thesassybarn if you try out this DIY! I cant wait to see your creations! Again, be sure to follow along for more DIY projects!