Whether you are a beginner DIY’er or you consider yourself to be a pro, this easy project is for any level and is sure to be fun! I have an easy printable version for you! I also have a video saved on my highlights on my IG @thesassybarn
Happy Building!
DIY Planter
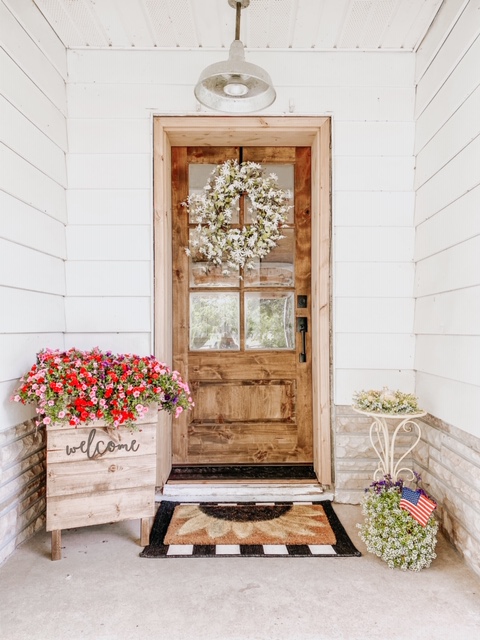
Have you ever wanted those really pretty planters for your entrance or on the back deck but the cost to buy just one was a little pricey? After I saw the price of one I worked on a design plan to build my own and was able to gather the majority of material from around the Ranch. I'm so happy with how it turned out and can't wait to build more!
Materials
- 2 2X2X8
- 5 1X6X6
- 1 1X2X8
- Wood Glue
- Exterior Wood Nails 9x2
- Stain (your choice!)
Tools
- Chop Saw
- Drill/ Driver
Instructions
The materials listed above are to make the same size planter that I made which stands 2ft 3 inches tall and is 1.5ft wide on each side.
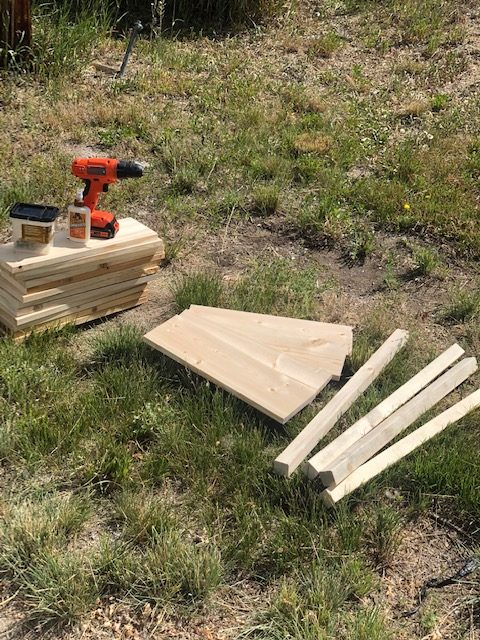
I first prepped and made my cuts.
cut the 2x2's into 2 ft 3in lengths
cut the 1X6 1.5 ft. you will need 4 for each side, so a total of 16 cuts.
cut 2 1X2 into 15 inch pieces
later you will measure the bottom and cut 3 1X2 to size to make the bottom.
3. Now place your 2x2 legs apart from each other and place your top board on. Make sure the sides are even and the legs aren't peeking through. Use your drill to make holes (this prevents the wood from not cracking. Drive in your wood screw on either side. Now add on your 3 remaining boards. Repeat with the other 2X2 giving you two sides. Once your first two sides are built, flip over and add a 1X2 cut at 15 inches to each side. (The length depends on how deep you want your planter!) secure with wood glue and let dry. (You can also add a few short brad nails as well)

4. Place your sides up with the feet facing the same direction and add your first board on top. Make sure the ends cover the other boards and are even. Drill your holes on either side, drive in the screw and repeat with the 3 remaining boards.
5. Flip to the last side and start with your top board again. Make sure again that the sides are even! NOTE! this part is important! add your two middle boards and then your bottom board. The legs will want to extend out so secure your bottom board first and then secure your two middle boards with drilling the holes and adding the screws. Stand your planter upright, measure the distance across, cut 3 1x2 to length across the bottom with wood glue (This will help to hold a pot!)
6. Now stain the planter! I also stained a little ways down the inside so the natural pine didn't peek through.
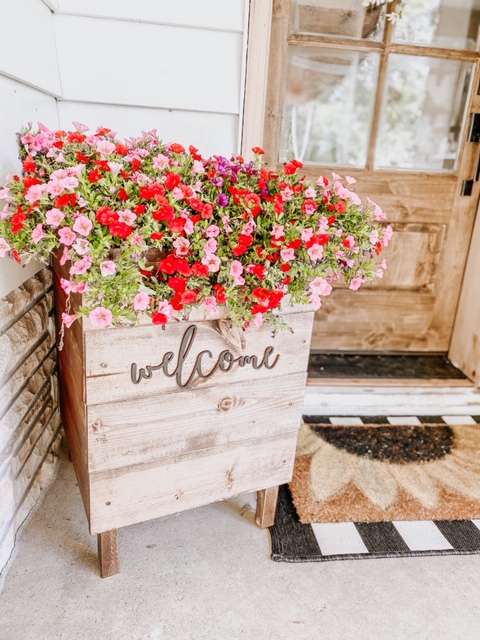
7. I did have a welcome word cut out on hand that my friend Niki from Carpenter Farmhouse made for me and used wood glue to attach it. I have linked where I buy my word cut outs here.
There ya have it! Your very own planter! I'm proud of you!
Notes
Please note- prices for this project vary on cost of lumber and the lumber that you choose to use. I went with pine but you can go with cedar which is a popular choice or any other type of wood!
Hi! I LOVE this! However I’ve made wooden planters before (or rather I’ve used wooden boxes for planting) and the wetness from the dirt and watering ends up making the wood expand and look gross. Did you line your planter with something? Also, what about drainage holes?
Thanks girl!
I leave the bottom open so I can just put a pot in there and it can drain out, but you can definitely just use a liner!